I start by sketching my design and testing a tiny popsicle-stick version first. That wobbly two-plank frame teaches me fast why three planks matter.
Next, I cut 1×6 boards to 45¼ inches and 2×2 posts to 2 feet, then sand everything silky-smooth before brushing on Dark Walnut stain and Simply White paint. Once dry, I assemble the frame with 13-inch shelf spacing and nail the grills level.
Finally, I drive 2½-inch screws through the back into wall studs, add corner braces for extra rigidity, and give the rack a firm tug to confirm zero wobble. Proper sneaker spacing requires accounting for sole depth and heel height to maximize shoe capacity per shelf.
Choose Your Design and Sketch the Build
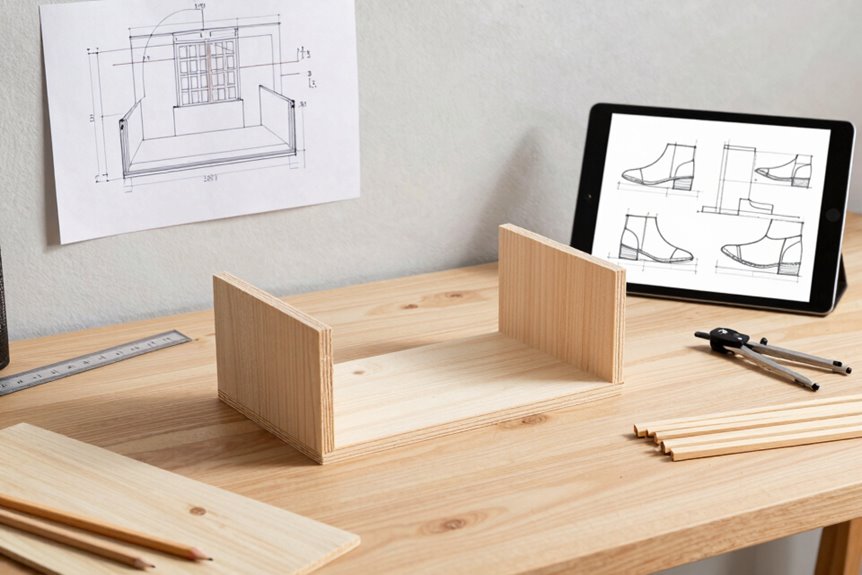
When you’re staring at a dozen shoe rack ideas, picking just one can feel impossible. I stared at my sketches for a long time, so I built a simple decision matrix to help narrow things down. I scored each option on cost, time, and visual appeal in my entryway. The winning option got highlighted in green.
Once I’d chosen, I sketched the final concept right next to that winning score. I wanted something clean, so I drew a three-plank design; originally I’d planned two, but that extra shelf adds stability without cluttering the lines. I grabbed popsicle sticks and glue to build a tiny prototype. This approach was cheap, fast, and let me see the actual silhouette. It helped me catch proportion problems early.
Build a Quick Prototype to Test Stability
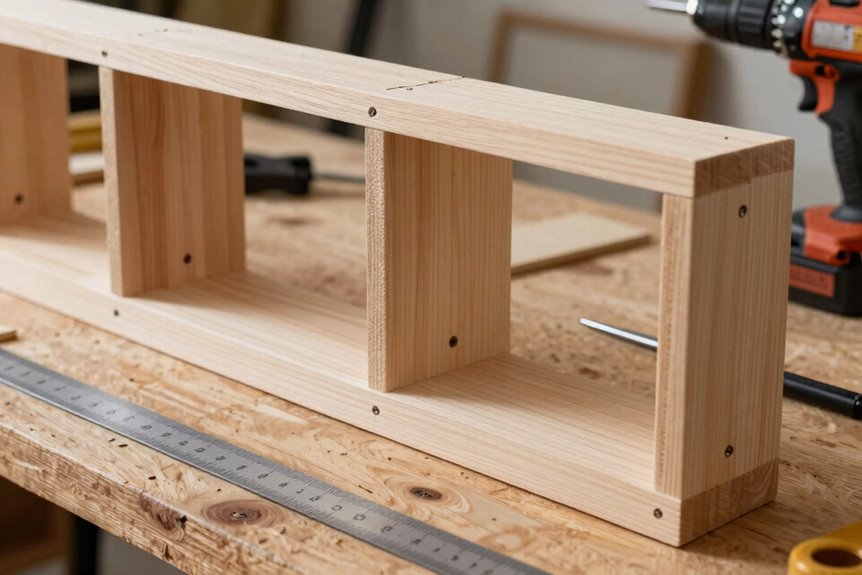
I grab a handful of popsicle sticks and some wood glue to mock up my shoe rack idea without breaking the bank. I arrange them into a tiny two-plank frame, squint at it from every angle, and watch it wobble like a tipsy giraffe when I nudge the table. Adding a third plank creates a sturdier triangle setup that can actually support sneakers without collapsing.
Prototype Material Selection
Before diving into expensive materials, I grabbed a box of standard 4.5-inch popsicle sticks from the craft store at three dollars. I examined the grain of the wood, running my thumb along each stick to find the straightest ones. Cheap glue held everything together while I tested ideas fast. My first try used two planks, but it wobbled. Adding a third plank fixed the instability. I wasn’t testing if it could hold actual shoes yet, just whether it looked right and felt sturdy enough to function. This quick, messy model allowed me to fail cheaply and iterate without guilt.
Visual Testing Method
How do you test a design before wasting good lumber? I grab popsicle sticks and glue. This scrappy little mock-up costs pennies but reveals everything about shoe rack stability.
I built my first prototype with two planks, stood back, and watched it wobble like a newborn deer. Not acceptable. I added a third plank, and suddenly everything worked. The triangular base held firm when I pressed down.
Glue dries fast, so I iterate quickly. I check alignment, proportions, and whether the whole thing looks balanced. Does it feel right? That’s the measure.
This visual test saves me from cutting expensive oak into a flawed design. I spot problems now, fix them with toothpicks, and move forward with confidence before the real work begins.
Measure and Cut Your Boards to Size
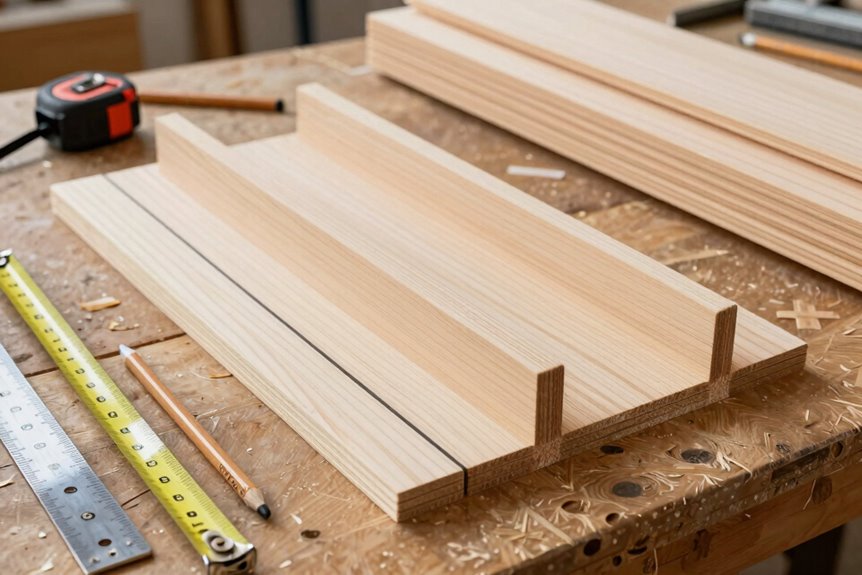
I’ll start by cutting my 1×6 boards to exactly 45 1/4 inches so each section holds five shoes comfortably. I grab my ruler and draw a straight pencil line across the wood to keep my saw from wandering like it did on my first project. My 2×2 posts get trimmed from three feet down to two, and I double-check every measurement because the blade cannot be undone once it cuts.
Board Length Requirements
Where exactly do we start when raw boards are sprawled across the garage floor? I grab my tape measure and dive into board length requirements, because getting this right determines how well everything else fits together.
Here’s what we’re cutting:
- 1×6 boards at 45 1/4 inches — long enough for five shoes to rest comfortably in each section
- 2×2 posts trimmed to 2 feet — shortened from the original 3-foot lumber for better stability
- Three planks per shelf — I revised from two after realizing wobbly shoes annoy everyone
I mark straight lines with my ruler, keeping measurements identical across every piece. Consistency matters. When boards share the same length, your rack stands square and true. No fancy tools needed; just patience and a sharp pencil.
Cutting Process Steps
With my lengths marked and pencil lines crisp, I’m ready to start making sawdust. This part involves watching boards transform into pieces that’ll become real furniture in your home.
I grab my saw and tackle the 1×6 boards first, cutting each to 45 1/4 inches so five shoes nestle snugly per section. My ruler stays tight against the wood; straight cuts demand respect. Next come the posts. I trim 2x2x3 lumber down to 2x2x2 blocks, repeating identical cuts so nothing wobbles later. This repetition takes time but produces reliable results.
The 2×4 base frame gets special attention at 44.5 inches. Precise measurements here mean two matching frames with consistent spacing. I’m building twins, not distant cousins. Measure twice, cut once, build something that lasts.
Measurement Accuracy Tips
How do you turn a pile of lumber into furniture that doesn’t wobble? Measurement precision is the foundation of building stuff that actually works.
I mark a straight line with my ruler before every cut. No eyeballing. That 45 1/4 inch length for your shoe boards matters. Every single time.
What separates wobble from solid construction:
- Cut all five boards to exactly 45 1/4 inches so your shoes sit level, not crooked
- Reduce those 2x2x3 posts down to 2x2x2, matching each one precisely
- Keep 1×6 boards untouched — their original thickness saves your sanity
I measure twice, cut once. My frame pieces hit 44.5 inches, supports stop at 13. Your tape measure is essential equipment.
Sand All Pieces for a Smooth Finish
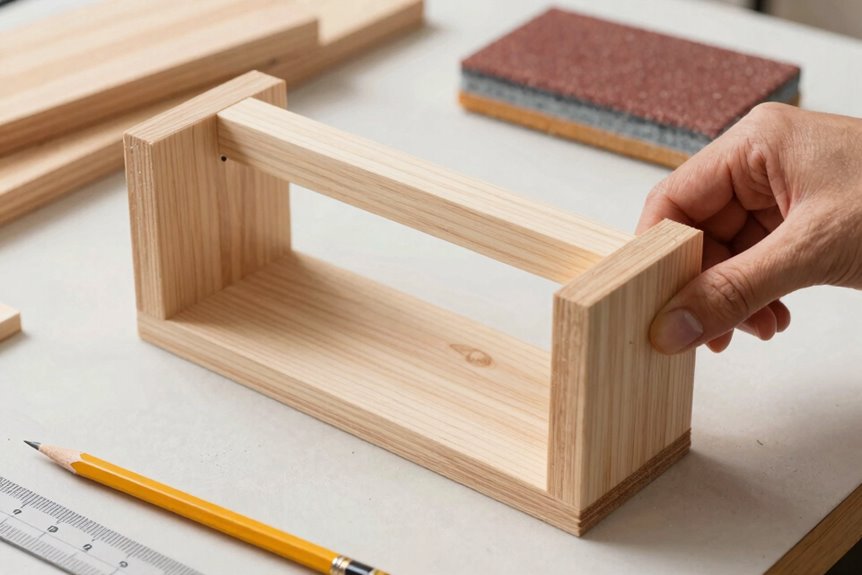
Why jump straight to assembly when a little elbow grease now saves headaches later. Sanding transforms rough lumber into something your hands and shoes will actually want to touch. I grab medium-grain sandpaper first, working every board and post until the raised grain surrenders. Then I switch to fine-grain, polishing those surfaces that’ll meet shoes and fingers. Always sand with the grain; scratches going crosswise stick out like a sore thumb. Afterward, I run my palm across every inch, hunting sneaky splinters like a timber detective. Pre-assembly sanding isn’t just vanity. It gives glue something to grab onto and prevents those “oops, missed a spot” moments after everything’s screwed together. When that first smooth shelf slides into place, you’ll notice the difference in how it feels to use.
Stain or Paint Before Assembly (and Let Dry Fully)
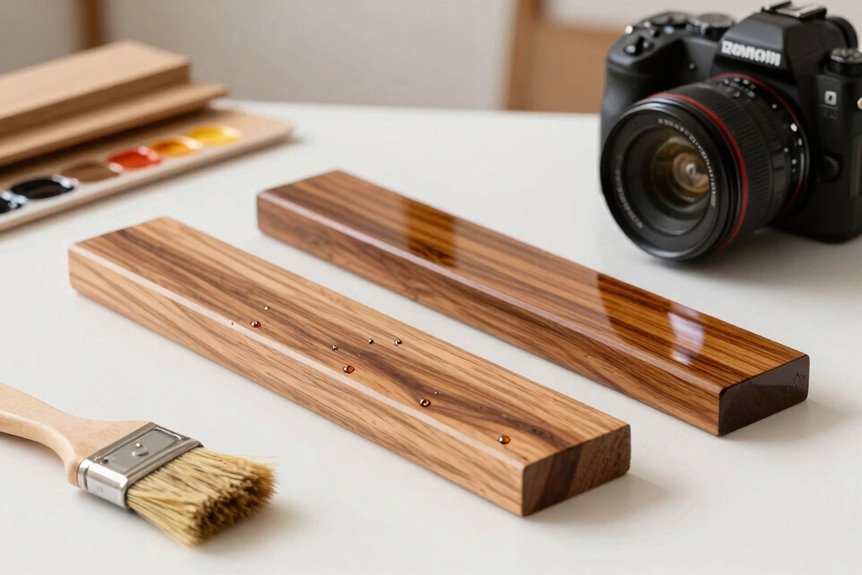
Although it might seem faster to build first and finish later, I’ve learned the hard way that drips and corners become nightmares once everything’s screwed together. I’ve spent too many Sundays wedging a brush between slats that didn’t quite fit.
I lay down old towels, then grab my Dark Walnut for the posts and Simply White for the boards. Here’s how this looks in my mind:
- Dark walnut soaking into end grain like coffee into morning toast
- White boards drying in slanted afternoon light through the garage window
- My hands smelling of mineral spirits, sticky with promise
I brush with the grain, wait five to fifteen minutes, then let pieces air-dry for hours. Completely dry stain prevents color bleeding where posts meet boards. When glue grips tight, your finish stays flawless.
Assemble the Shoe Rack Frame With Angled Shelves
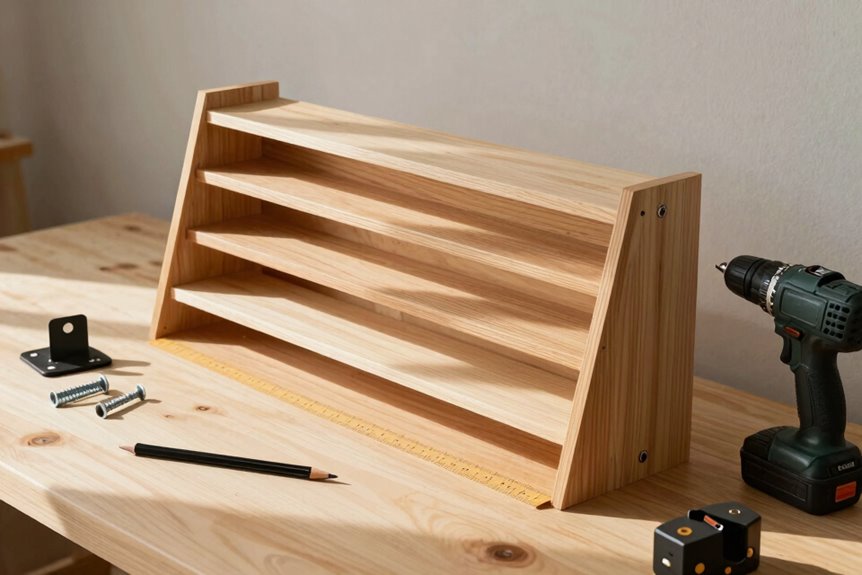
Once the stain’s locked in dry, I grab my two longest 2x4s (44½ inches each) and lay them on the garage floor as a pair of rails. I mark every 13 inches from the inside, then screw in my 1×2 supports with 2.5-inch screws. Frame one is complete, and I build its twin.
For the shoe rack framework construction, I group my 2x4s into threes, cutting four grills at 35 inches each. I nail two per grill into the frames, keeping everything level. The angled shelves sit 7 inches from front and back, with my speed square locking that first shelf at a perfect right angle. The top board stays flat for additional storage.
| Component | Measurement |
|---|---|
| Main frame rails | 44½ inches |
| Shelf supports | 13 inches apart |
| Grill pieces | 35 inches each |
| Angled shelf offset | 7 inches front/back |
Secure Your Shoe Rack to Wall Studs
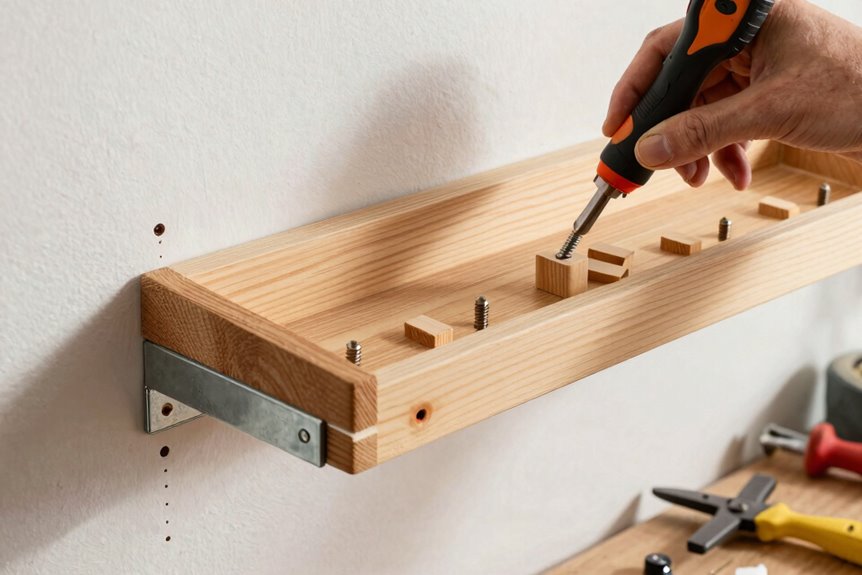
A wobbly shoe rack will fail when someone grabs their boots in a hurry. I’ve seen plenty of DIY projects collapse from inadequate wall anchoring.
First, I grab my stud finder and slide it along the wall until it beeps. Those studs are my anchors; drywall alone will not support the weight. I mark their centers, then hold my rack against the wall and pre-mark where the screws will bite. I use 2½-inch wood screws, driving them through the back into each stud until they’re snug.
For extra stability, I add corner braces if my rack is tall or packed with heavy sneakers. Here’s what keeps everything steady:
- The satisfying thunk of the stud finder locking onto solid wood
- The whir of my drill sinking screws deep into the frame
- The firm tug I give the rack afterward. No movement, no failure risk.
I step back and study my work, knowing the rack will hold securely under normal use.