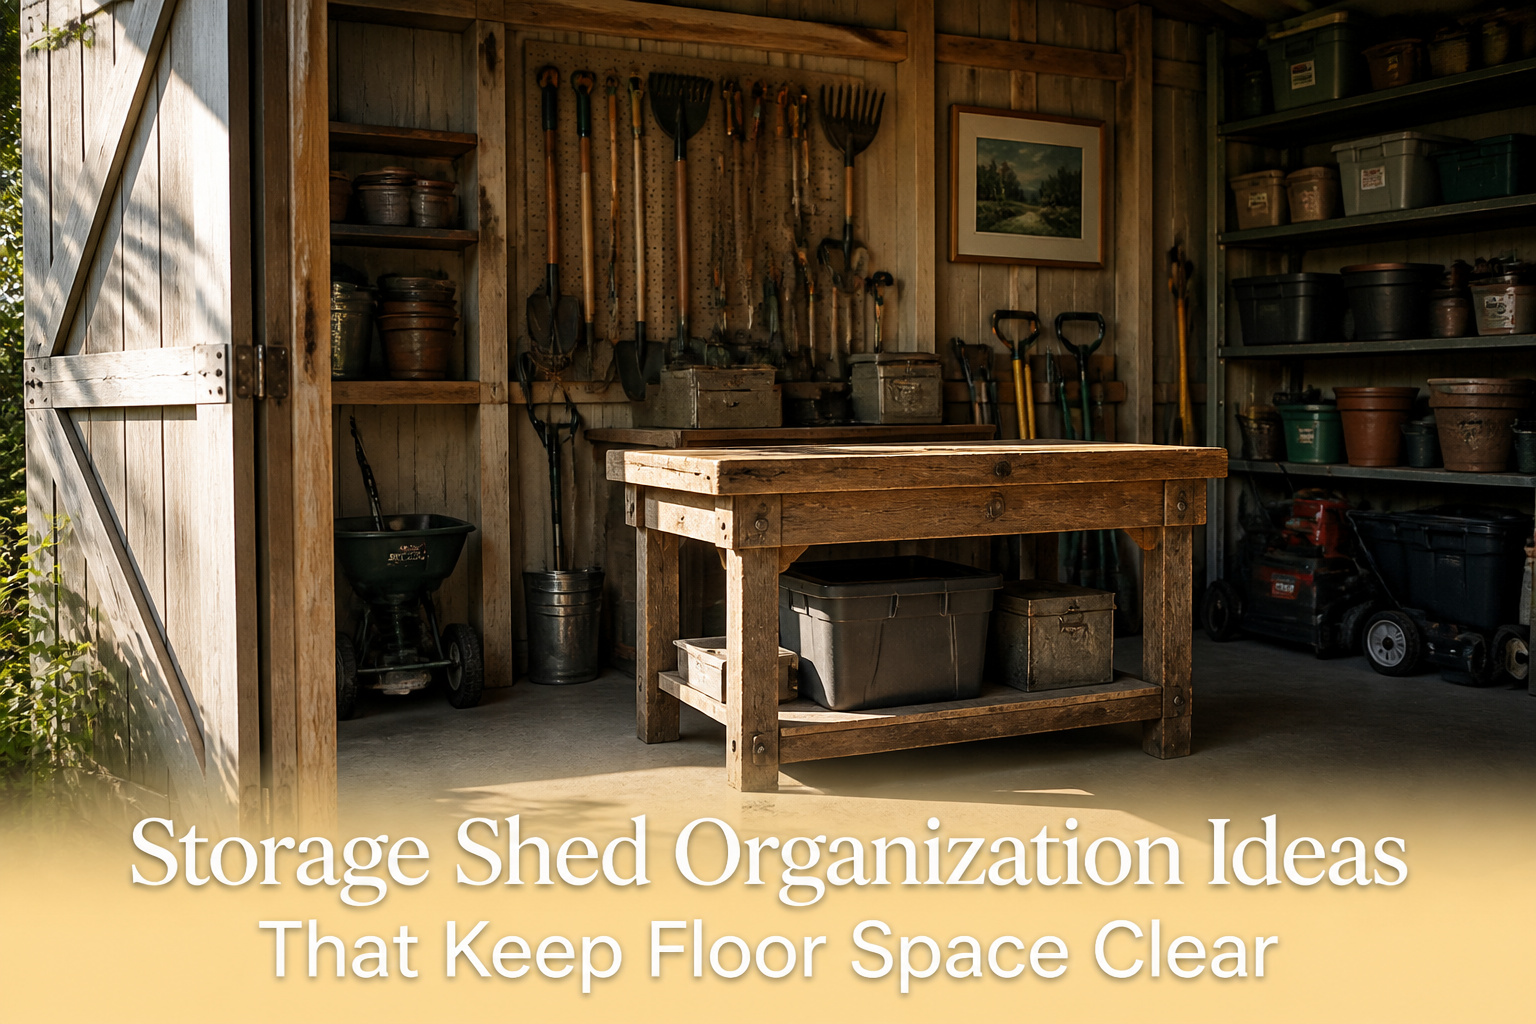
Storage shed organization ideas range from a Saturday afternoon with pegboard and hooks to custom-built workstations that cost more than the shed itself. The deciding factor is not budget or skill level; it is whether you plan the layout around how often your hands reach for each item. A weed eater used three times a week buried behind the mower proves that category sorting fails faster than any collapsed shelf.
1. Hang Tools on Hooks
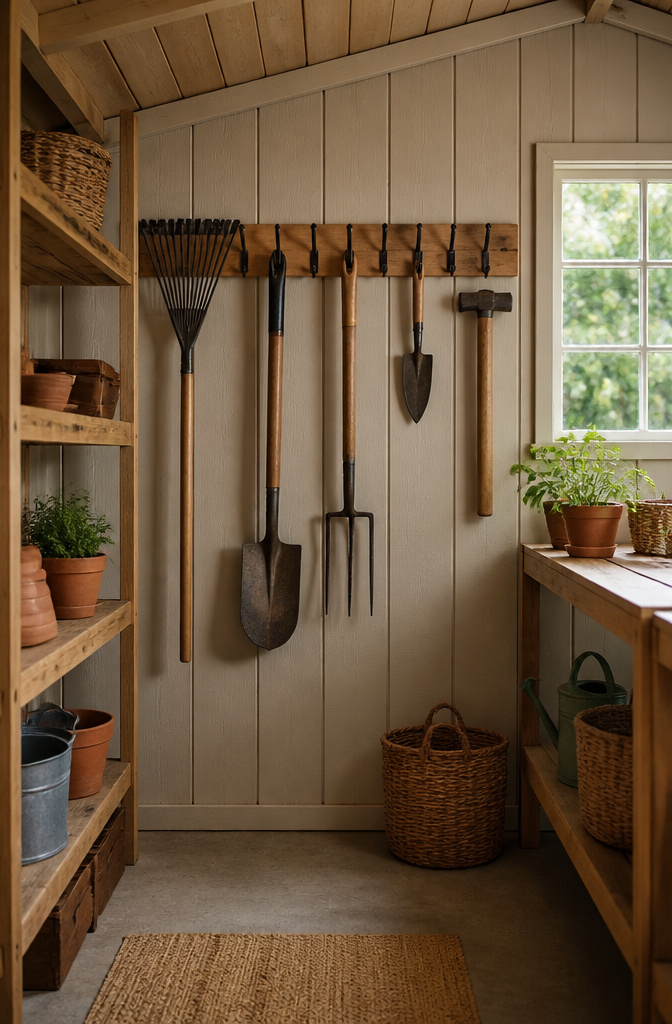
Wall-mounted hooks keep the tool you need at eye level and the floor beneath it empty, but the difference between a neat rack and a crowded mess is spacing. The Seasonal Homestead approach of holding each tool against the wall before setting a hook is the only method that actually works; guess at spacing and you end up shoving three handles aside every time you reach for the rake.
Two ways to anchor them. A horizontal strip of wood screwed into studs lets you place hooks anywhere along its length, which matters when your tools range from a one-pound trowel to a seven-pound sledge. Anchor screws into drywall or sheathing are the alternative, and the right type holds substantial weight, though I misjudged this once. I hung a full bag of potting soil on a single hook rated for light garden tools, not bags. It held for two weeks, then pulled free at 6 a.m. and scared the neighbors’ dog.
For sheer speed, hooks beat pegboard and magnetic strips: no sliding a peg to a new hole, no wondering whether a wrench is ferrous. Pegboard earns its keep for small, odd-shaped items, and magnetic strips work for blades and bits, but a wall of simple hooks gets long-handled tools off the floor fastest. Place the three you grab every weekend at shoulder height; seasonal tools go higher, where reaching reminds you they exist.
2. Use Pegboards

Standard pegboard comes in 2 by 4 foot panels, a size that happens to match the spacing of exposed studs in most shed walls. I screw them straight through the face with washers so the hooks do not snag on the fastener heads, and I leave a gap behind the board so the pegs can lock in. Hooks and clips slide in anywhere, which means the layout changes when the tool collection does. Hammers, wrenches, and screwdrivers hang at arm height; sanding blocks and tubs of filler that have no loop for a hook sit on a shallow shelf above the board.
The mistake I made was mounting a panel too close to the door swing. A long-handled spade clipped the jamb every time I walked past, and the racket reminded me that pegboard needs clearance for the longest tool you own, not just the ones you planned to hang. Weight matters too. A full garden sprayer or a heavy maul will pull standard pegboard away from the wall over time. For those, a solid hook into the stud itself, bypassing the board, keeps the floor clear without risking a midnight crash.
3. Add Shelves

Adjustable shelving is what turns a shed wall from a blank surface into something that actually holds your life. I started with 12-inch melamine boards for paint cans and seed trays, then swapped in 16-inch plywood when the fertilizer bags started hanging off the front edge. A 2×4 frame with plywood decking will bow if the brackets sit more than 32 inches apart, and mine did exactly that under a row of half-full joint compound buckets. The fix was simple: another bracket mid-span, drilled into a stud I had assumed was there but was not. Stud spacing in these prefab sheds runs wider than house framing, so a stud finder pays for itself on the first shelf that does not sag.
4. Utilize Overhead Space
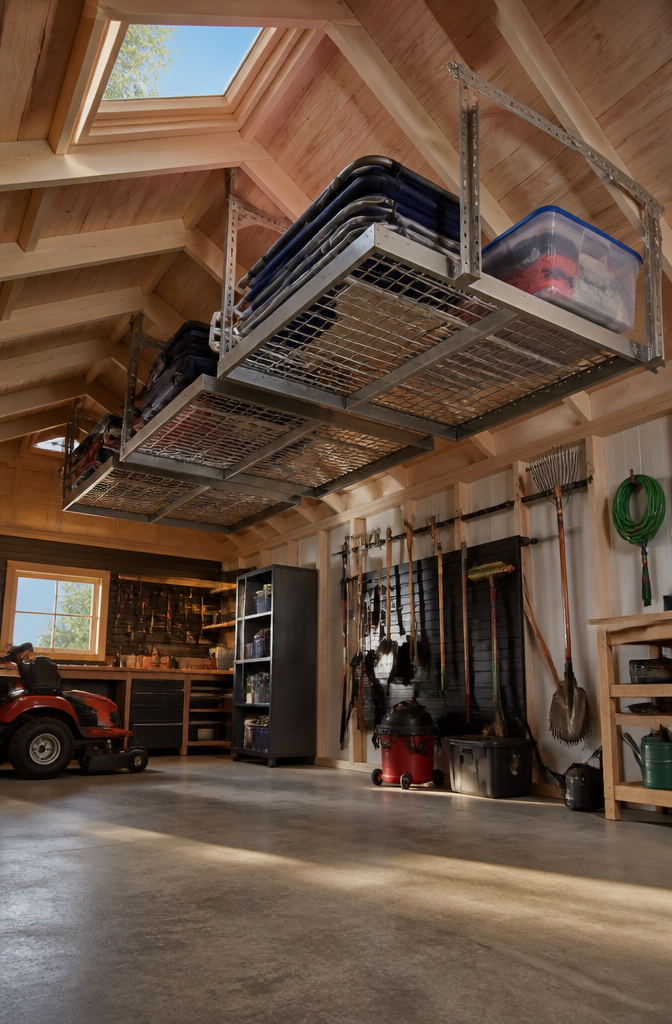
Ceiling space in a shed usually stares back empty until you realize the floor is already full. Overhead racks and hoists pick up the seasonal gear that otherwise blocks a walkway: holiday decorations, camping equipment, spare lumber, the sports gear that only sees daylight two weekends a year. A high barn shed or any garden shed with extra headroom handles this best, since you need enough vertical clearance to move underneath without ducking.
I mounted a pair of heavy-duty racks in my own shed three summers ago, mostly for folding patio chairs and a plastic tote of winter gloves and hats. The mistake came in the weight distribution. I loaded one side with two thick bags of potting soil left over from a project, thinking fifty pounds total was nothing for metal brackets. Within a month the rack had tilted visibly; within six weeks the bolts pulled slightly from the joist. The rack itself held, but accessing it meant reaching up toward a slanted plane that wanted to dump everything onto my head. I redistributed the load and added a second support point, but the lesson stuck. Hoists work the same way: a manual lift for a kayak or ladder is brilliant until the rope rubs against a sharp bracket edge and frays, or until you realize you need a second person to guide the load down without swinging it into a shelf.
The sources agree on the core risk. Weight limits matter, and ceiling-mounted systems need secure fastening. What they do not always say is that retrieval frequency should decide what goes up there. The less often you need it, the higher it belongs.
5. Use Storage Bins
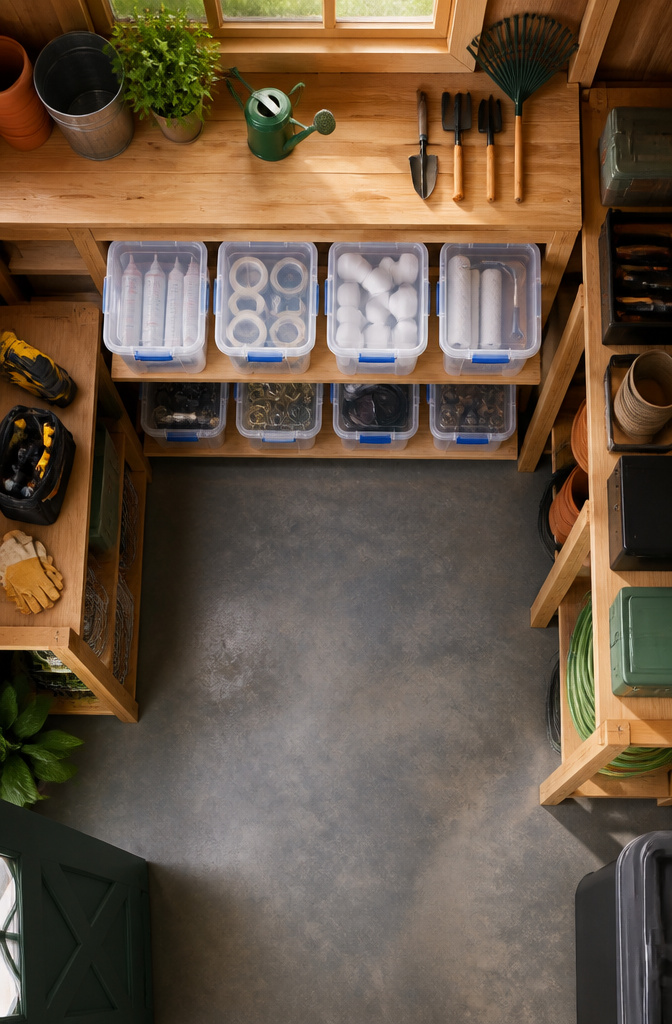
Clear 12-gallon storage bins earn their shelf space by letting you spot the tiling adhesive or the pipe fittings without hauling anything down. I settled on that size after smaller ones multiplied into a game of bin-Jenga every time I needed the bottom box. The 12-gallon stack locks squarely, and the lid snaps tight enough that a tipped tower in my shed only cost me pride, not a spill of grout across the floor.
Sorting by project matters more than sorting by type. One bin holds tiling supplies, another plumbing and irrigation, a third painting gear. When the bathroom faucet leaks, I grab one container and have every odd fitting and thread seal tape in the same place. Labels help, but clear walls do most of the work. I considered QR code labels for a minute, the kind you scan to log contents on your phone. The search feature sounded useful for seasonal stuff you forget exists, and I almost ordered a sheet before realizing I could already see everything through the plastic. For opaque bins, QR codes make more sense; for clear ones, the technology becomes a layer of upkeep the bin itself removes.
6. Create a Clean Floor

A shed floor collects everything that does not have a better home, and that is the problem. Plywood soaks up oil from a leaky gas can or mower and holds the smell for years. Concrete stains. Chipboard warps. What convinced me, reading through a dozen of these setups, is that the floor should hold almost nothing except what is too heavy to lift: the riding mower, the wheelbarrow, the tiller. Everything else rises to shelving, hooks, or overhead.
The mistake I keep seeing in reader photos is the crowded floor in a small shed. Lawn chairs, bags of soil, half-empty bins stacked two deep. To reach a tool on the back wall, you move three things, or you reach over and risk falling. One person described emptying half the shed just to roll out the mower. That is not storage; that is hiding.
A monthly sweep and reset fixes most of this before it compounds. Ten minutes at the start of the month to return stray items, check for moisture, and confirm nothing migrated downward. If the floor stays open, the shed stays usable.
7. Label Everything
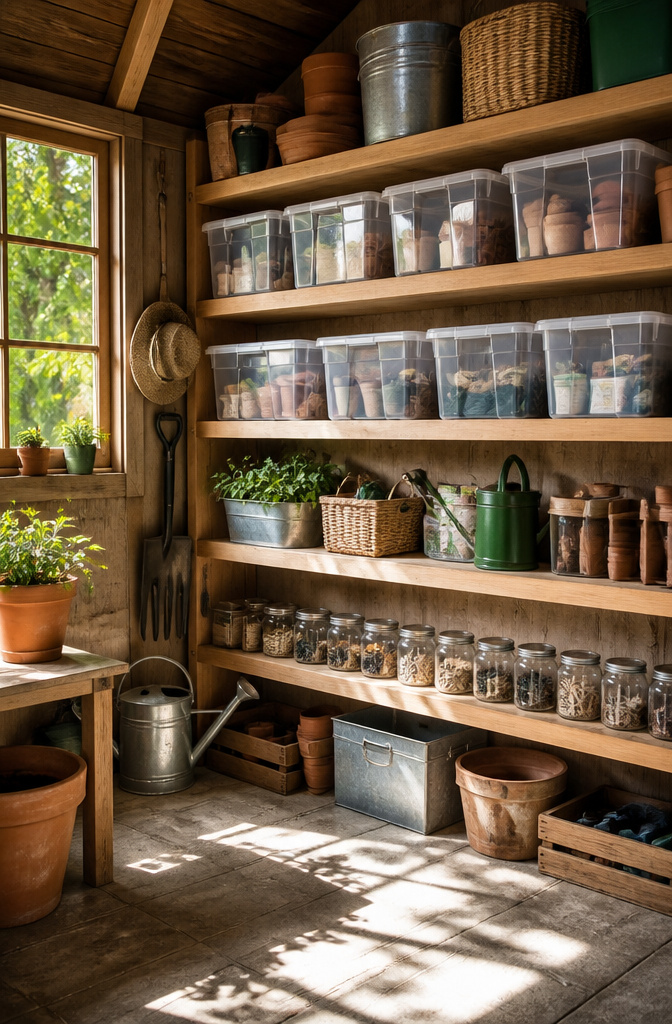
Labels only work if they stay put. In a shed, heat softens adhesives and cold makes them brittle, so the label you trust in March may be curled on the floor by August.
Waterproof labels on bins and shelves are the baseline, but the real question is what kind. Clear bins solve half the problem already; almost any label sticks to them. Opaque or textured bins are harder. Writing directly on the plastic with a permanent marker is the simplest fix, and it survives temperature swings better than most stickers.
For shelves, chalkboard paint and a chalkboard marker handle humidity well. The marker washes off when you rearrange, which matters because shed layouts rarely stay static. One approach is outlining where each tool belongs on a painted pegboard section so anyone can spot a missing item at a glance.
QR code labels are the modern option worth considering. Scan the code, log the contents in an app, and you can search your inventory from your phone without lifting the lid. The search feature matters most for seasonal or rarely-used items buried in back.
What failed: standard paper labels and anything with a water-based adhesive. Heat and humidity turn them into curled scraps within a season.
8. Declutter Regularly
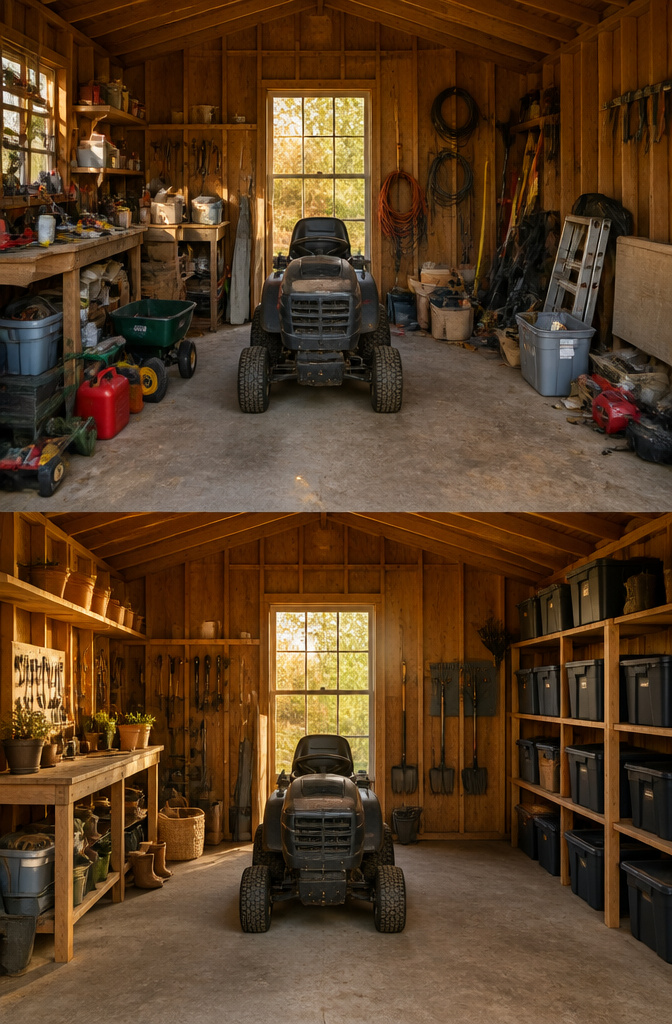
A storage shed fills faster than you notice, and the floor is always the first casualty. Once a year, pull everything out and sort it into three piles: keep, donate, and discard. The one-year rule works because a full cycle of seasons proves what you actually use; that half-empty bag of potting mix or the broken sprinkler you meant to fix tells its own story.
I skipped this rhythm one spring after a wet winter left the shed too muddy to empty, and by the following fall I had doubled my trouble: a rusted hand truck I could have sold, three duplicate garden hoses tangled under a shelf, and mouse damage in a box of holiday lights I had not opened in two years. The floor space I lost that year to deferred decisions cost me more time than the afternoon of sorting would have.
9. Use Jars for Small Parts

Mason jars for fasteners never get the attention they deserve in shed organization roundups, which is a shame because a clear jar beats a drawer of mixed hardware when you are standing in dim light trying to find a drywall anchor. The half-pint size works for specialty screws and wall anchors, while widemouth pints handle bulkier bolts and brackets without your fingers catching on the rim. Labels matter more than looks here; masking tape and a Sharpie hold up better than fancy adhesive labels in a space that swings between humid and freezing.
I have seen the failure modes up close. A standard two-piece mason jar lid will rust where the ring meets the cap if your shed breathes coastal air or sits near a sprinkler line. The jar itself is tougher than you would think, but set it on a concrete shelf in January and the thermal shock can crack the glass when you tighten the ring. One option is to skip the metal entirely and store the jars on a shelf that keeps them upright and stable, or run a board across the studs and set them in rows where they cannot slide. Spray-painted lids look sharp in basement workshops, but in a shed that paint chips fast and flakes into the fasteners you are trying to keep clean.
10. Plan Your Layout
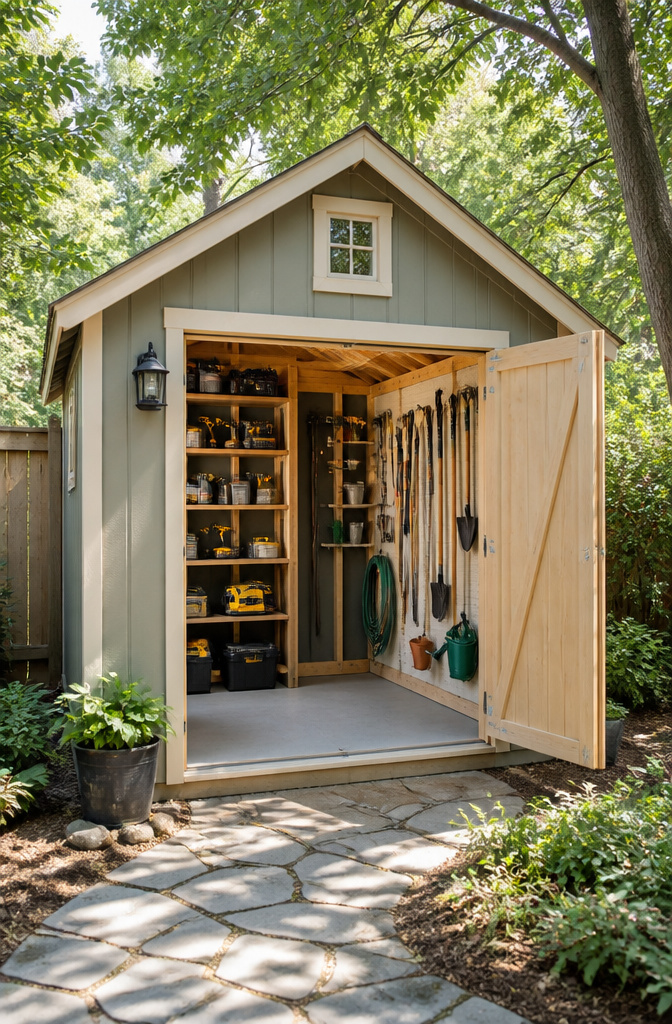
The mistake I made was sketching a layout before I knew what my hands reached for first. I grouped items by type, the way most guides suggest: power tools in one corner, garden tools in another, paint supplies on a shelf. It looked logical on paper. After two weekends of use, the weed eater, which I needed three times a week, was buried behind the mower. The trowel I used daily sat on a pegboard six steps from the door, while the fertilizer I touched twice a year had prime floor space.
Plan your layout around frequency of use, not category. The things you grab most often belong closest to the entrance and at waist height. Heavy items that stay put, like the riding mower, need clearance to walk around on all sides, not just a parking spot. Wall-mounted storage for long-handled tools and bikes only works if the wall you choose is the one you naturally face when you step inside.
My second attempt started with a list of functions, not objects: what tasks happen in the shed, what problems I was trying to solve, and what could stay in the garage if it did not fit. The shed stayed cleaner because the layout matched the work, not the label on the bin.
What Overhead Racks Actually Need
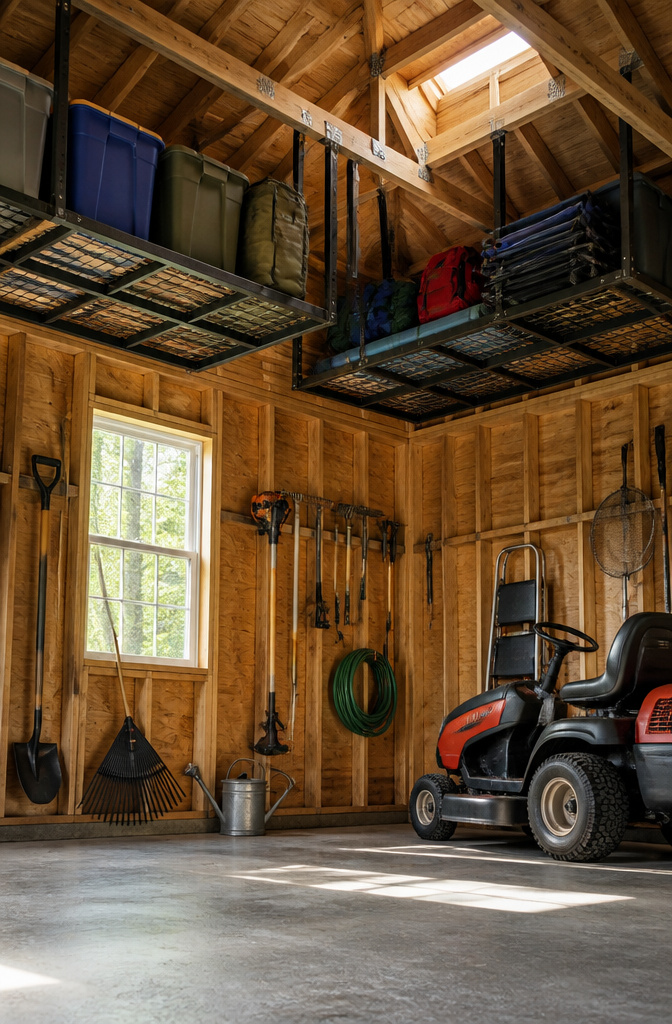
Ceiling-mounted racks in a shed need hardware rated for the actual load, not the hardware that came in the box. Joist spacing determines whether a standard bracket holds or rips free, and most sheds run 24 inches on center, which is too wide for the stamped-steel bars sold at big-box stores. I learned this reading through installation manuals where the same rack listed two different capacities, one for 16-inch framing and one for 24-inch, with no explanation on the shelf display.
For anything over about forty pounds, a hoist with a brake winch beats a fixed rack. The rack keeps the item in place, but you still lift it; the hoist does the lifting and locks the load so a slipped grip does not mean a dropped kayak on your lawnmower. What felt unsafe in my reading was any setup using eye bolts screwed into exposed rafter ends without backing plates. The wood compresses, the bolt wobbles, and the whole assembly starts to wallow after a season of humidity swings. A proper mount needs a plate on the opposite side of the joist, or better, a lag bolt biting into a double-thick header.
Weight capacity printed on the package assumes vertical pull. Angle the hoist even slightly to clear a door track, and the effective capacity drops by a third. Plan for that, or plan to hit your head on something that should have stayed overhead.
Custom Shed Designs Worth Considering

Custom shed designs with built-in shelving, pull-out trays, and tool holders sized for odd-shaped gear sound like the ultimate fix. Wood Kingdom West on Long Island offers this kind of thing: workstations with drawers integrated right into the wall, slots for swing sets and larger tools that standard hooks can’t manage, and sliding shelves that bring the back corner to you instead of forcing you to unload half the shed to reach it.
For most renters and first-time owners, this is not the starting point. The projects that actually fit a weekend timeline and a few hundred dollars are the DIY installs: pegboard, heavy-duty shelves you build yourself, a scrap wood organizer. Those are the ones completed in a single Saturday, and they leave the floor clear without touching the foundation budget.
Custom builds make sense when you own the property, plan to stay long enough to amortize the cost, and have gear that genuinely defeats standard solutions. A swing set frame hung on a generic hook bends the hook; a pull-out tray in a deep shed saves ten minutes every time you need the pruning saw. Until then, repurposed bookshelves and labeled bins handle ninety percent of what most sheds hold, and you can move them with you when the lease ends.
Monthly and Seasonal Maintenance That Sticks
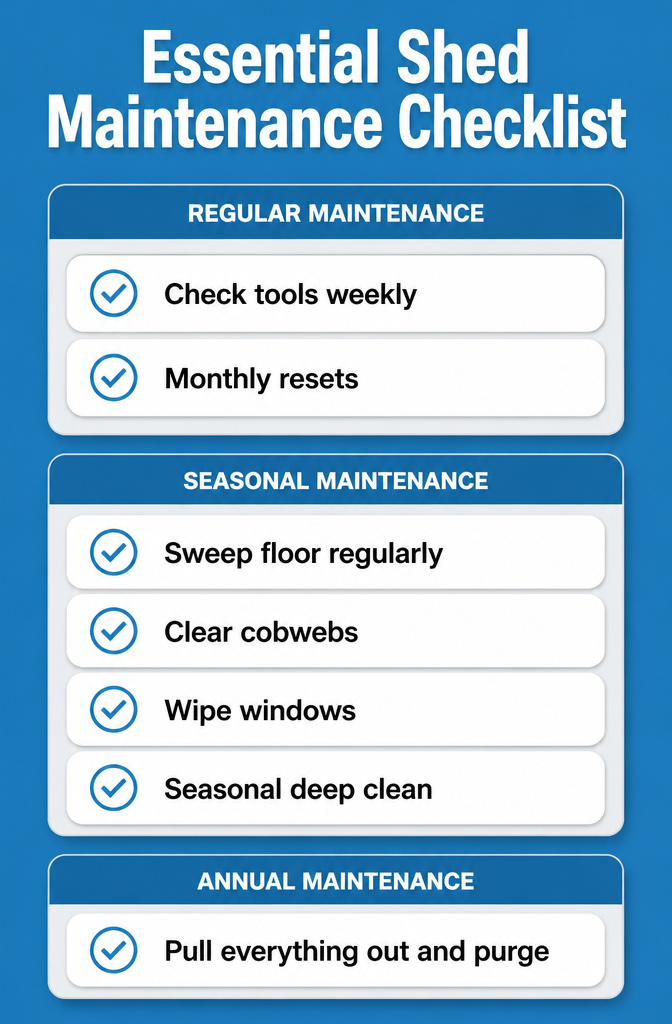
A shed turns into a junk drawer fast if nobody checks it. Ten minutes once a week puts tools back where they belong when you use the space often; monthly resets work fine for sheds that only see action on weekends. I tried stretching it to every six weeks once and spent an hour digging past a tangle of extension cords and half-empty potting soil bags just to find the hand saw.
Seasonal deep cleans are where the real prevention happens. Sweep the floor, clear cobwebs, wipe windows, and check bins for moisture or pests before the damage spreads. I skip the window wipe more often than I should, and every spring the grime costs me an extra twenty minutes of scrubbing. Yearly, pull everything out and be honest about what hasn’t moved. If it hasn’t seen daylight in a year, it goes. The sources that rank highest all land on this rhythm: weekly or monthly touch, seasonal sweep, annual purge. Nothing fancy, just repetition that actually repeats.
Vertical Storage: How the Wall Methods Work Together
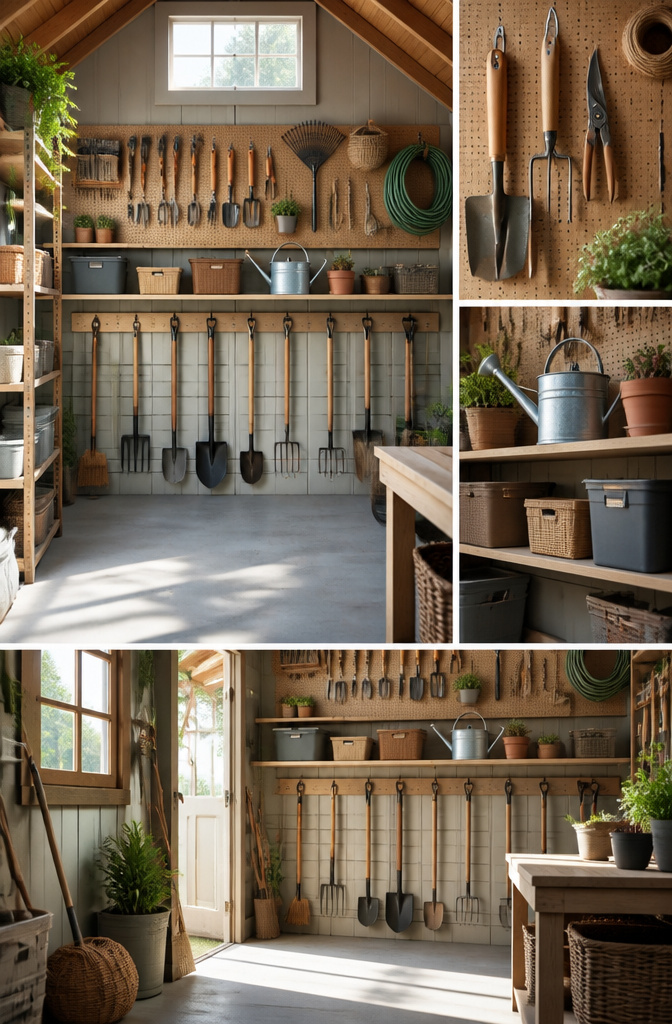
Hooks, pegboards, and shelves each solve a different vertical storage problem, but the real gain comes from treating them as one system rather than three separate projects. I learned this the hard way after installing a pegboard first, then trying to fit shelves around it, then realizing the long-handled tools I wanted on hooks collided with both.
The order that actually works is shelves at the top for lighter, less-used items, pegboard at arm height for the stuff you grab constantly, and a horizontal board with custom-spaced hooks below that for rakes, shovels, and anything long. Anchor screws into studs keep the hooks sturdy under real weight, and spacing each hook with the actual tool in place prevents the overlap that turns retrieval into a puzzle.
What I would redo: start with the horizontal hook board, since its placement dictates where the pegboard can sit without interference. Pegboard is prime real estate; save it for frequently used hand tools and small items in baskets, not the barely-touched gear that ends up permanently shadowed. Heavier items belong on lower shelves where the wall bears the load and the shelf stays stable. The wall becomes a single working surface, and the floor stays clear for what actually needs to be there.
Frequently Asked Questions
What are some good shed organization ideas?
Hang tools on hooks spaced with each tool held against the wall first, mount pegboard at arm height for frequently used items, and add adjustable shelving with brackets no more than 32 inches apart to prevent bowing. Overhead racks and hoists pick up seasonal gear like holiday decorations and camping equipment, while clear 12-gallon stackable bins let you spot contents without lifting. Mason jars work well for small fasteners and hardware.
How do I keep my shed organized?
Put things back after every use, then do a ten-minute weekly reset if you use the shed often or a monthly check-in for weekend-only use. Seasonally, sweep the floor, clear cobwebs, wipe windows, and check bins for moisture or pests. Once a year, pull everything out and sort into keep, donate, and discard piles; if something hasn’t been used in a full cycle of seasons, it goes.
What should I use for shed storage?
Clear 12-gallon stackable bins with locking lids handle most supplies and let you see contents at a glance; sort by project rather than type so one container holds everything for a specific task. Pegboard panels in 2 by 4 foot sizes match standard stud spacing and adapt as your tool collection changes. For long-handled tools, a horizontal wood strip with custom-spaced hooks beats pegboard and magnetic strips for pure speed of access.
How can I maximize space in my shed?
Treat the wall as one vertical system: shelves at the top for lighter, less-used items, pegboard at arm height for constant-use hand tools, and a horizontal hook board below for rakes and shovels. Ceiling-mounted racks and hoists pick up seasonal items, but check joist spacing first since many sheds run 24 inches on center and need heavier hardware than big-box racks include. The floor itself should hold almost nothing except equipment too heavy to lift, like a riding mower or wheelbarrow.