I’ve learned the hard way that straight walls matter more than straight shelves, so I always check with a spirit level first. I drive 2.5- to 3-inch screws deep into studs, never trusting drywall alone, and I retighten everything after 24 hours when the house settles. For heavy loads, I pre-bend brackets upward slightly, pack their cavities with rigid shims to stop flex, and rotate them vertical to shorten the lever arm. I test each bracket naked before adding the shelf, hanging small weights to catch wobble early. These seven tricks keep my shelves level and stable.
Check That Your Floating Shelf Wall Is Straight First
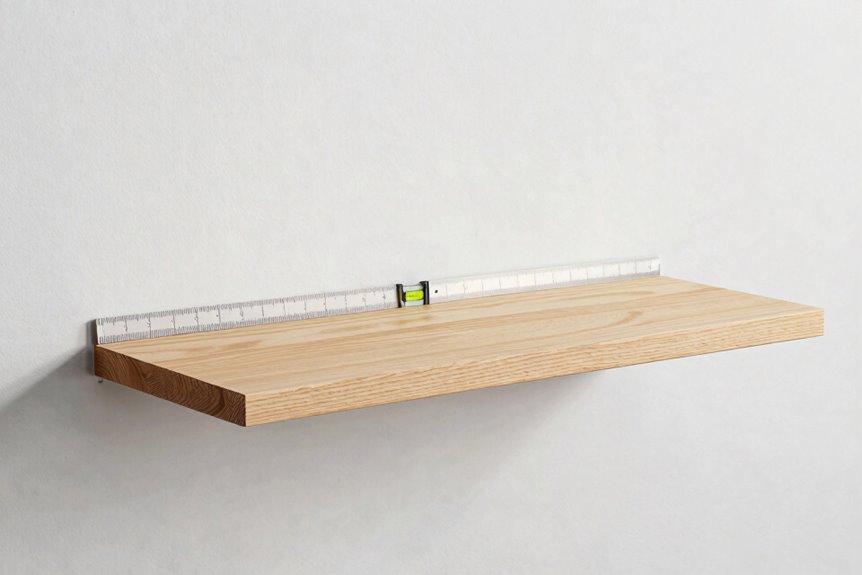
Why do floating shelves sag before you even load them up? It’s usually because the wall itself isn’t straight, not because your floating shelf is faulty.
I always grab my spirit level first. I check the bracket line horizontally, then vertically at multiple spots along the wall. Walls that look flat often hide subtle curves. I compare readings with and without the shelf mounted. This reveals hidden misalignment before you commit to installation.
I inspect every anchor and screw, ensuring they’re fully seated and not stripped. Undersized fasteners can create the illusion of everything being square when it’s not. I also feel for stud spacing behind the drywall; uneven gaps create that frustrating front tilt.
Re-leveling takes five extra minutes. Small deviations magnify dramatically once your floating shelf carries books or plants.
Drive Screws Deep Into Studs and Upgrade Your Anchors
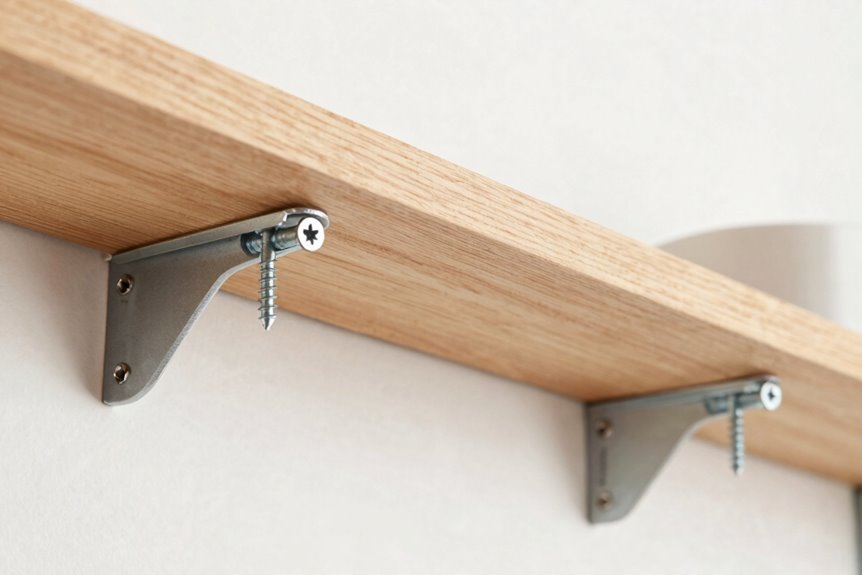
Once I’ve confirmed the wall is straight, I turn my attention to what’s actually holding the shelf up. I grab 2.5- to 3-inch screws and drive them deep into solid studs, not into drywall alone, which will cause the shelf to sag within days. The real wood bite matters; think of it as giving your shelf roots. I distribute the load across multiple stud points. One stud works, but two adjacent ones are better. I check each screw sits flush, not stripped or wobbling. If I need to use anchors, I pick strong ones, but they serve as backup, not the primary support. Re-drilling pilot holes beats weak hardware every time.
Retighten Fasteners After 24 Hours to Catch Settling
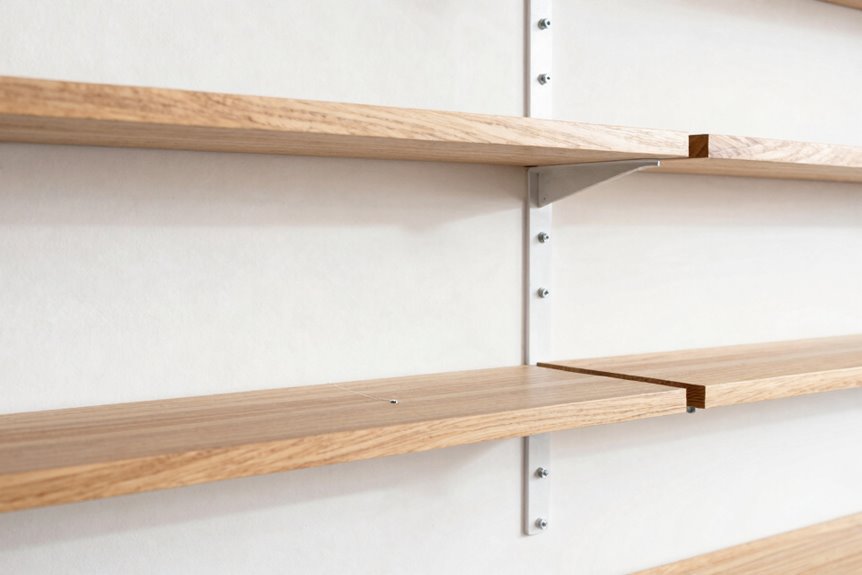
I give my floating shelves a second tighten about a day after mounting them because wood and drywall settle a little, like a new pair of boots breaking in. You might notice the front edge dropping a hair or feel a wobble when you press down. That’s your cue to grab a screwdriver and snug everything up again, especially if you used wall anchors. This quick 24-hour check prevents your shelf from gradually tilting forward.
Why Fasteners Loosen
The culprit behind a drooping shelf often reveals itself a day after you thought the job was done. Wood shrinks, walls settle, and temperature fluctuations all conspire against that tight grip you worked so hard to achieve. Drywall and plaster especially compress around screws like memory foam, creating tiny gaps that steal your bracket’s clamping force.
The fix requires vigilance. After 24 hours, grab your screwdriver and reclaim that pre-load. Use 3-inch screws biting deep into studs, or serious structural anchors when you can’t find the wood. That extra thread engagement fights pull-out effectively. Then mark your calendar for another check in a month. This prevents the gradual loosening that causes shelves to sag over time.
Signs of Settling
You’ve got your shelves up, stepped back to admire the work, and everything looks perfectly level. Wood and wall anchors need time to settle, and they’ll shift under that first load.
Come back tomorrow. I always do. That slight droop at the front edge signals settling. The screws seat deeper, anchors compress, and suddenly your level shelf tilts like a tired picture frame. I mark my screw positions with a pencil after the first install so I can spot movement fast.
Wall anchors and toggles especially like to rotate a bit as they take weight. Twenty-four hours later, I retighten everything to the same snugness before loading books or plants. This step prevents your shelves from drooping and keeps them secure long-term.
Retightening Best Practices
Why wait a full day? Wood breathes, anchors shift, and that satisfying tightness you felt yesterday will loosen. Skipping this step means the familiar droop returns.
After twenty-four hours, grab your screwdriver and recheck every fastener. Snug screws into studs and wall anchors to the torque the manufacturer suggests, not gorilla-tight, just firm. Overtightening strips anchors faster than you’d think.
If brackets wiggle, tighten them in tiny quarter-turns, checking levelness with your spirit level before reloading books or plants. Always retighten in the same order you installed them to keep things even.
Jot down any sag changes. Two days of steady improvement indicates settling, not a crooked install. The installation is complete once measurements stabilize.
Pre-Bend Shelf Brackets Up to Counter Weight Sag
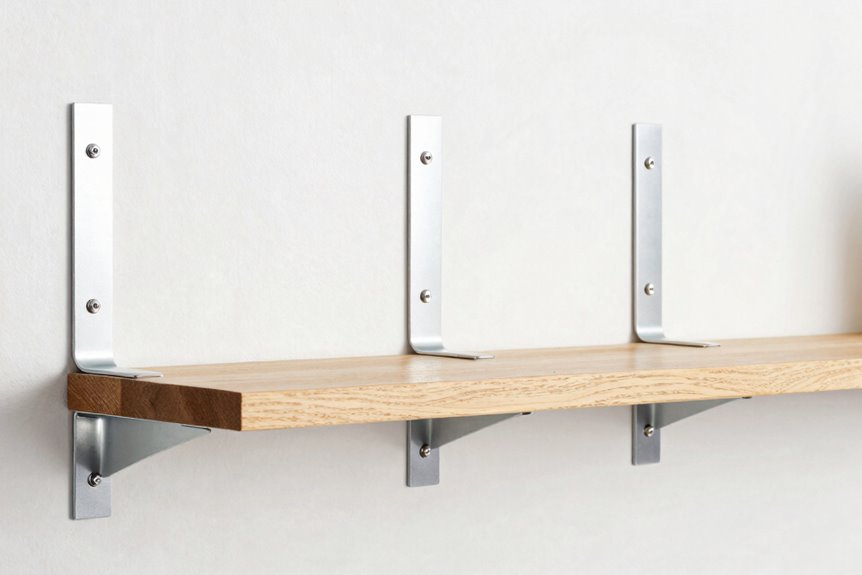
How many times have I loaded up a floating shelf, only to watch that slow, sad droop settle in like a bad posture habit. I’ve learned to pre-bend brackets upward before installing them. This small tweak fights gravity before it even starts.
| Pre-Bend Angle | Shelf Depth | Load Capacity |
|---|---|---|
| 2° | 6 inches | Light (books) |
| 3° | 8 inches | Medium (dishes) |
| 4° | 10 inches | Heavy (ceramics) |
| 5° | 12 inches | Maximum (tools) |
| Recheck | Rod level | Confirm fit |
I bend the front piece and shaft together so they match; no lopsided shelves in my home. More upward angle means more compression strength when weight hits. I always test the rod level first with the shelf off to see that counter-tilt geometry in action. Your shelf stays flat because the brackets counteract load deflection from the start.
Pack Bracket Cavities With Rigid Shims to Limit Flex
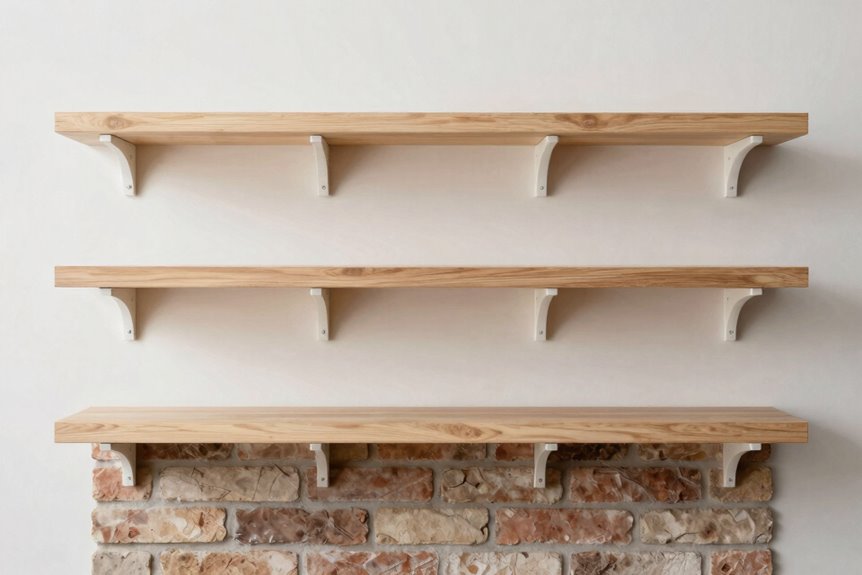
Pre-bending brackets gives a solid head start, but shelves can still wobble under pressure when the metal itself starts to bend.
The fix is to stuff those hollow bracket cavities with rigid shims. Wedge small hardwood blocks or dense plastic spacers snugly inside the cavity behind the bracket’s front lip and along the shaft. These spacers resist forward flex when weight hits, keeping the bracket level with your 1/2-inch plywood shelf. No compressible cardboard here; it will crush and fail over time. Slide shims to strategic contact points where they remain invisible once installed. Afterward, check the front edge with a level. When that bracket stays locked tight, the sag is eliminated.
Rotate Shelf Brackets Vertical for Heavy Load Strength
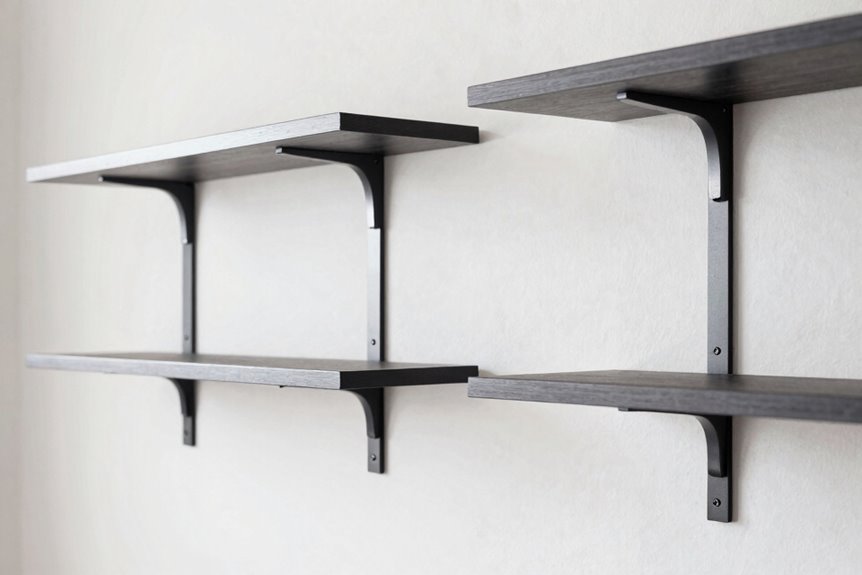
What if your brackets are fighting gravity the wrong way? Flipping brackets vertical makes a measurable difference. Horizontal brackets create long lever arms that invite sag; vertical ones shorten that lever and push weight straight into the wall. The shelf transitions from bouncy to rock-solid.
What changes when you rotate:
| Orientation | Lever Arm | Best For |
|---|---|---|
| Horizontal | Long (weak) | Light decor under 10 lbs |
| Vertical | Short (strong) | Heavy books, kitchen gear |
| Vertical | Stud-aligned | Full pantry loads |
| Vertical | Shimmed | Perfect level lines |
You’ll need longer screws. Grab 3-inch Spax or GRK RSS screws and retighten everything into studs. Pack shims if the shelf tilts forward. Load it up and step back. Vertical brackets properly installed will support heavy loads without deflection.
Test Brackets Alone Before Adding the Shelf
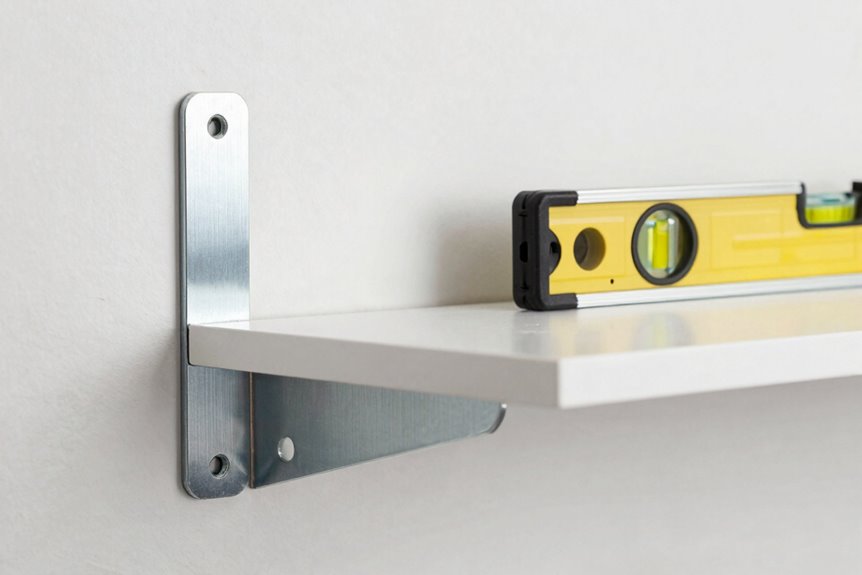
I always pull the shelf off and check each bracket by itself before I call the job done. You’ll feel the rod wiggle if the tension’s wrong, and you can spot a crooked bracket with your eye before it torques the whole shelf. Get everything plumb and snug now, because fighting a sagging eight-inch pine board later wastes time and effort.
Isolate Bracket Alignment
How often do we blame the shelf when it’s really the bracket throwing a tiny tantrum? I pull the shelf off and test each bracket solo. I press my level against the mounting line, watching for any tilt or twist that’ll make the front droop later. I eyeball where the front piece meets the shaft. If they’re crooked, the whole thing leans forward when I load it up. I wiggle the wall anchors and screws to confirm they’re tight and plumb; loose hardware shifts under weight. When a bracket sits off-plane, I shim it or re-align until both match perfectly. Only then do I slide the shelf back on. A properly aligned bracket won’t fail under load.
Verify Rod Tension
Where exactly does the weakness live, in the bracket or the shelf itself? I strip away the shelf and test the bracket naked against gravity. I press my level against the mounting rod; it must sit perfectly flat, bubble centered, before any weight enters the picture. I run my thumb along the threads, feeling for grit or stripped grooves that steal tension like a leaky faucet wastes water. I hang small weights, maybe a five-pound kettlebell, then ten, watching for that telltale forward tilt. If one bracket droops while its twin stands proud, I’ve found my culprit. This isolation saves me from blaming good lumber for bad hardware. We’re troubleshooting together, separating symptoms from causes, and building confidence through verified rod tension.