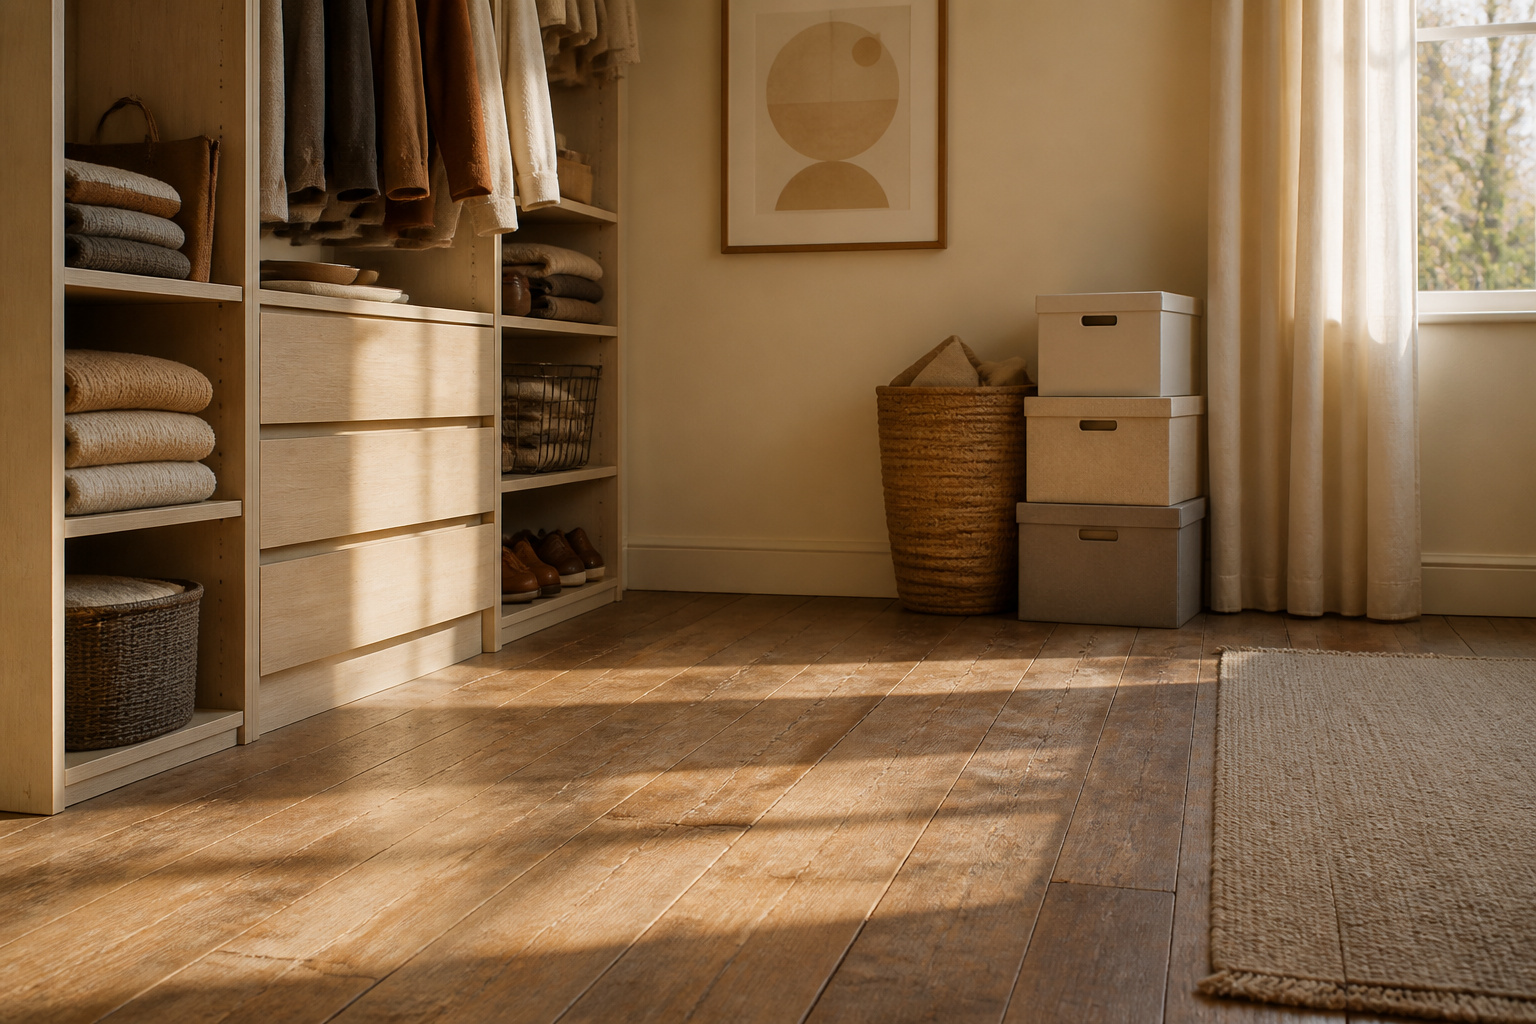
A spare room closet is a full bedroom converted into a dedicated dressing and storage space, not a reach-in closet you happen to walk through. The catch is that most people start buying shelving before they have cleared the floor, which means guessing at dimensions and returning half the hardware. One IKEA Pax conversion landed at roughly $1,300 once trim and finishing were added, about the same price as a low-end built-in that stays with the house.
1. Clear the Room

A spare room becomes a closet only after it is truly empty. That means pulling out the bed, the dresser, the boxes you meant to sort last spring, and every hanger left behind in the closet from whoever lived there before. A typical 10 by 12 bedroom takes a few hours to clear, and that time is worth spending. Until the floor is bare, you are guessing at what fits.
The displaced stuff needs a temporary home, not a permanent shuffle into the hallway. I have learned to move it all into another room with a door that closes, because a dining table buried under guest-room lamps has a way of becoming the new problem. Sort as you go: donate what you have not used in a year, especially to a nonprofit like Goodwill, where 84 percent of store revenue funds job-training and placement programs. What stays should be only what earns its space in the new closet. The carpet may come up too, if you are swapping it for something harder-wearing underfoot, but that decision comes after you can see the whole floor.
2. Measure the Space

Clear everything out first. Boxes, the old guest bed, that laundry pile you’ve been ignoring. The room only reveals its real shape when it’s empty, and standard 8-foot ceilings change what shelving options actually work.
Wall lengths, door and window placement, outlet locations, ceiling height. Measure all of it. Sloped ceilings or alcoves aren’t problems to fix; they’re dimensions to write down. Two vertical feet under a dormer might hold short shelving that a flat wall won’t accommodate. An outlet sitting where you planned a tower of shoe shelves means moving the tower or losing the outlet.
In a perfect setup you’d want roughly 8 by 5 or 6 feet of clear floor to walk and turn, but smaller rooms convert fine if you plan for every inch. Sketch the numbers on paper before buying anything. The measurement that matters most is the one you forgot to take.
3. Plan the Layout
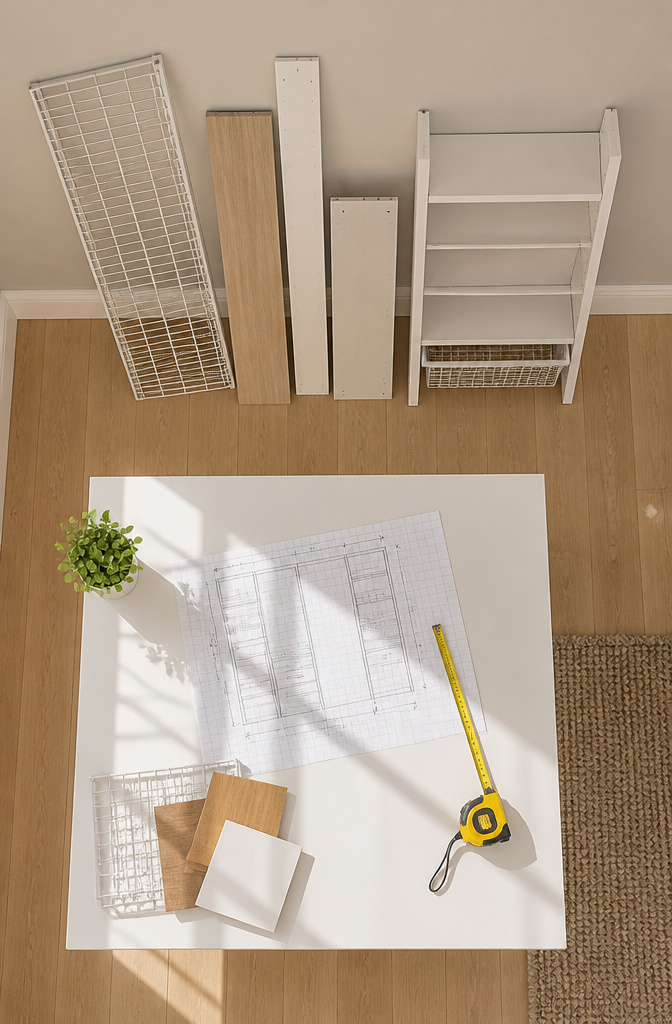
Graph paper works better than you’d expect for this. I sketched my last layout on the back of an envelope and still caught the problem: the shelving I wanted would have blocked the only window entirely. A rough plan lets you place hanging rods along solid walls, keep shelving off door swings, and spot where a small seat might actually fit without turning the walkway into an obstacle course.
The 8′ x 5–6′ footprint is the accepted minimum for a walk-in closet that doesn’t feel like a storage locker. Anything narrower than five feet and you’re brushing sleeves with every step; shorter than eight feet and you’ve lost the circulation space that makes dressing practical rather than chore-like.
If your spare room has alcoves or a sloped ceiling, treat them as built-in opportunities rather than flaws. A bank of rods and shelves tucked under a dormer uses square footage that would otherwise sit empty. I map seating last, after storage is placed, because a vanity chair squeezed into remaining space beats a window seat that steals your best wall for double-hang rods.
4. Choose Storage Solutions
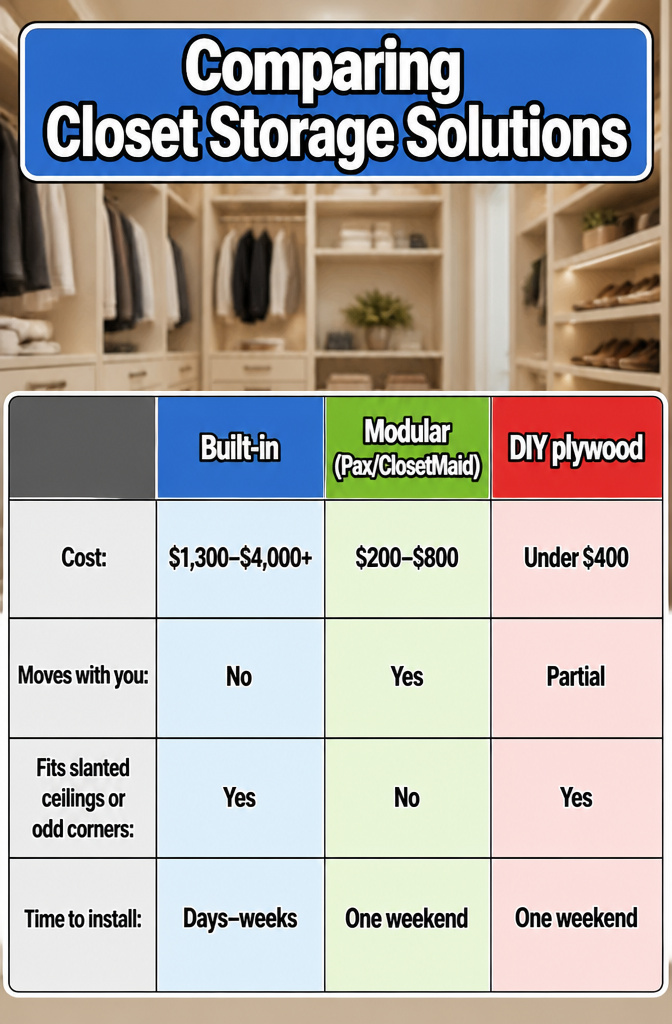
Built-in wardrobes eat space permanently but look like they belong there. Modular systems like IKEA Pax or ClosetMaid let you take them when you move, which matters if the landlord ever wants the room back. A plywood build lands somewhere between: more stable than wire shelves, cheaper than custom, and you cut pieces to odd corners the modular boxes won’t fill.
| Built-in | Modular (Pax/ClosetMaid) | DIY plywood | |
|---|---|---|---|
| Cost | $1,300–$4,000+ | $200–$800 | Under $400 |
| Moves with you | No | Yes | Partial |
| Fits slanted ceilings or odd corners | Yes | No | Yes |
| Time to install | Days–weeks | One weekend | One weekend |
The Pax system ran one conversion about $900 for three wardrobe units plus organizers, then another $180 for a floor-to-ceiling shoe shelf. Add trim and wallpaper to fake built-in, and the total still sits near $1,300. That’s the modular price that almost touches built-in territory, so decide early whether the permanent look is worth the permanent commitment.
If the room might revert to a guest bedroom, modular wins. If you own and plan to stay, built-ins or a plywood frame anchored to studs use every inch the modular boxes waste on clearance gaps.
5. Install Lighting

A spare room closet lives or dies on whether you can actually see what you own. Overhead fixtures cast shadows behind hanging clothes and leave shelf interiors dim, so most people end up adding something at eye level or below. Plug-in sconces run about the same as a basic hardwired unit once you factor in an electrician’s hourly rate, and the cord can be tucked behind a vertical panel or run along the top of a bookcase where it disappears. The lovetoknow build used a plug-in chandelier with an extra-long cord routed across the ceiling to a switch-controlled outlet, which took ten minutes to hang versus the hour spent assembling the crystals.
For shelves and rods, LED strips at $15–40 stick to the underside and light the contents without washing out color. Color temperature matters more than brightness here: bulbs below 3000K read too yellow and shift how blues and grays look, while anything above 4000K goes clinical and bleaches warm tones. The 3000K–4000K window keeps skin tones natural and lets you match a navy sweater to black pants without walking into daylight and discovering the mistake.
6. Set Up Storage
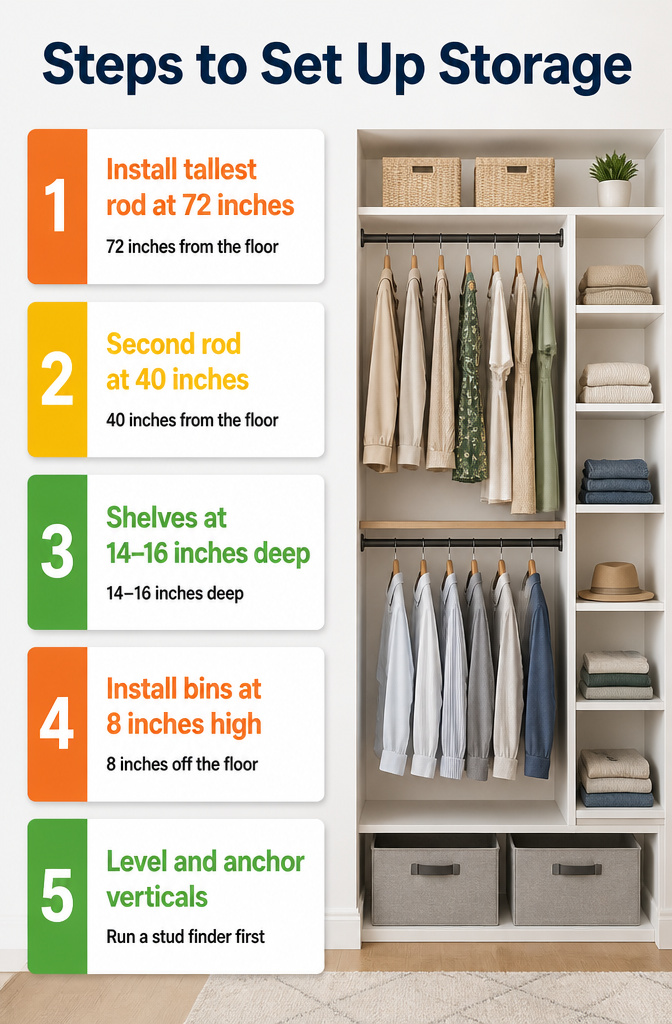
- Start with the tallest rod first, since everything else builds around it. 72 inches from the floor leaves just enough clearance for long dresses and coats without the hem pooling on the shelf below.
- The second rod goes in at 40 inches, which puts shirt shoulders at a comfortable grab height. If you are doing a double-hang section, mount the upper rod at 80 inches and the lower at 40, the same spacing flipped upward. That stack gives two rows of shirts or folded pants in the same footprint.
- Shelves for folded clothes sit at 14–16 inches deep. Anything past 16 and you are losing clothes in the back; at 14, sweaters and jeans stack two deep without overhang.
- Drawers or pull-out bins slide in under the lowest rod. I put mine at 8 inches off the floor, enough to clear the baseboard heater but low enough that the top still catches unfolded laundry in a pinch.
- Once the verticals are level and anchored, the rest is just filling in. Run a stud finder first. Two anchors in drywall held my side panel for about three months before it leaned.
7. Add Decorative Touches
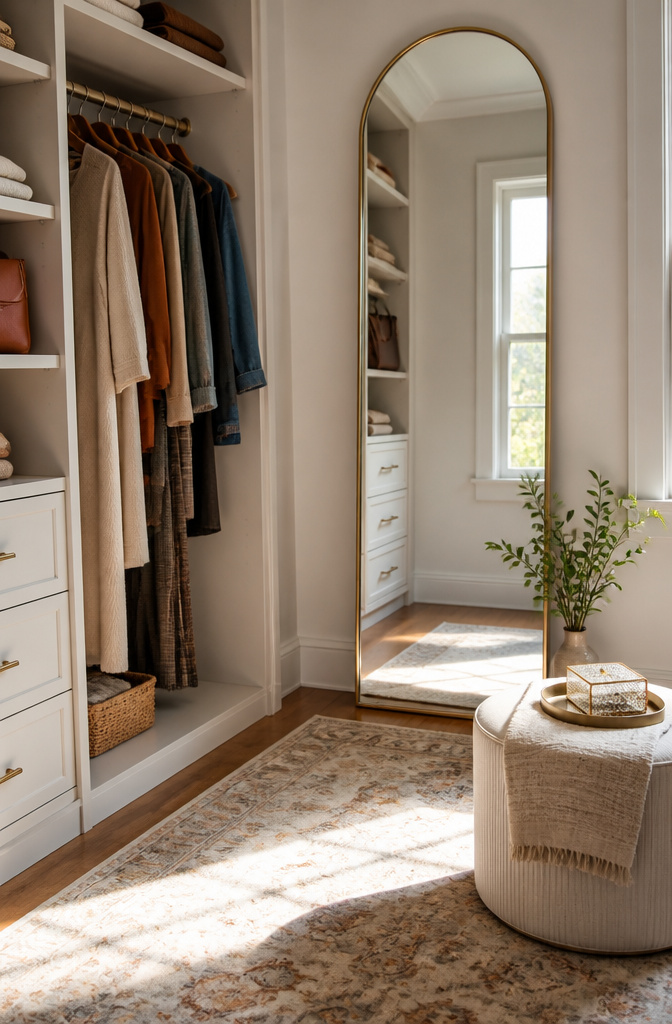
A full-length mirror changes the whole feel of the room, and the best placement puts it where natural light from a window can hit it. $60 at a place like HomeGoods is a realistic budget for a frame that does not look like an afterthought. I have seen people mount one between two windows and suddenly the space stops reading as a spare room that lost its bed.
Bare floor is the giveaway that a closet is still just a closet. An 8-by-10 washable rug, soft enough to feel good underfoot while dressing, pulls the room together and makes the morning routine something you actually want to do in there. The utility look disappears once the ground is covered.
Seating matters more than people expect. A small bench or ottoman, something you can sit on to pull on shoes, keeps you from perching on the edge of a storage cube or balancing against a dresser. The chair you already own, even an old Pier 1 find with a throw pillow on it, works if the scale fits the space.
The last touch is the one that makes it yours. A handmade jewelry box, a mirror that has moved with you for years, toile sheers that match a lamp you fell for on the way to the mirror aisle. These are the things that keep a spare room closet from feeling like a staging area for the rest of the house.
Budgeting for the Project
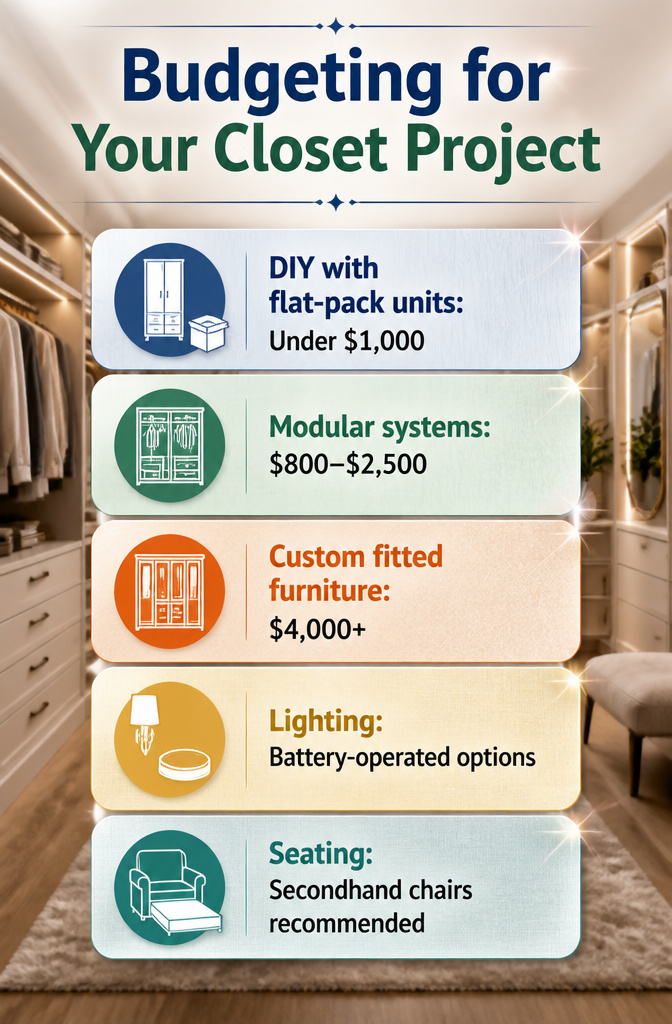
Storage eats the budget first, and that is where the money goes furthest. A spare room closet built from scratch with IKEA Pax units, shoe shelving, and a mirror landed one homeowner at a little over $1,300 for essentials, with another $500–$1,200 waiting for textiles and seating. The same logic scales up or down.
| Approach | Typical Range | Best For | Where Costs Cluster |
|---|---|---|---|
| DIY with flat-pack units | Under $1,000 | Renters, first-time owners | Wardrobe frames, interior fittings |
| Modular systems (IKEA Pax, Elvarli, etc.) | $800–$2,500 | Permanent-ish installs | Customization, hardware, finishing trim |
| Custom fitted furniture | $4,000+ | Maximizing odd dimensions | Labor, bespoke materials, soft-close mechanisms |
Lighting is the place to pull back. Battery-operated sconces with remote puck lights run cheap at big-box stores and skip the electrician. Seating follows the same rule: a secondhand chair with a pullout twin bed keeps the room dual-purpose for guests without the $1,200 furniture splurge.
Maximizing Space
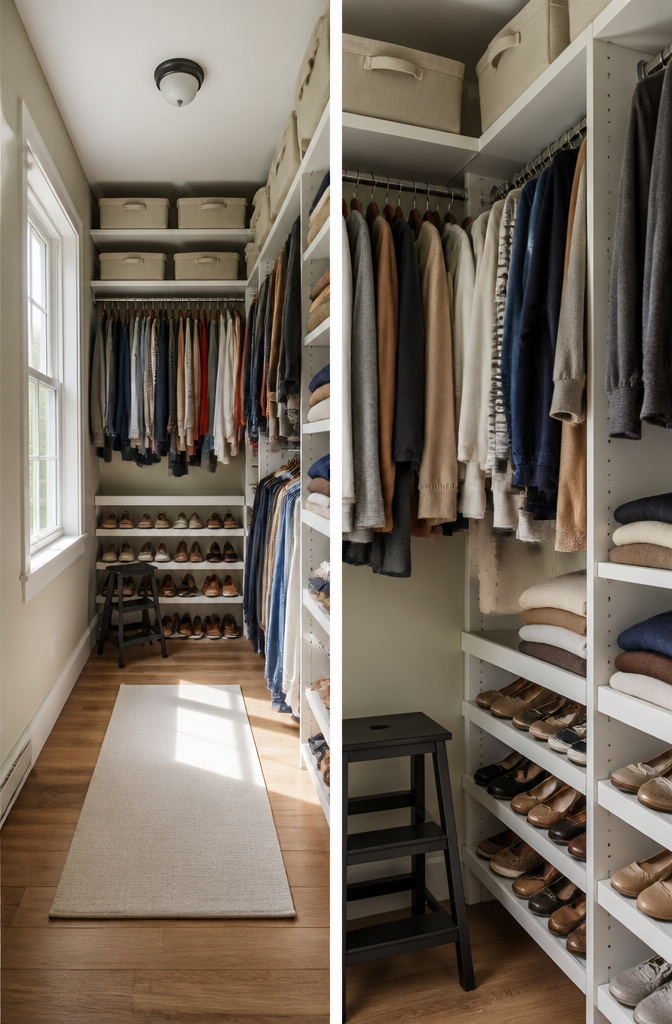
Most spare rooms have more usable space than they look like at first glance. The trick is treating every surface as storage real estate, including the air above your head.
- Run shelving to 84 inches and keep the upper zone for out-of-season items in bins. A step stool lives in the corner; the twelve inches of floor space it takes is cheaper than the square footage you would lose stopping shelves at eye level.
- Corner units with 360-degree rods turn dead angles into hanging capacity. The rods wrap both walls so nothing sits in that awkward spot where two planes meet. I have seen these eat a full ninety minutes of assembly with two people, so budget the time before you budget the money.
- Alcoves and shallow recesses take 12-inch shoe shelves better than they take hanging rods. Shoes need depth, not height; a shallow shelf keeps pairs visible and reachable without the bulk of a full cabinet.
- The back of every door earns its keep with over-rod organizers. Scarves, belts, or the next morning’s outfit stage there instead of on the valet rod you were considering. Valet rods work for travel staging, but for daily use, door real estate is already paid for.
Functional Design

Pull-out drawers at waist height save more morning time than any shelf I have tried, because you see every item at once instead of lifting stacks to reach the bottom. A valet rod mounted near the drawers lets you hang tomorrow’s outfit while you are still thinking about it tonight, and the same rod holds dry cleaning until you have a moment to strip the plastic and put pieces away.
Shoe storage needs to be 12 inches deep with 6 to 7 inches of width per pair if you want to stop the pile that forms when pairs share a cubby. The number sounds tight until you measure your own shoes: most women’s flats and men’s oxfords sit comfortably inside it, and the depth keeps toes from hanging into the aisle where they snag sleeves.
The pull-out ironing board I put in during 2019 still comes out weekly. It lives in a cabinet slot 14 inches wide, and the board locks at a slight angle that keeps the nose from pressing creases where I do not want them. I had worried it would feel like a dorm relic, but having the board vanish completely beats the fold-in-half model I used to trip over in the bedroom corner.
Lighting Considerations

Wall color matters more than fixture price once you need to see fabric colors accurately. I painted my spare room closet in Sherwin-Williams Alabaster after testing BM White Dove on one wall and finding it pulled slightly green under the north light. Alabaster stayed neutral from morning to evening, which is what you want when deciding whether that sweater reads navy or black.
Shadows across your body are the enemy. A single overhead flattens everything and hides the way clothes actually hang. I learned this after installing a $180 semi-flush fixture with seeded glass that looked beautiful online and cast stripes across every mirror. Returned it. The $38 LED disk I found at Lowe’s on clearance, plain as it was, put even light across the whole ceiling with no shadows at my shoulders. The trick is light from both sides of the mirror, not one dramatic fixture overhead.
If you are wiring new boxes, place them 36–40 inches apart at about eye level. If you are not, two plug-in sconces with cord covers will get you the same result for under fifty dollars and an afternoon.
Frequently Asked Questions
How do I turn a spare room into a closet?
Start by clearing everything out, then measure wall lengths, ceiling height, and window or door placement. Plan your layout on paper, install rods and shelving, add lighting at 3000K–4000K color temperature, and finish with a mirror, rug, and seating. A typical 10 by 12 bedroom takes a few hours just to empty before you can see what actually fits.
What is the cost to convert a spare room into a closet?
A DIY flat-pack approach runs under $1,000, modular systems like IKEA Pax land between $800 and $2,500, and custom fitted furniture starts around $4,000. One real-world Pax build with trim and wallpaper finished near $1,300, while a couple sourcing from Amazon and Wayfair spent $2,000–$3,000 with a closet island still pending.
What features should I include in my closet?
Double-hang rods at 40 and 80 inches, shelves 14–16 inches deep for folded clothes, LED strips under shelves, a full-length mirror where natural light hits it, and a bench or ottoman for pulling on shoes. Pull-out drawers at waist height and a valet rod for staging tomorrow’s outfit also save more time than you’d expect.