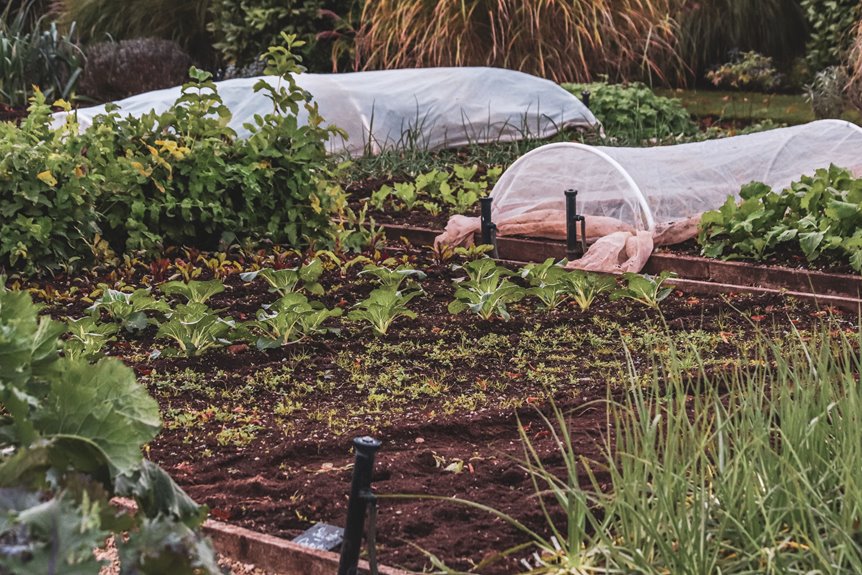
I start by walking my slope with a phone compass and sun app to map patches with 5–7 hours of sunlight, then I mark flat-ish zones with stakes and string so my beds won’t slide downhill come spring. I choose a compact 4×6 or 4×8 footprint in a simple grid, keeping walls two boards high with sturdy corners and seat rails for durability. I dig trench footings about six inches wide, making the uphill side deeper, and pour two inches of crushed limestone for drainage before assembling tiers from the bottom up. I check every side with a four-foot level right after bolting, shimming corners that dip, then backfill with six yards of topsoil mixed with compost and mushroom manure. Finally, I set steel fence posts four feet out in concrete, bracing with select pine boards, and leave room for a wheelbarrow gate and walk-under canopy. This approach prevents sliding soil, ensures proper drainage, and provides stable growing conditions through multiple seasons.
Read Your Slope and Map Sun Exposure for Bed Placement
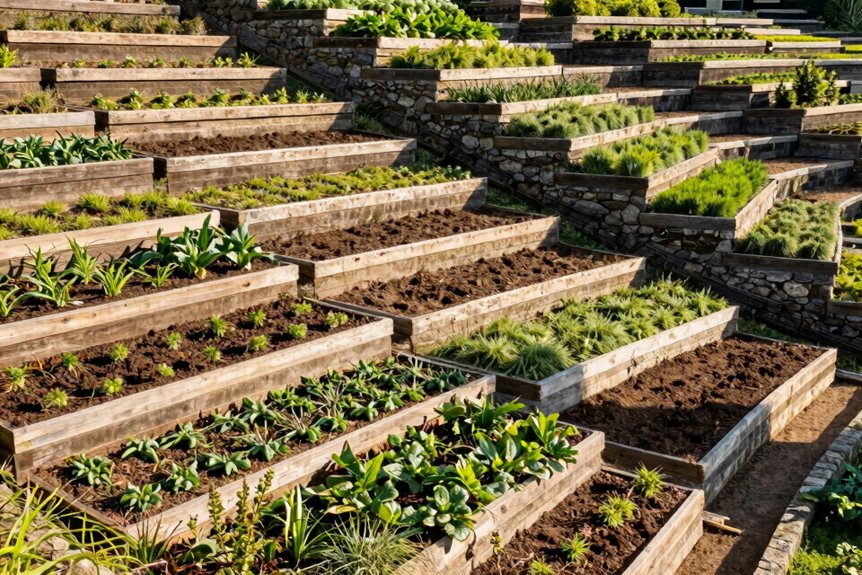
First thing I do when eyeing a slope for raised beds? I read the land like an open book. I walk the grade, feeling where water wants to run and hunting for natural benches, those flat-ish spots where my beds won’t slide downhill come spring rains.
Sun exposure affects plant performance significantly. I track it with my phone’s compass and a simple sun app, noting which patches get those golden 5–7 hours my tomatoes require. Morning sun, afternoon baking. I mark it all with stakes and string lines tied to my driveway, creating a map I can actually use.
I check fence clearance and canopy branches too. Building perfect beds beneath a sneaky oak that leafs out in May wastes time and resources. Gravel footing comes later, but I’m already picturing how water will flow beneath my boards.
Choose a Compact, Symmetrical Raised Bed Layout
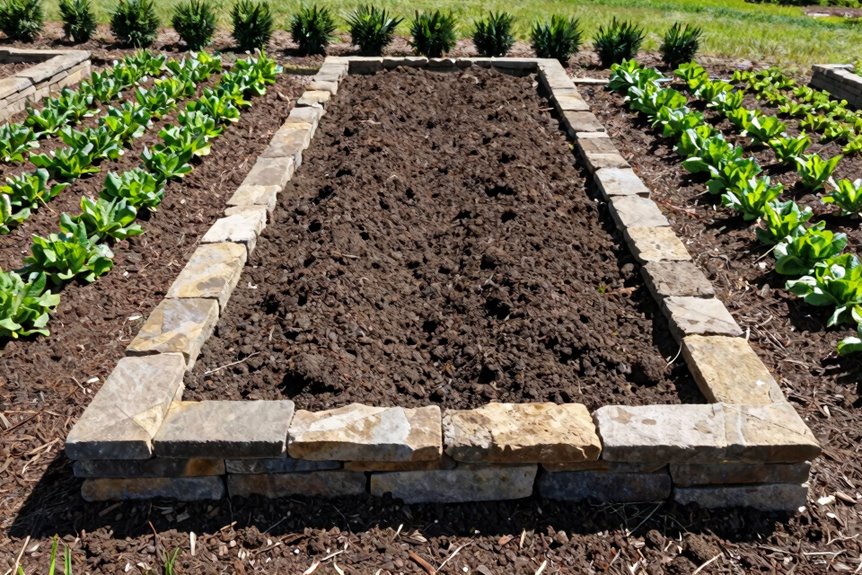
I like starting with four beds in a neat 2×2 grid, each one four feet wide and six feet long, because it keeps costs down and my back happy. I stretch string lines from my driveway to make sure every corner lines up straight, even when the ground underneath is uneven. Stick with standard sizes like 4×6 or 4×8 at first. You can always add more beds once you’ve got the basics down.
Optimal Bed Dimensions
Symmetry brings a quiet order to chaotic ground, and on a slope, that order isn’t just pretty; it’s practical. I keep my raised beds modest: 4 by 6 feet, maybe 4 by 8 if I’m feeling ambitious. Anything bigger fights gravity and my patience.
Smaller means less digging, less lumber, less sweat sliding downhill. I stack mine two boards high with snug seat rails and beefy corners, durability that doesn’t wobble when I lean in to weed.
Why compact belongs here:
- 4-by-6-foot beds let you reach the center without doing the awkward middle stretch
- Untreated pine plays nice together, no frantic hardware store dashes
- Two boards high keeps soil deep without toppling
- Walk-under space below plus a wheelbarrow-friendly gate welcomes everyone in
This size fits your slope, your budget, and your back.
Layout Alignment Tips
Once you’ve nailed down the size, you need to wrestle these boxes into straight lines on ground that refuses to cooperate. I stick with a compact 4 x 6 footprint, four beds total, because symmetry saves your sanity and your back.
For layout alignment, I stretch string lines from a fixed point like my driveway. That slope wants to trick your eyes, so I measure everything twice. I keep beds four feet wide so I can reach the middle without stepping in, and I position them within my deer fence perimeter, leaving room for my walk-under canopy.
When assembling 2×12, 2×8, and 2×4 pieces, I obsess over corners. Stagger-free joints keep everything square. Fighting a wobbly bed on a hillside creates structural problems and ongoing frustration. Getting the layout alignment right now prevents complications later.
Order Untreated Pine Lumber by Size and Schedule Delivery
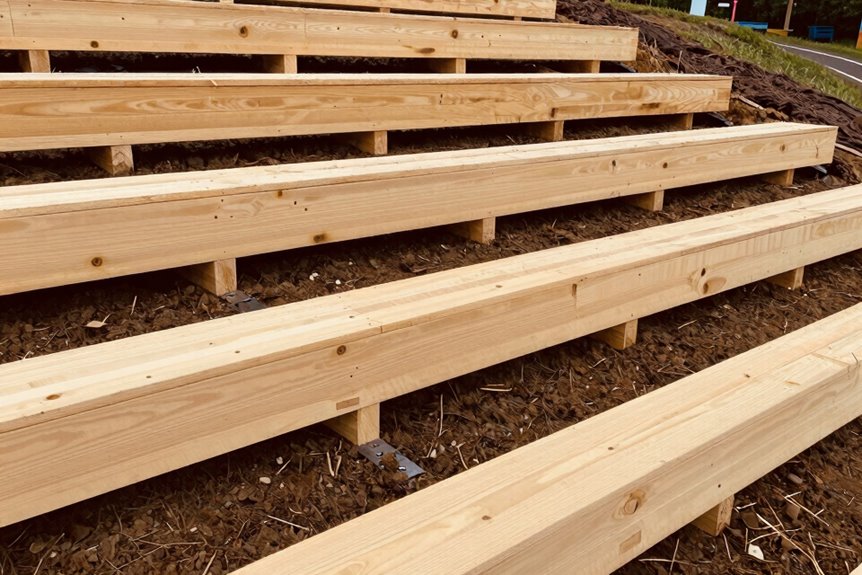
Where exactly do you start when you’re staring at a slope and dreaming of garden beds? I’m starting with lumber, friend. Untreated pine prevents chemical contamination in soil. This is essential for vegetable gardening.
I order 2x12s for tall walls, 2x8s for midsections, 2x4s for snug seat rails. Two raised beds means doubling everything, plus extra stock because pine warps over time. I’ve learned that lesson.
Delivery timing is critical. I schedule it with my free weekend so I’m not hauling boards twice.
Here’s my haul list:
- 2×12, 2×8, and 2×4 boards with overage for picky grain-matching
- Extra stock for warping coverage and clean corner cuts
- 3-inch deck screws and fresh saw blades
- Verified untreated labels for safe soil contact
Then I’m ready to build.
Square Your Beds to the House Using String Lines
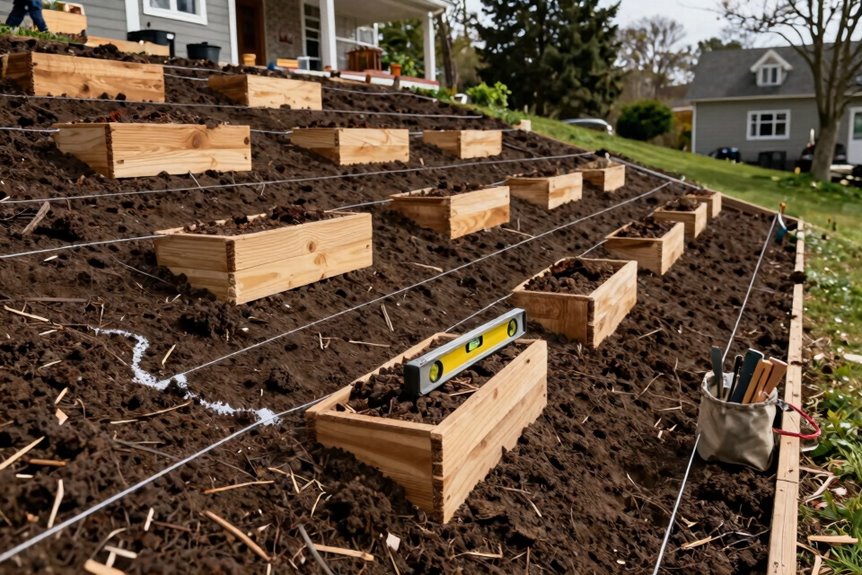
Lumber’s stacked and I’m itching to build, but I won’t cut a single board until I know exactly where these beds sit. To square beds to house, I hammer stakes at fixed points and stretch string lines taut. No guessing, no wonky angles that’ll haunt me later.
I measure from the driveway to keep everything parallel. The slope wants to trick my eyes, pulling lines downhill like a subtle cheat. I check, recheck, and mutter at the string until it’s true. My 4 x 6 layout snaps into focus: straight edges, honest corners, manageable squares that won’t fight the hill.
The strings hum when I pluck them. This invisible grid becomes my blueprint, turning chaos into order before shovel ever hits dirt.
Mark Bed Outlines and Remove Grass With a Garden Spade
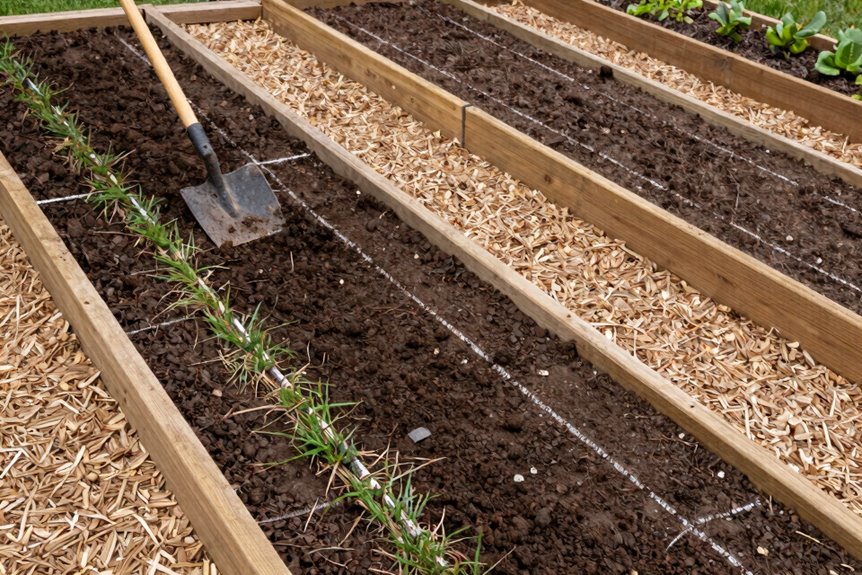
I grab my square garden spade, its flat blade gleaming. I press it into the slope, outlining each bed with crisp edges. I’m aiming for 4 x 6 feet; small enough to manage, big enough to be functional.
I measure twice. My fence boards need straight, parallel sides, or they’ll look crooked. Once outlined, I slice through grass roots and peel back sod like stubborn carpet. It’s tiring work, but satisfying.
I haul removed sod to bare patches elsewhere. No waste, no mess; just stewards tending our patch of earth together.
- Precision now prevents crooked beds later
- Clean bases help fence boards sit flush with soil
- Reused sod builds connection across your whole yard
- Shared effort makes this slope ours, not just mine
Dig Level Trench Footings and Lay Drainage Gravel
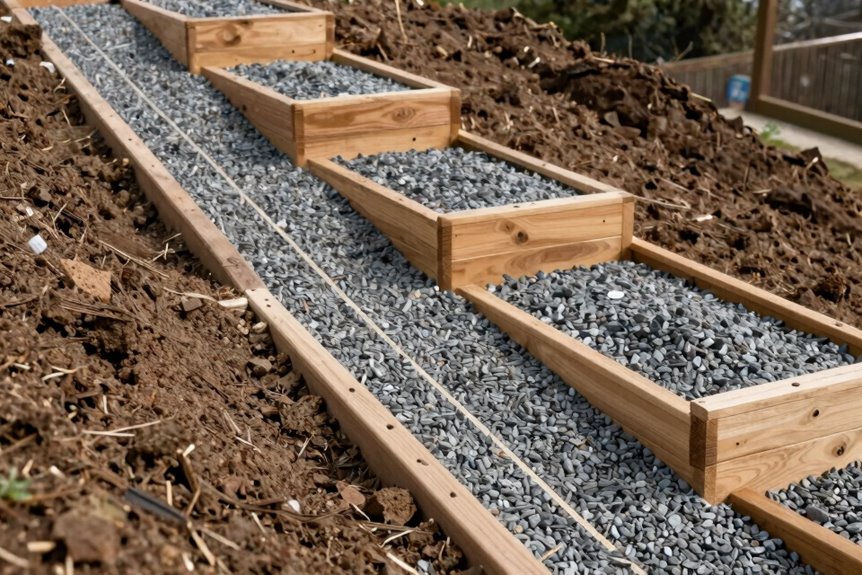
Because the slope fights you on every cut, you’ll want a long spirit level and a careful eye. I dig my trench footings wide enough—about 6 inches—chasing level across the grade. The uphill side goes deeper; the downhill side stays shallow. I check constantly, spinning the level like a dowsing rod.
Here’s my rhythm:
| Task | Why It Matters |
|---|---|
| Dig to approximate level | Creates even seating for boards |
| Add 2 inches drainage gravel | Lets water escape, roots breathe |
| Compact lightly | Prevents settling later |
| Extend gravel beyond edges | Stops puddling where you walk |
I pour the crushed limestone in, spreading it with gloved hands. It crunches satisfyingly. This drainage gravel layer locks everything in place with no wobble and no rot. The gravel prevents water pooling that leads to foundation rot and allows plant roots access to oxygen beneath the boards.
Assemble Two-Tier Raised Bed Walls With Precise Corners
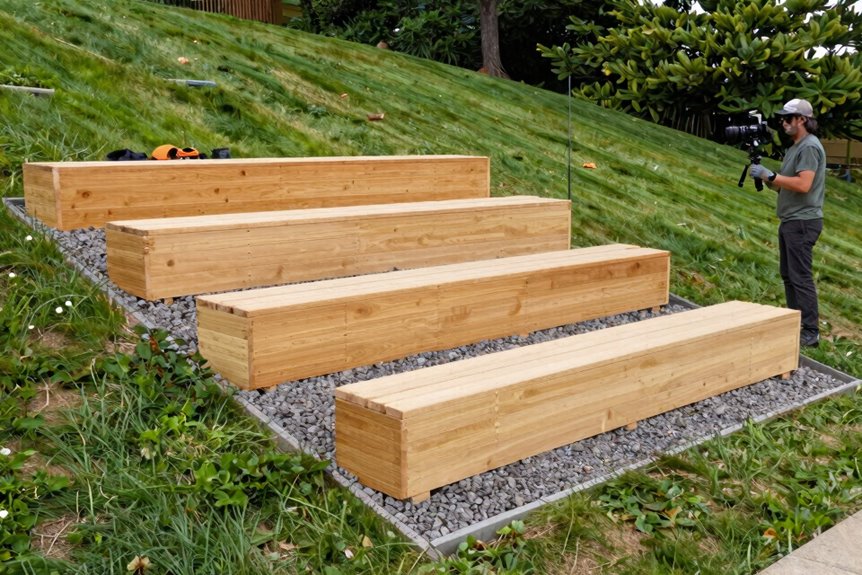
I start by securing the corner posts plumb and square, since wobbly corners make everything else fight you. Then I stack the 2x12s and 2x8s in order, bottom course first, then the upper, checking that each board sits flush before I drive the screws. The seat rail is a 2×4 cap that finishes the structure like trim on a picture frame and provides a smooth surface for your knees while you weed.
Corner Post Assembly
Where exactly do those sturdy corners come from? I sink corner posts into concrete-filled pits, topping them level so both tiers match perfectly. These posts anchor everything.
- Dig footings deep enough to grip the slope
- Layer gravel underneath for drainage that actually works
- Cap posts with iron to block rot and water damage
- Cut untreated pine boards—2×12, 2×8, 2×4—to fit joints exactly
I attach long boards to these corners first, building the frame outward. Seat rails and precise detailing keep corners square and stable across the whole bed. When your walls align level and true, they perform as designed. A level, square frame prevents shifting and settling over time.
Board Sequencing Order
How do you keep a two-tier bed from looking like a funhouse mirror? I measure everything twice.
I start by cutting my bottom and upper course boards to exact lengths. Untreated pine works great, and I always order extra so I can pick the best pieces and cover my mistakes. Then I grab my square garden spade and outline the bed footprint, checking those corners obsessively until they’re truly square. Right angles matter here.
I dig my footing roughly level on that stubborn slope, toss in gravel for drainage, and set my corner posts plumb and true. Next comes the satisfying part: I attach the long boards to the posts for both tiers simultaneously, building up both levels together so nothing warps or drifts. Growing season waits for no one, and solid walls prevent settling and shifting before planting day arrives.
Seat Rail Finishing
With both tiers standing solid and square, it’s time to cap this thing off properly. Finishing this build with seat rails gives you a place to perch while you weed or just admire your handiwork.
I measure and cut my 2x4s to overhang the corners by about an inch. This looks sharp and feels sturdy. I pre-drill every hole so the wood doesn’t split, then drive exterior screws flush with the surface. The finishing touch matters here; sand any rough spots so you don’t snag your jeans.
- Seat rails invite you to slow down and stay awhile
- Clean corners show you care about craft, not just crops
- Smooth edges protect hands that’ll nurture life from soil
- This final step transforms lumber into a gathering place
Your slope garden is ready for dirt and the planting season ahead.
Install Seat Rails and Verify Level on All Sides
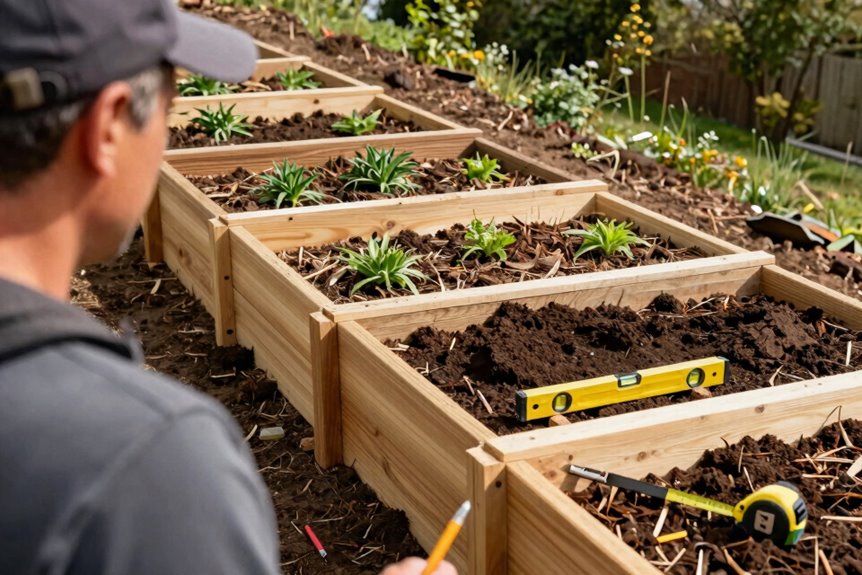
Once the sides and ends are bolted together, add the seat rails before anything settles or wiggles out of place. These rails provide a flat place to sit or rest your tools while you’re working.
Add seat rails immediately after bolting—before the structure settles—so you have a flat place to rest tools or take a break.
Grab your 4-foot level and check every side. The bubble needs to sit right in the middle to confirm the structure is level. If one corner is dipping, pack gravel under the footing or slide a shim until it’s even.
Check inside and outside faces at each corner so the rails line up square. The top edge must sit flush with neighboring boards; no lips or bumps should be present where your knee could catch.
After the first soil goes in, recheck the level because dirt settles, things shift, and bolts loosen. Tightening bolts now prevents future problems.
Backfill Raised Beds With Topsoil and Compost Amendments
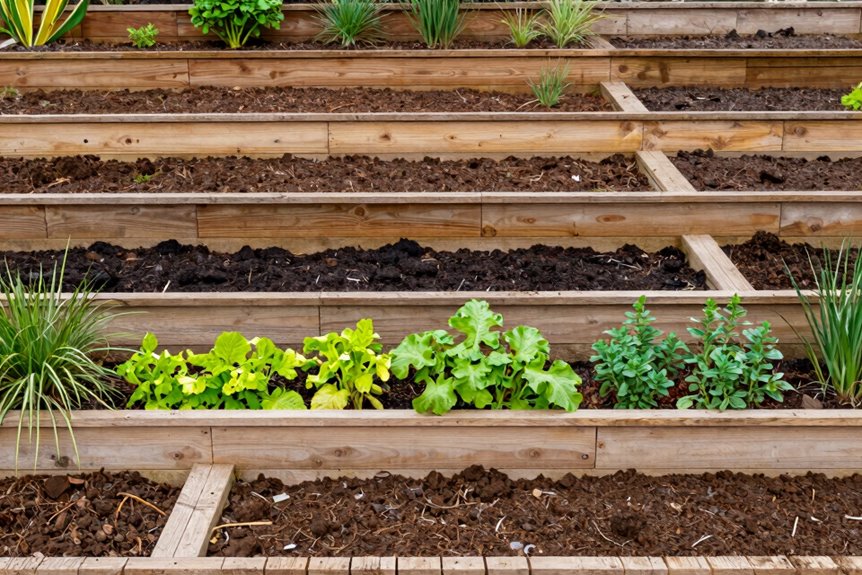
Shovel that first load of soil and feel the frame settle into its new job. I backfill each bed with six yards of topsoil mixed with compost, creating a nutrient-rich base that feeds your plants for seasons to come. I learned through experience that drainage matters. My first beds got soggy, so now I amend with mushroom manure, cow manure, peat moss, and more compost over two growing seasons. Before backfilling, I lay crushed limestone gravel beneath the boards. This combination prevents waterlogging and builds lasting soil health.
- Your backfill choices today shape tomorrow’s harvests
- Amending twice requires the patience that gardens reward
- Good drainage allows roots to access oxygen
- Shared struggle with soil connects us to growers everywhere
Build Deer Fence, Wheelbarrow Gate, and Optional Shade Canopy
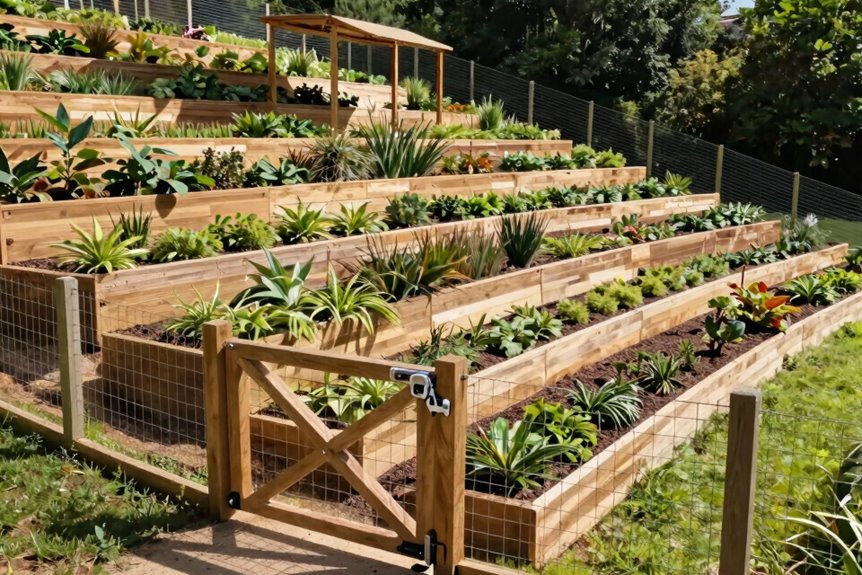
Why let deer treat your hard work like an all-you-can-eat buffet? I didn’t. I started with a simple deer fence using steel posts, then upgraded to something permanent. I set posts four feet from my build raised beds, sinking them in concrete pits for stability. I topped each post with iron caps so water drains out; no rot, no wobble.
I used sixteen select pine boards to brace the fencing, leaving enough clearance underneath for a walk-under canopy later. My wheelbarrow gate spans wide enough for easy hauling of mulch and harvests. Inside the perimeter, I stripped out all grass and relocated that sod elsewhere. Now my slope-side garden is protected and accessible, ready for the next season.