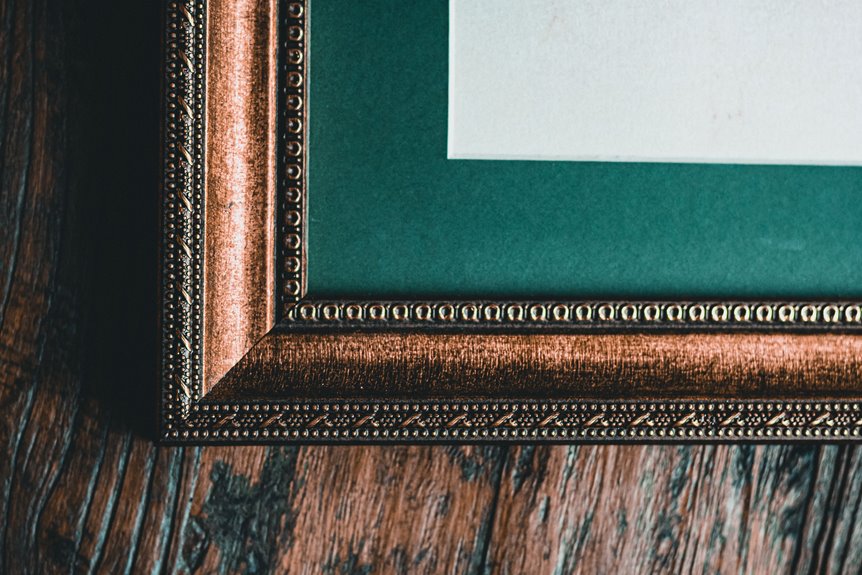
I’ll make my own matting with five simple steps.
First, I grab my self-healing cutting mat, mat cutter, acid-free mat board, and archival tape. I measure my artwork and frame, then subtract ⅛ inch so the opening fits my piece snugly. I cut the outer border to fit my frame exactly, then flip the board and trace my window lines. I stop ¼ inch from each corner so the cuts hide neatly.
Finally, I tape everything with archival tape and assemble the frame. Custom matting allows you to create professional-looking gallery displays without expensive materials or professional services.
Gather Your DIY Mat Tools and Materials
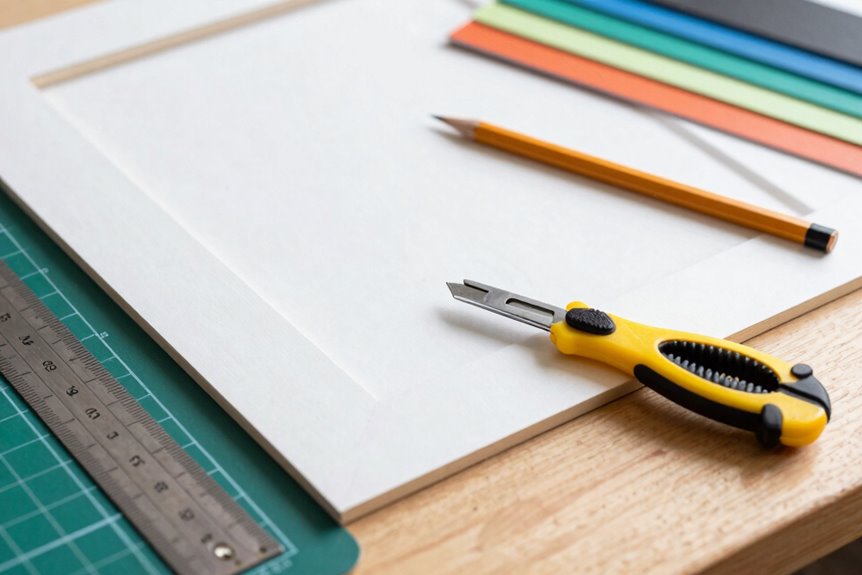
The right tools make all the difference between a wobbly mat and one that looks store-bought.
You’ll need a self-healing cutting mat to protect your table, plus a mat cutter. Anything from a simple handheld to a fancy electronic model works. Grab acid-free mat board so your artwork stays pristine for decades, not months. A straight-edge ruler keeps your cuts honest, and archival tape secures everything without nasty chemical reactions.
Your mat opening should hug your artwork tightly, about 1/8 inch smaller all around. For centering, you’ll subtract and divide using basic measurement guidelines. The math will be covered when you tackle frame size together.
Measure Your Frame and Artwork to Size
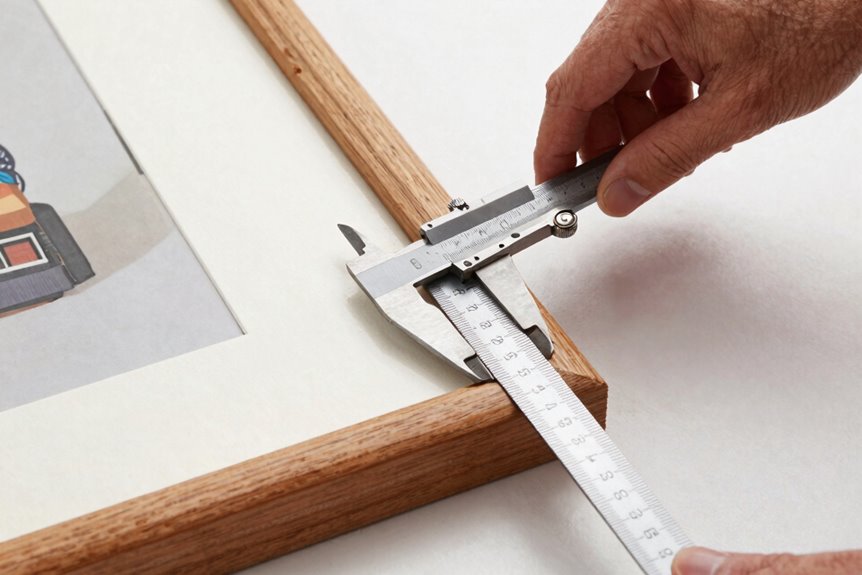
Why guess when a tape measure prevents a lopsided mess. Grab yours and measure frame dimensions.
I measure inside the glass to find my maximum mat opening. No glass. I subtract 1/8 inch for breathing room. For a 16″ x 20″ frame opening, my mat size lands at 15⅞” x 19⅞”; this ensures a snug, professional fit.
Now for artwork size: I make my mat opening about ½ inch smaller than my piece. This prevents gaps and awkward peek-through. For centered mats, I calculate border width with simple math: (mat width minus artwork width) divided by two. This produces even margins every time.
My straight edge and mat cutter are ready. I trace twice, cut once. Cutting mats requires patience, and the result is a crafted frame.
Cut the Mat Border to Fit Your Frame
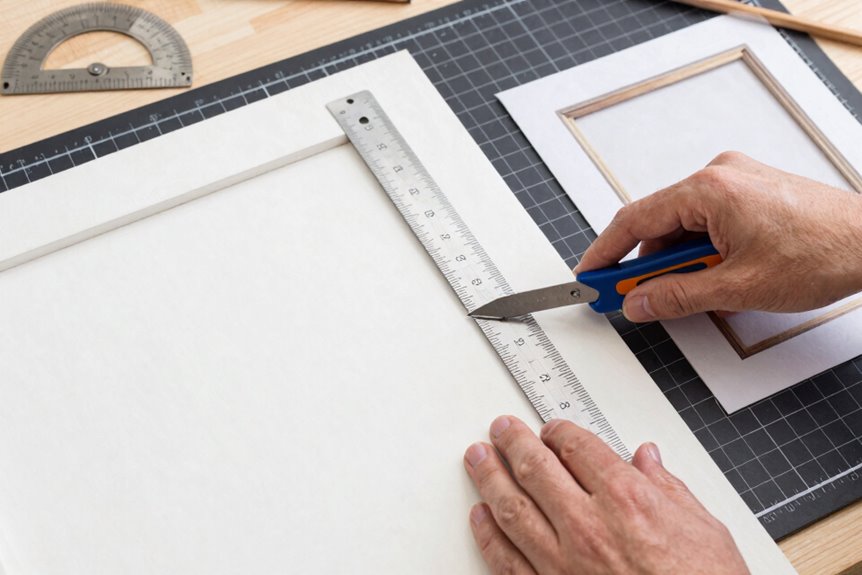
Now that I’ve got my measurements locked down, I’m ready to slice into the mat board itself. First, I lay my mat board flat on a self-healing cutting mat. The healing marks on the surface protect it from permanent damage.
Here’s my go-to checklist for nailing this part:
- I match my outer border exactly to my frame size, say 8.5 x 11 inches, so it tucks in clean
- I press my ruler firm and run my mat cutter slow for straight edges that don’t wobble
- I keep my cutting technique steady without rushing, even when my coffee’s getting cold
- I double-check border width by eyeballing centering against my artwork after cutting
Minor flaws get hidden by the frame. Careful cuts now reduce the need to inspect your work closely later.
Cut the Mat Opening and Center Your Art
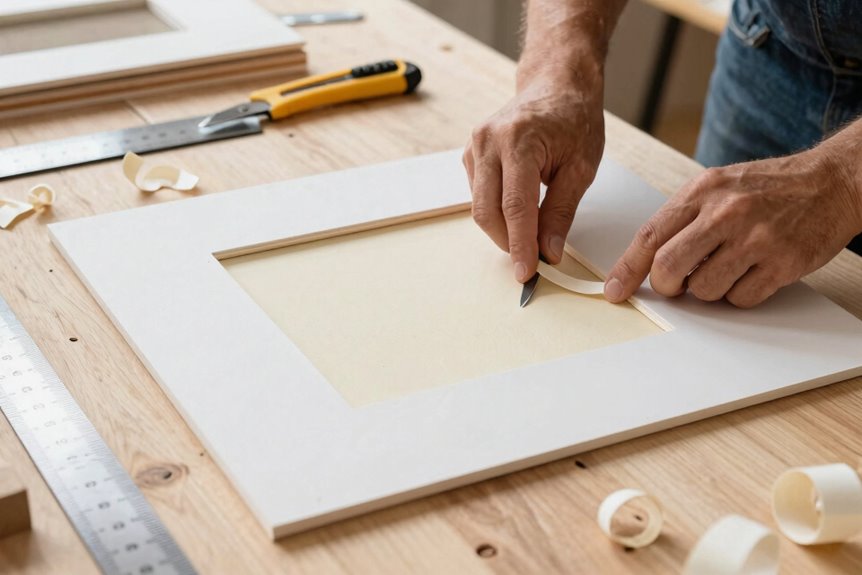
Once I’ve got my outer border trimmed, I flip the mat board over and grab my pencil to carve out the window where my art will peek through. I measure my artwork, then subtract half an inch to get my mat opening size. The border calculation is simple: subtract the artwork width from the mat width, divide by two. Now I know exactly where to center everything. On the back of mat, I trace crisp cut lines with a straight edge with no wobbles. My mat cutter glides along, stopping a quarter-inch from each corner so the joint hides clean. I place my artwork behind the fresh opening, secure it with archival tape, and the framing looks professional. The mat board displays what matters.
Assemble Your Frame and Fix Common Problems
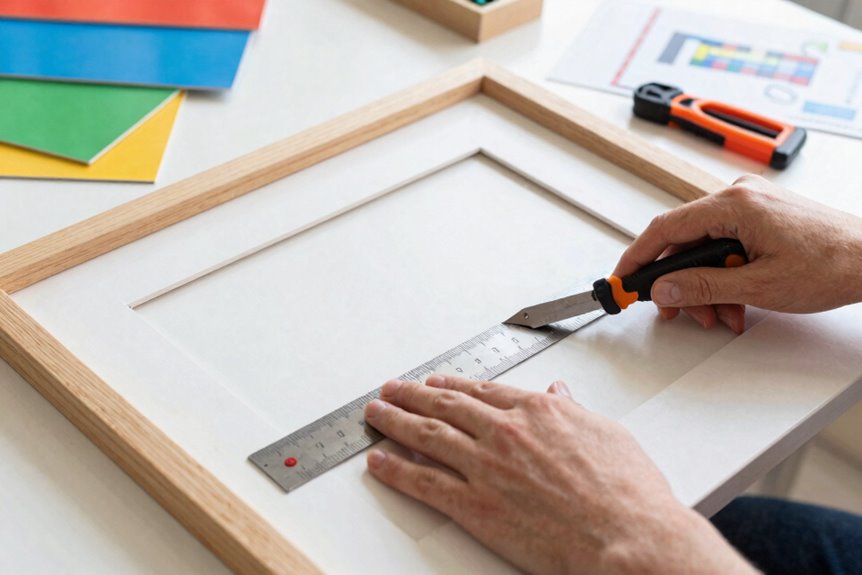
Before I slide everything together, I lay my frame face-down on a clean towel so the glass doesn’t get scratched or smudged with my fingerprints.
I check my mat opening first. It’s about 1/8 inch smaller than my artwork, which hides edges perfectly with no gaps peeking through.
During assembly, I follow these steps:
- I use archival tape to mount my centered artwork; regular tape yellows and ruins everything
- For a non-centered piece, I adjust my border calculation so (mat width − artwork width) ÷ 2 isn’t equal on all sides
- My cut line offset stays hidden because I stop my mat cutter ¼ inch from corners using my straight-edge ruler
- I secure the framing backing, then double-check frame alignment before hanging
Proper assembly produces professional results. Skipping these steps leads to visible flaws and damage.