I always start by hanging a plumb line against the corner to check if it’s square, since wonky corners create alignment problems. I measure from my last strip to the corner, add two centimeters, and brush adhesive deep into that crevice so nothing peels later. My first strip overlaps the corner by those two centimeters, smoothed outward to chase bubbles.
Then I plumb the adjacent wall fresh, never trusting the corner as my guide, and mark every twenty inches with faint pencil dashes.
I cut my second strip to butt right up to the overlap, pattern-matched and plumb-checked, pressing gently so the seam stays invisible.
For outside corners like chimney breasts, I wrap at least two centimeters around and re-establish my plumb line on the next wall.
These five moves prevent visible seams and misaligned patterns at corners.
Check Your Corner for Square and Mark Your Starting Point
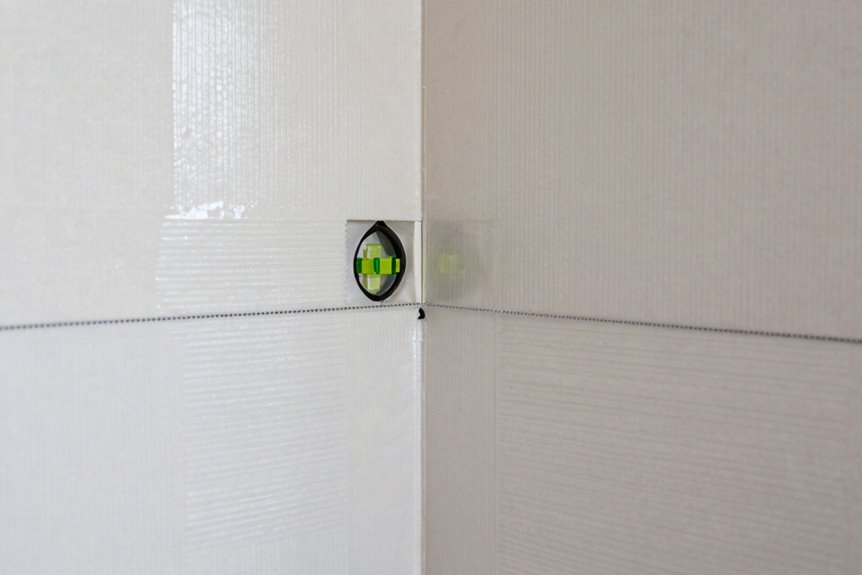
Most corners aren’t perfectly square, and spotting trouble early matters. I use my plumb line against the corner. If it bows or gaps appear, I need to make adjustments. This starting point determines everything in wallpapering, so accuracy is essential.
I measure from my last strip to the corner, add two centimeters, and cut. That overlap prevents gaps later. I brush adhesive deep into the corner joint without skipping this step. When I hang the strip, I align patterns carefully and press with my smoothing tool, pushing air bubbles outward. Edge-to-edge is ideal, but a slight overlap prevents peeling better than a gap does. A secure corner joint will hold better than a loose one over time.
Wallpaper the First Wall With Internal Corner Overlap
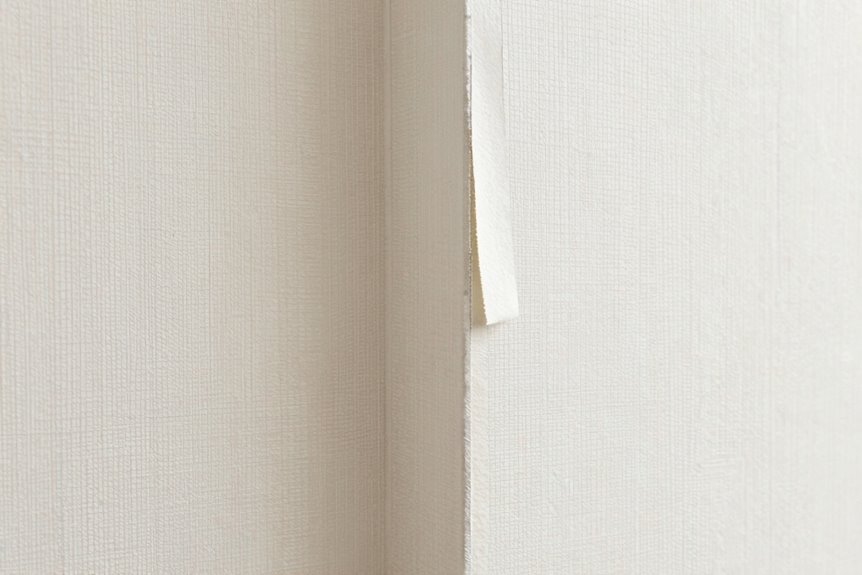
I’ve marked my starting point and checked for square, so I’m ready to hang the first strip that wraps into the corner.
Wallpapering corners requires patience, not perfection. I measure from my previous strip to the corner, adding roughly 2 cm for the internal corner overlap. That extra bit prevents the “just missed it” moment.
Here’s how I make it stick:
- I brush glue to corner, working it deep into that shadowy crevice where paper loves to lift.
- I position my first strip, maintaining alignment with previous strip so the pattern flows uninterrupted.
- I grab my smoothing tool, pressing outward to chase air bubbles toward the edges.
- I keep checking my plumb line, ensuring this strip stays true before the corner overlap sets.
I don’t press fully yet. Pressing too soon causes joint separation. My edge-to-edge hang comes next, with slight overlap accommodating wonky corners.
Plumb the Adjacent Wall for Seamless Pattern Matching
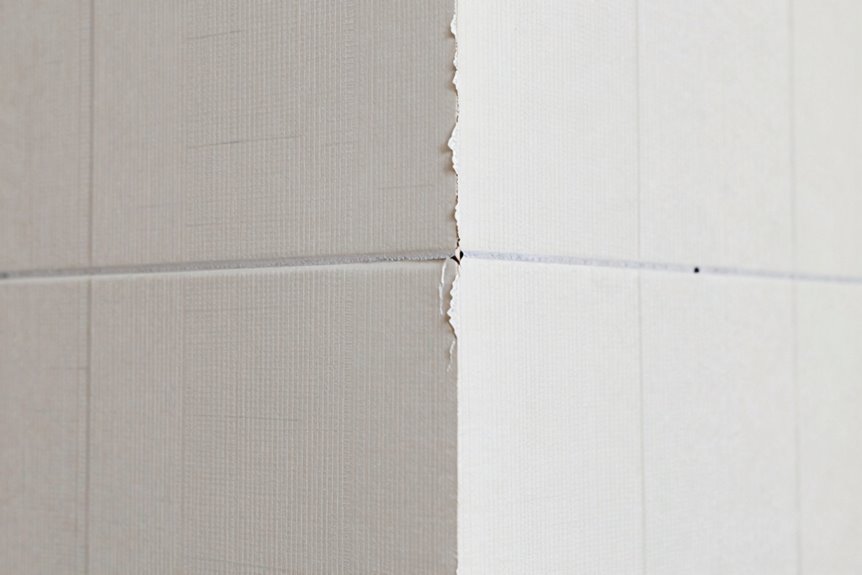
Why does a corner throw everything off? Walls aren’t truly square, and that corner turn can hijack your whole wall installation without proper technique.
First, grab your plumb line and establish a fresh vertical reference on the adjacent wall. The corner itself cannot be trusted as a reference point. Mark every 20 inches with faint pencil dashes, keeping everything plumb.
Pattern matching comes next. Line up the strip’s design with the overlap piece, nailing seam alignment before anything sticks. Press gently, smooth outward, then use your straight edge to trim excess top and bottom with a sharp Olfa blade.
Here’s how we keep our crew on track:
| What Trips Us Up | Our Fix | Result |
|---|---|---|
| Corner leans wonky | Plumb line reset | Straight strips |
| Pattern drifts off | Match at seam line | Flawless flow |
| Paper bunches up | Smooth toward edge | Flat finish |
| Ragged edge shows | Straight edge trim | Clean cut |
This method eliminates guesswork and produces consistent results from corner to corner.
Cut and Butt the Second Strip for an Invisible Joint
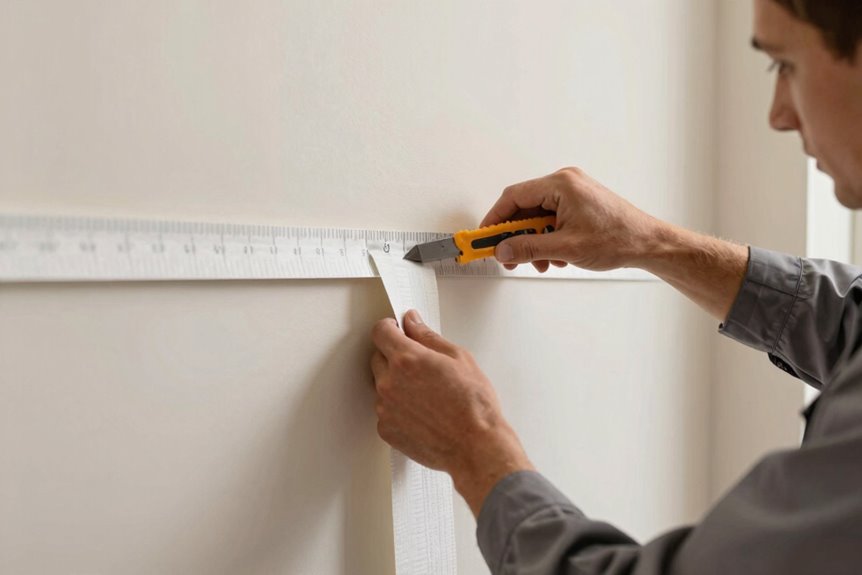
Once your first strip is plumb and your pattern match is locked in, you’re ready to tackle the second piece. This is where precision determines whether the corner remains invisible.
- Measure from edge to corner, add 2 cm, then cut to fit. This ensures the strip extends fully into the corner without falling short.
- Align the pattern precisely, checking your plumb line so nothing drifts out of position.
- Hang edge to edge, using overlap for corner irregularities. Walls are rarely perfectly straight, so the overlap compensates for this variation.
- Smooth with your smoothing tool to eliminate bubbles and ensure full adhesion.
Don’t press the second strip too early. The glue requires adequate setting time, or the invisible joint will separate. This waiting period is essential to the joint’s durability.
Wallpaper External Corners and Chimney Breasts That Stick Out
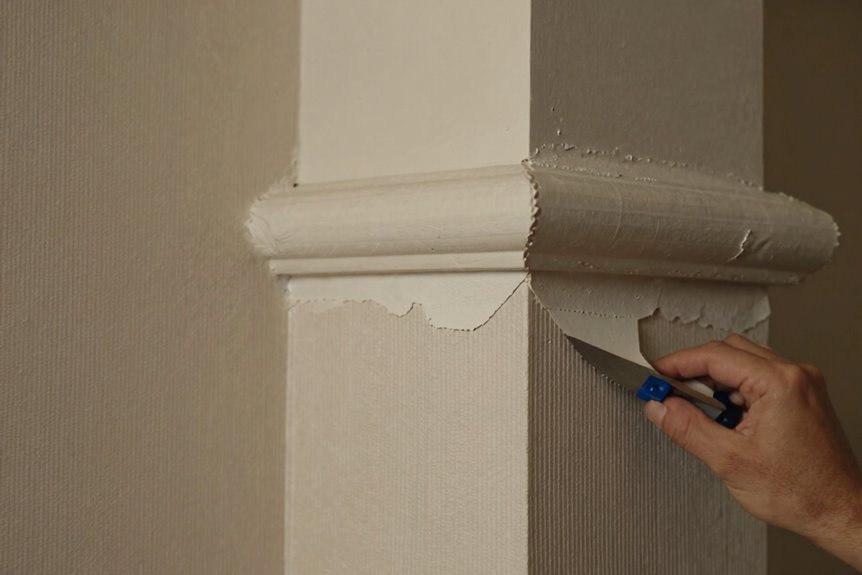
How do you handle a corner that juts out into the room rather than hiding in the shadows? The solution is straightforward.
For any external corner, wrap the wallpaper strip around the edge, letting it overlap by at least 2 cm. Grab your smoothing tool and press firmly to eliminate air bubbles. If the corner is uneven, make a corner cut flush, then start fresh with 20–50 mm extra length. Re-establish your plumb line on the next wall so everything stays straight.
| What You See | What You Do |
|---|---|
| Wallpaper bulging | Smooth harder with the tool |
| Edge lifting | Add more overlap, press again |
| Pattern misaligned | Check your plumb line twice |
For a chimney breast, center your first wallpaper strip and smooth it onto the external corner. Cut at the top where it meets edging or trim. This approach ensures proper alignment and a finished appearance.