Yes, you can wallpaper textured walls, but that bumpy surface will poke through like a lumpy mattress under a thin sheet. I always smooth things out first. For moderate texture, I hang a wallpaper liner, which is about 1/8-inch thick, and that creates a nice flat canvas. For stubborn bumps, I skim coat with joint compound, let it dry a full day, then lightly sand with 150-grit paper or wipe with a damp sponge for a glassy finish. After that, I prime the wall so the paste grips evenly and nothing peels. The exact steps you need depend on your texture type, and I’ve got those laid out clearly if you want to keep going.
Can You Wallpaper Over Textured Walls?
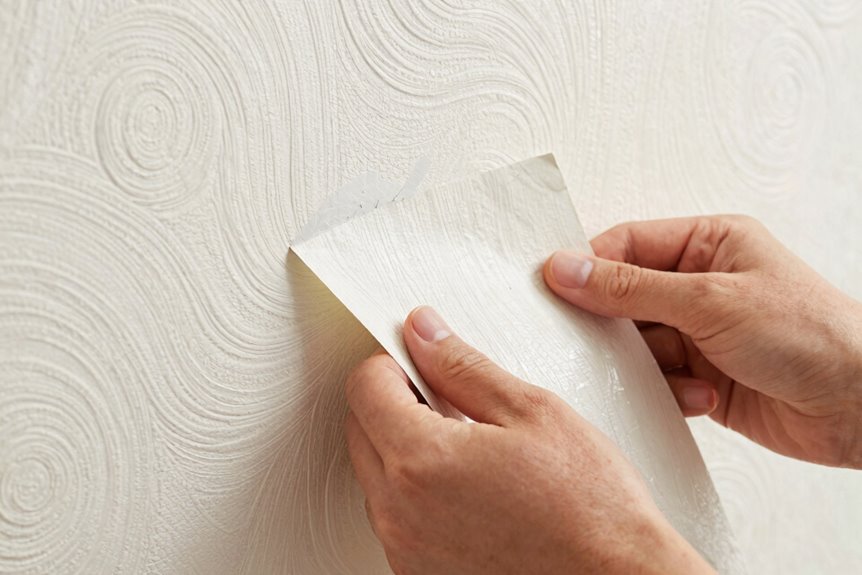
Yes, you can wallpaper over textured walls. Those bumpy surfaces might peek through under wallpaper, so choosing your smoothing strategy is important.
Wallpaper liner works well. This thin, interfacing-style buffer glues right over the bumps, giving your paper an even surface to adhere to. Alternatively, apply a skim coat of joint compound across the texture, let it dry completely, then lightly sand until it feels smooth.
Prime the wall afterward. Some walls respond better than others; thicker textures sometimes resist achieving a perfectly smooth finish. The process requires patience and realistic expectations about the final result.
How Texture Stops Wallpaper From Lying Flat
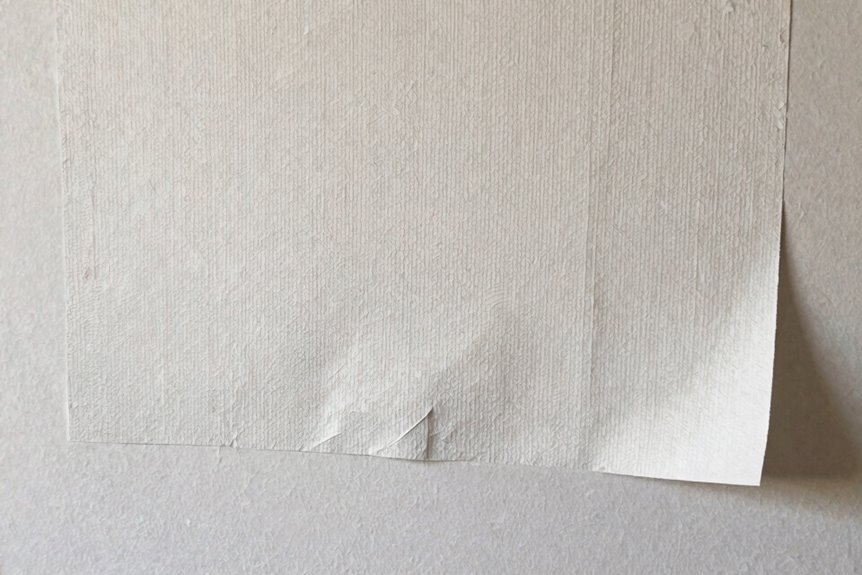
Wallpaper acts like a thin, flexible sheet trying to hug a bumpy mountain range. Those raised surface challenges from texture create tiny air pockets and ridges you can feel with your fingertips. When wallpaper is pressed against a textured wall, it bridges over the valleys and perches on the peaks. This means adhesion problems arise because the glue only grabs at those high points instead of the whole surface. The paper will lift and bubble within days, similar to a sticker that has lost its adhesion. Smoothing the wall first prevents peeling seams and ensures proper contact between the wallpaper and surface.
Raised Surface Challenges
How exactly does a bumpy wall ruin your wallpaper plans? Those raised bumps and ridges act like tiny speed bumps for your paper, stopping it from lying flat against the surface. You’ll see every seam and air pocket, like wrinkles in a shirt you can’t iron out.
Thicker textures, especially old popcorn ceilings or chunky 1970s finishes, fight back harder. They need multiple coats of joint compound, sometimes three or four, before you get that glass-smooth feel. Even then, stubborn peaks might poke through.
A “quick” bedroom project can stretch across two weekends when texture telegraphs through, showing every bump like a shadow puppet. Inadequate prep work means staring at those mistakes for years.
Adhesion Problems Arise
Those bumps don’t just look bad. They mess with your glue’s job. When I press wallpaper against textured walls, the peaks poke through and valleys stay hollow. Air pockets bubble up like tiny balloons. Seams glare at you like crooked teeth.
The adhesive can’t grab evenly. Imagine trying to tape a poster to a cobblestone street; touch-and-go spots everywhere. That roughness slashes contact area by half, maybe more. Your edges curl like a sad leaf. Even primer can’t always punch through heavy texture to cure properly.
I’ve learned this through experience. Skip prep, and you’ll peel your “perfect” paper within months. The smart approach is to apply liner paper or skim with joint compound first. Build that flat surface. Wallpaper requires a smooth substrate to perform correctly and last.
Test Your Walls Before Picking a Prep Method
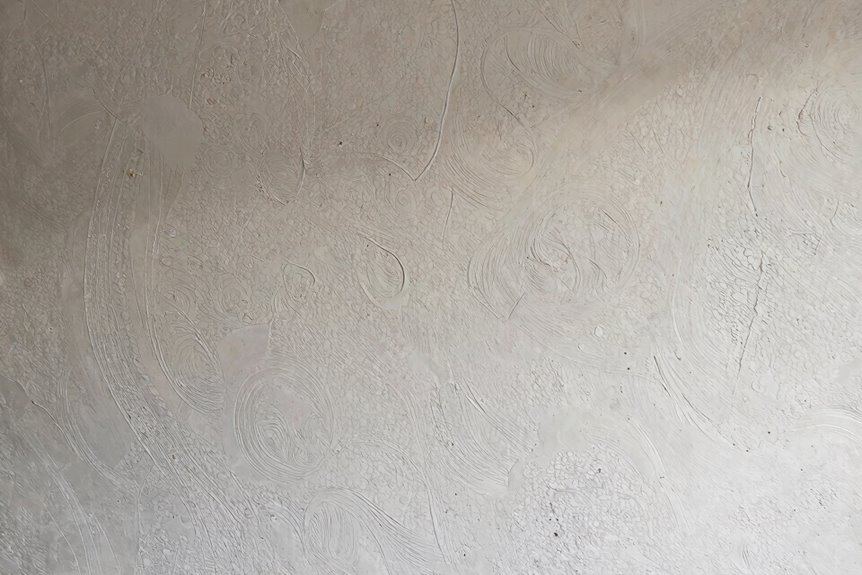
Where exactly should I start when my walls feel like rough tree bark? I always begin small, really small. I pick a hidden corner, maybe behind the door, and test my chosen prep method on a patch no bigger than a dinner plate.
I’ll slap on some joint compound, let it dry until it’s bone-hard (usually overnight), then smooth it with a damp sponge. Or I’ll try damp-sanding between steps, being careful not to soak the wall into a soggy mess. Sometimes I skip straight to liner.
Your living room wall might love mud while your hallway fights it. Texture behaves like a moody cat; unpredictable. So I test every wall separately. I compare results before committing. This prevents wallpaper disasters that could ruin your project.
Start With Liner: Fast Prep for Moderate Texture
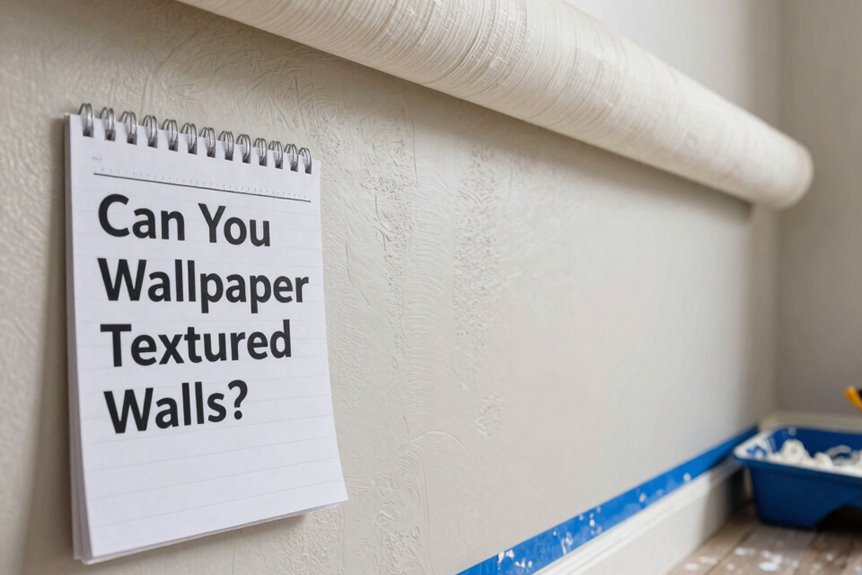
Why bother with buckets of joint compound when a simple liner might do the trick? This shortcut saves hours of messy work. Wallpaper liner, sometimes called “blankstock” or “lining paper,” acts like a thin, flexible bridge between your bumpy walls and your chosen pattern.
Roll liner directly onto textured walls using standard wallpaper paste. The 1/8-inch thick material hugs moderate bumps and ridges, creating a stable, flatter surface without sanding clouds filling your living room. No dust masks, no waiting for mud to dry.
This method works when texture feels more like orange peel than popcorn. You skip extensive leveling while still giving your final wallpaper something smooth to grip. If your wall feels like a mountain range under your palm, liner alone won’t flatten those peaks.
Skim Coat Textured Walls for Smoother Wallpaper
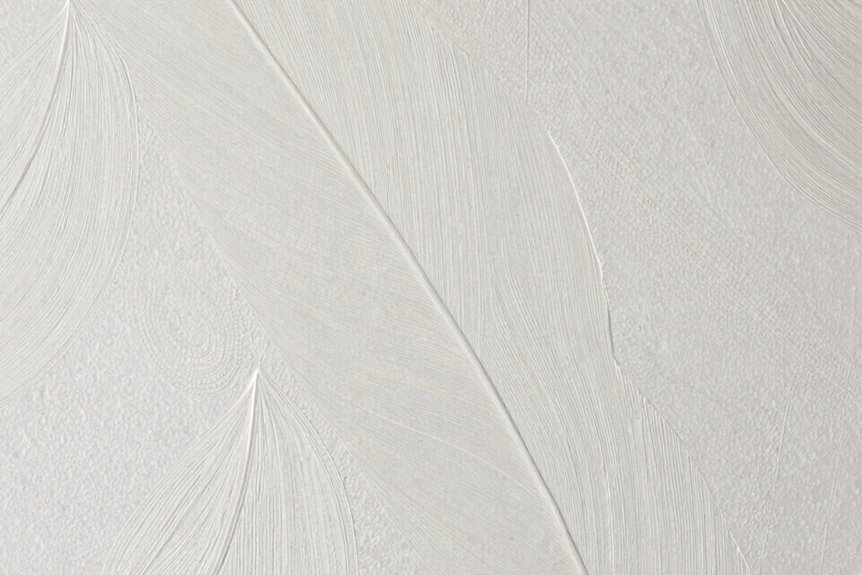
How smooth do you want your walls? I tried skim coating when my knockdown texture prevented me from hanging wallpaper successfully. It involves spreading thin, even layers of joint compound across your wall, similar to frosting application. I work in 1/8-inch coats, letting each dry overnight.
Here’s my checklist:
- Spread the mud with a 12-inch drywall knife, feathering edges so you don’t build ridges
- Lightly sand once dry; a quick pass is sufficient at this stage
- Prime with a quality sealer like Zinsser Bulls Eye 1-2-3 before hanging paper
Even after all this, one stubborn wall showed faint ghosts of texture. Heavier textures require additional skim coats. When direct wallpaper or liner won’t work, this method provides the smooth surface necessary for successful wallpaper installation.
Sand Before Wallpapering: Damp vs. Dry Methods
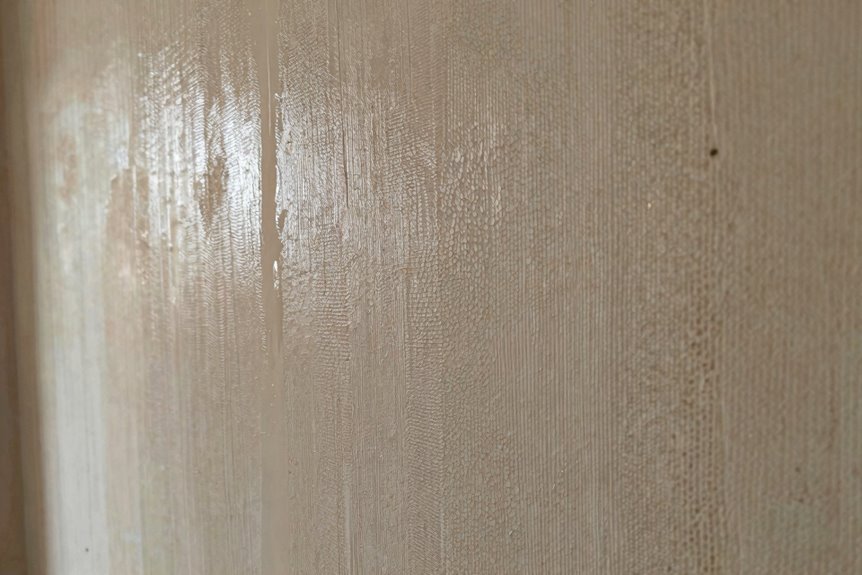
Once you’ve skim coated your walls, you face a choice between damp sanding or dry sanding.
I prefer damp sanding with a barely-wet sponge. The thin mud smooths down without fighting me, and I don’t end up breathing a snowstorm of dust. Dry sanding works too, but it digs deeper and kicks up powder everywhere. Your vacuum will hate you.
Damp sanding leaves the surface more uniform, which wallpaper loves. Dry sanding can accidentally scar the finish you just built. Neither way takes forever, but damp feels gentler, like buffing rather than attacking.
Whichever method you choose, you’ll need primer afterward to seal everything tight. This locks in your hard work before the wallpaper arrives.
Prime Textured Walls Before Hanging Paper
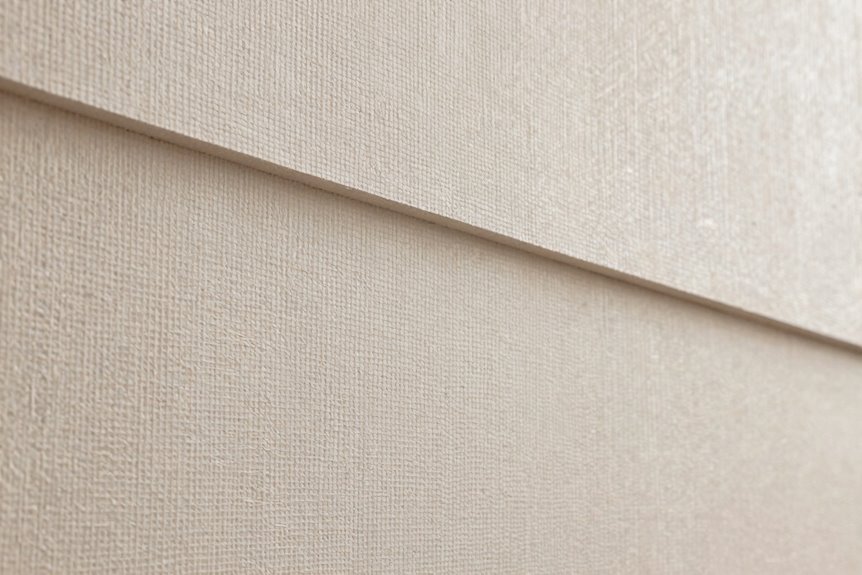
I always prime my textured walls first because it seals those bumpy spots and keeps the wallpaper from peeling later. You’ll want a high-quality acrylic primer made for uneven surfaces, something like Zinsser Bulls Eye 123, applied with a thick-nap roller that pushes into every groove. Wait a full 24 hours before hanging paper so you’re not trapping moisture underneath. Premature installation can cause adhesive failure and wall damage.
Importance of Primer
Why skip the most important step when you’re already putting in the work. I learned this the hard way: primer isn’t optional. It’s essential protection against bubbles, tears, and wallpaper that peels like sunburned skin.
Here’s what primer actually does for us:
- Seals the texture so your paper grips evenly, no weak spots
- Creates a uniform color base so bumps don’t ghost through
- Locks in moisture from mudding so it can’t wreck your finish
I’ve seen gorgeous patterns ruined by skipped priming. After you smooth or skim those walls, wait until everything’s bone-dry, then roll on that primer. Think of it as the foundation your wallpaper deserves. A flawless wall years later depends on this step.
Primer Type Selection
Not all primers handle texture the same way, so picking the right one matters as much as putting it on.
I always grab a high-build primer when dealing with bumpy walls, such as Zinsser Bulls Eye 1-2-3. It fills those tiny valleys like spackle in a tube, giving your paper a smooth landing pad. If you’ve mudded the walls first, ensure your primer plays nice with joint compound, or adhesion will fail quickly.
Liner paper requires priming too, or the texture will show through the finish. Peel-and-stick applications also need a sealed surface for the adhesive to perform effectively.
Match your primer to your prep work for best results.
Application Timing Tips
Because timing can make or break your wallpaper job, I never rush the priming step. Patience here delivers results.
- Let mud or spackle dry completely, usually 24 hours, before priming, or you’ll trap dampness underneath like a soggy sandwich.
- Lightly sand the smoothed patches, wipe away the gritty dust with a damp cloth, then roll on primer for that tacky, welcoming surface wallpaper loves.
- For chunky textures, hang liner paper after priming; it gives your wall a fresh canvas instead of painting over gravel.
A coat of primer seals everything, cutting that thirsty texture’s absorbency so your adhesive grips evenly. Taking it slow prevents peeling corners and ensures your walls stay in good condition.
Does Peel-and-Stick Wallpaper Work on Texture?
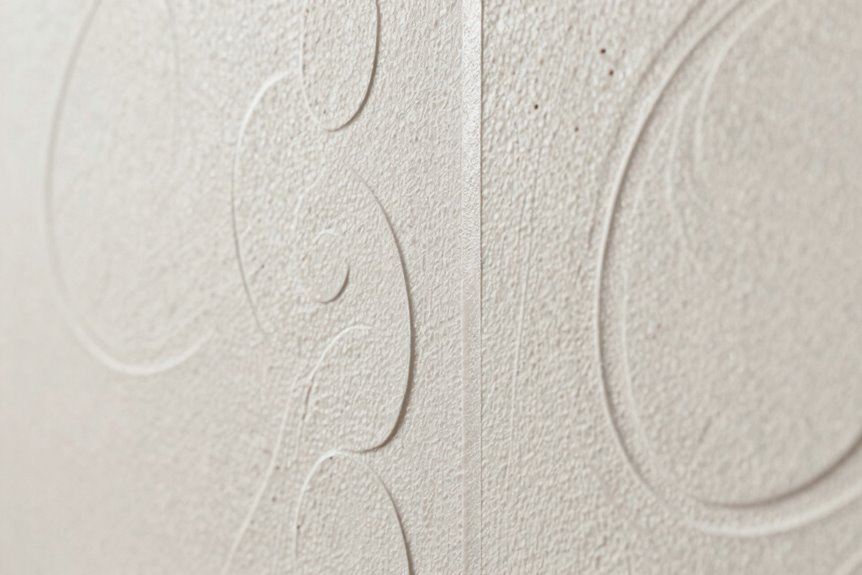
How exactly does peel-and-stick wallpaper behave when it meets a textured wall? It sticks surprisingly well on subtle textures, but thick popcorn or heavy orange peel surfaces present significant challenges.
You can make it work on moderately rough walls. Install a wall liner first to create the smooth canvas that peel-and-stick wallpaper requires. This approach is similar to flattening a bumpy tablecloth before setting dishes on it.
Alternatively, skim the texture with joint compound. Sand it lightly once dry, prime, then apply your wallpaper. One wall may still show its textured surface slightly through the pattern. Slight variations in appearance are normal with this method rather than indicating failure.
Your Complete Timeline: Texture to Wallpaper
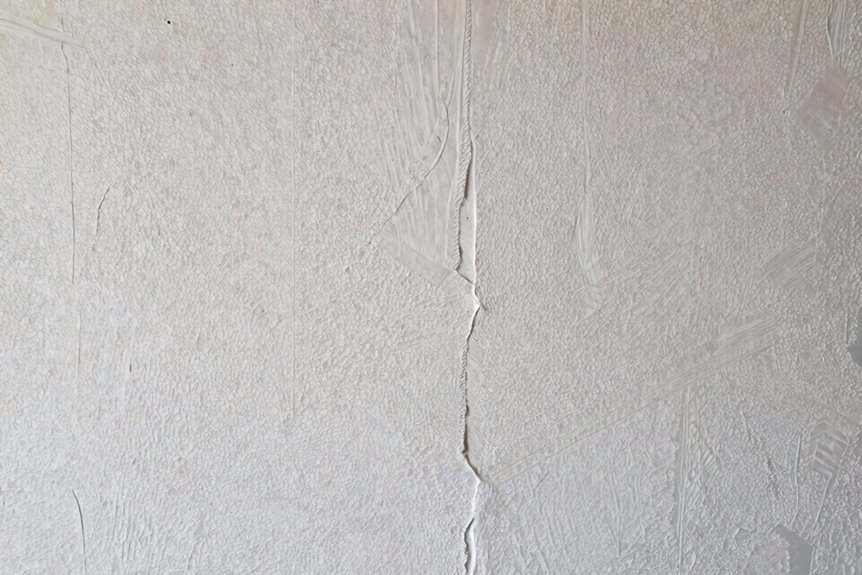
I’ll walk you through the whole journey from bumpy walls to smooth wallpaper, starting with the basics of wall prep and the tricks I’ve learned for smoothing things out. First, I’ll show you how to assess what you’re working with. Not all texture is created equal, and some walls fight back harder than others. Then we’ll explore two solid paths forward: the quick-fix liner method or the more thorough joint compound approach that delivers a glass-smooth finish.
Wall Prep Basics
My textured walls have taught me one critical lesson: jumping straight to wallpaper without prep is like putting a silk dress over a wool sweater. Every bump shows through.
Let’s get our walls ready together. First, clean off dust and grease. Your wallpaper glue needs something to grab. Here’s my prep arsenal:
- Wallpaper liner: Think of it as interfacing fabric; it glues right onto the bumps, giving you a smoother canvas
- Joint compound route: Apply a thin layer of mud, let it dry completely, then sand until your fingers feel satin
- Sponge trick: Instead of sanding, gently smooth dried compound with a damp sponge for less dust and the same results
Prime everything afterward. Skip this step, and texture will peek through visibly.
Smoothing Techniques
Because I’ve dealt with orange peel texture that resisted my first wallpaper attempt, I’ve documented every step needed to transform bumpy walls into smooth surfaces.
I spread joint compound in a thin skim coat, about 1/8 inch thick, across the wall with a wide drywall knife. The application resembles frosting a lumpy cake. Once dry, I lightly sand with 150-grit paper until my hand glides smoothly. Sometimes I skip sanding and use a damp sponge instead, wiping gently to achieve a glassy finish.
For tricky spots, I hang wallpaper liner first. This heavy interfacing covers the bumps, giving your final paper a flat surface to adhere to. Prime everything with a quality acrylic primer. Your wallpaper will adhere seamlessly without bubbles, producing results that appear professionally installed.
Fixing One Wall That Won’t Smooth Out Evenly
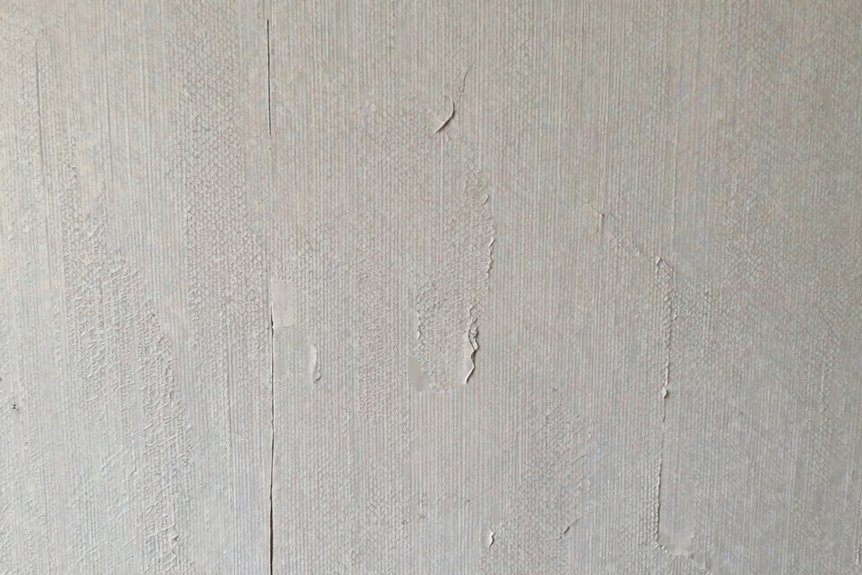
Why does that last wall always fight back. I’ve been there with three walls cooperating, then that final one smirking at me. I have solutions that work.
Three walls cooperate, but that last one smirks—stubborn, defiant, waiting for its moment to fight back.
Here’s my approach when one wall stays stubborn:
- Slap on a whisper-thin layer of joint compound, let it dry completely, then gently swipe a damp sponge across the surface to erase those pesky ridges before priming
- If fighting’s exhausting, smooth a wallpaper liner over the texture. It builds a fresh, flat playground for your paper
- Peek at that wall under morning light, lamplight, and flashlight; shadows love hiding trouble spots until it’s too late
Still seeing bumps. Swap in peel-and-stick or heavy fabric-backed wallpaper just there. One different wall goes unnoticed when the room feels like you.
Which Texture Types Block Wallpaper Adhesion?
Ever run your palm across a wall and wonder if you’re touching cottage cheese or actual drywall. Those bumpy, stucco-like finishes are wallpaper’s worst enemy. Heavily textured surfaces with deep crevices trap air and moisture, creating bubbles beneath your paper. Pronounced peaks and thick irregular textures prevent smooth paste transfer, leaving patches that simply won’t stick.
Don’t assume smooth equals safe. Glossy sealed surfaces block paste absorption entirely. I’ve seen gorgeous papers slide right off lacquered plaster. Very rough random textures demand serious prep, such as liner paper or skim coating with joint compound. Without this groundwork, your wallpaper fails. Seamless, magazine-worthy finishes require understanding your wall’s texture type. Proper surface assessment prevents peeling and ensures successful wallpaper installation.
Know When to Hire a Pro for Wallpaper Prep
Sometimes I’ll stare at a wall so rough it looks like the surface of the moon and think, “Yeah, this is way past my pay grade.” Heavy textures with dips deeper than an eighth of an inch demand serious mudding, sanding, and dust containment I’m just not set up for.
Pros can spot what’s really going on beneath the bumps. They’ll figure out if you need wallpaper liner or a full skim coat of joint compound. I wave the white flag in these situations:
- My texture is fragile or crumbling. I don’t want chunks falling into my paste.
- I’m dealing with multiple texture types and can’t sequence the work.
- I need the right primer picked for my specific surface.
Getting it wrong means bubbling, peeling, and starting over. Some walls require professional preparation to prevent costly repairs.