I hang tapestries based on weight and wall type. Lightweight ones use pushpins or Command strips rated for the exact pounds. Clean the wall with rubbing alcohol first, press firmly, and check it’s level.
Heavier pieces need a curtain rod with a sewn pocket across the top back, or a wood track with clips every ten inches. Step back and view from the side to catch any drooping before it becomes a problem.
Hang Lightweight Tapestries Fast With Nails or Pushpins
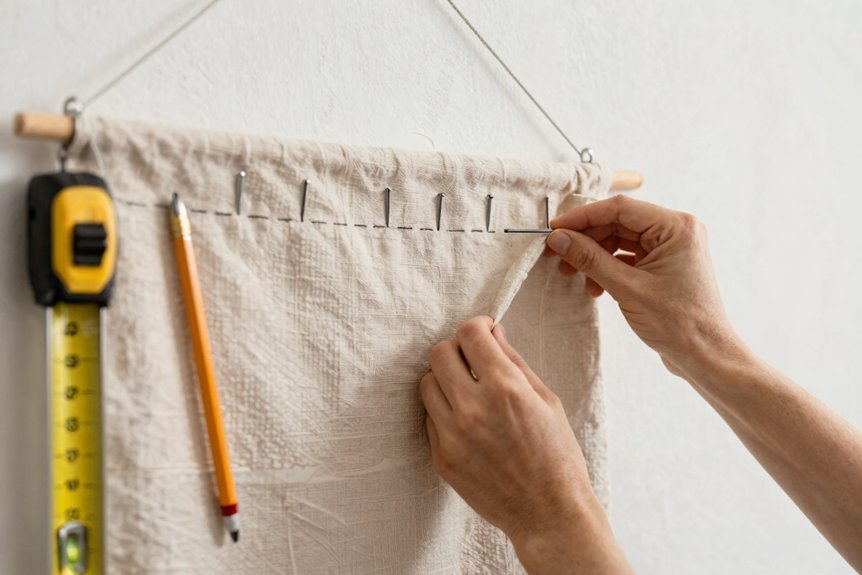
Although hanging a tapestry might seem tricky, it’s actually one of the quickest ways to add warmth to your walls. Here’s how to hang lightweight pieces fast using nails or pushpins.
Grab your tapestry and feel its weight. If it’s thin and airy, you can proceed. Position nails or pushpins at the corners first, securing the top edge to keep everything level. For pieces wider than two feet, add extra pins every 10 to 12 inches. This even distribution prevents pulling or sagging, similar to buttoning a coat evenly.
Check your straightness with a level. Look from the side to catch any drooping. Skip this method for heavy, antique, or silky textiles; they need gentler treatment.
Use Adhesive Strips or Velcro for Damage-Free Hanging
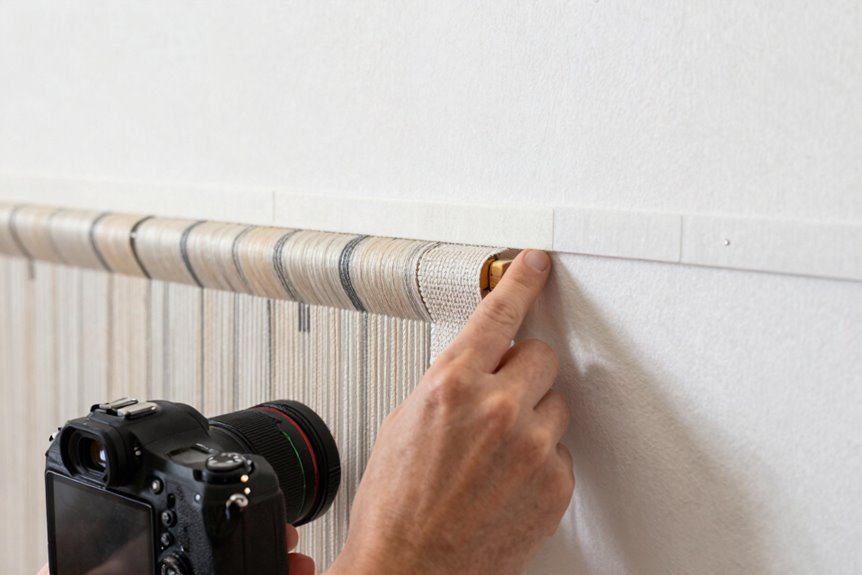
When I’m picking adhesive strips, I always check the weight rating on the package. Command strips, for example, hold anywhere from one to sixteen pounds depending on the size. Before I stick anything down, I swipe the wall with rubbing alcohol and let it dry completely; otherwise, the strip might peel off like a stubborn sticker. I press the fuzzy side of Velcro to my tapestry’s corners, then line up the matching strips on the wall, stepping back to eyeball it so nothing hangs crooked.
Choosing the Right Strips
Why risk your security deposit when there’s a smarter way to mount your favorite wall hanging? I always grab Velcro or adhesive strips rated for my tapestry’s exact weight capacity. Read that packaging carefully. I clean the wall surface with rubbing alcohol, let it air-dry completely, then press strips firmly onto the back corners for balanced lift. For heavier weaves, I’ll add a backing board behind the fabric to prevent sagging.
| Strip Type | Best For | My Go-To Brand |
|---|---|---|
| Small adhesive strips | Under 3 lbs | Command small |
| Velcro | Medium tapestries | Velcro brand strips |
| Large adhesive strips | Up to 16 lbs | Command large |
| Heavy-duty combo | Over 16 lbs | Multiple strips + backing board |
I step back, eyeball until everything looks level, and verify that the tapestry is secure enough to withstand normal wall conditions without damage.
Proper Application Technique
I’ve got my strips picked out, so now it’s time to stick them on right. First, I wipe the wall with rubbing alcohol and let it dry. Skipping this step compromises adhesive performance.
I check the weight rating on the package. My tapestry weighs about three pounds, so I grab Velcro rated for five. Using a higher weight rating prevents the tapestry from falling.
I press adhesive strips to the back corners, not just the top. This spreads the weight evenly. Then I line up matching wall patches, checking they’re level before pressing firmly for a secure hold.
For heavier pieces, I add a backing board behind the fabric. It keeps everything taut and straight. My tapestry hangs without damage, and the mounting remains stable.
Mount a Tapestry With a Curtain Rod and Sewn Pocket
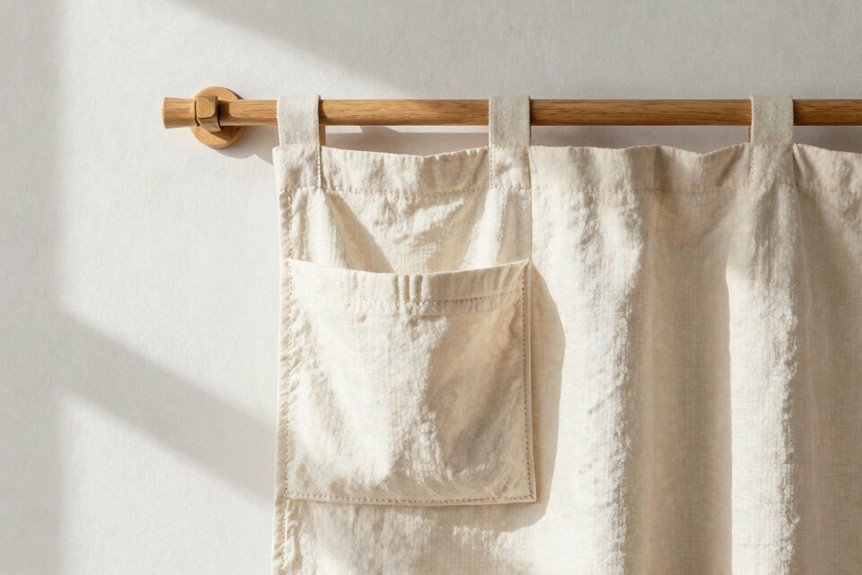
The easiest way to get your tapestry floating in front of the wall like a real gallery piece is to stitch a pocket on the back and slide a curtain rod through it. This method transforms any fabric into a polished wall hanging.
Use sturdy fabric and heavy-duty cotton thread for your sewn pocket. Sew a strip across the top back edge, leaving enough room for the curtain rod to glide through. Adding a tapestry pocket at the bottom improves weight distribution and keeps everything level.
Test-fit the rod before finishing. A rod pocket needs straight edges and adequate clearance. Pick brackets and a curtain rod rated for your tapestry’s weight. This ensures a secure hang with no drooping.
- Feel the satisfying tug when your stitches hold firm
- Picture your guests pausing, drawn to that floating textile
- Savor the alignment when both your pockets balance the fabric evenly
- Your creation will not sag overnight with proper installation
Secure Heavy or Oversized Rugs With Clips and Wood Tracks
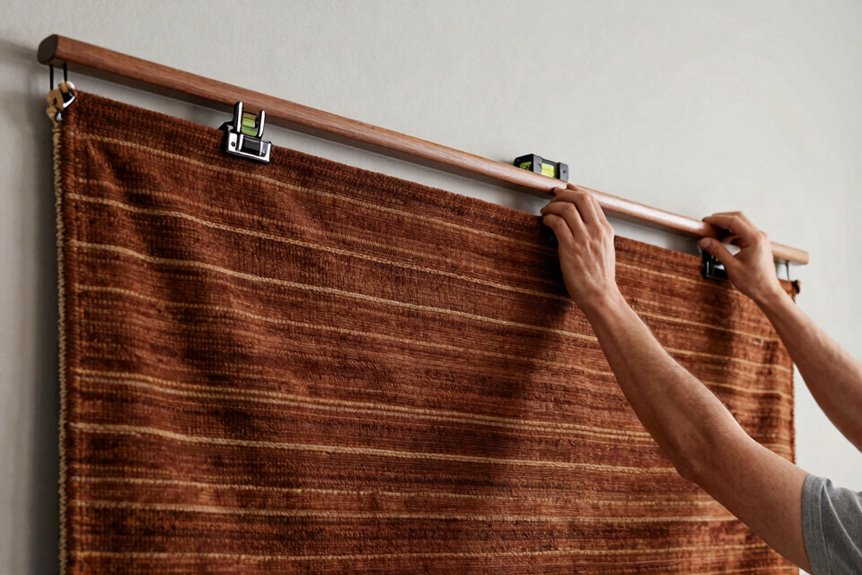
Sometimes a tapestry is too heavy for a simple pocket and rod, so a wood track system becomes necessary. For wall installation of oversized pieces, weight distribution is critical. Measure your wood track wider than the textile itself to prevent edge stress that can warp the piece over time. Here’s the setup:
| Component | Purpose |
|---|---|
| Lower wood track | Mounts flush to wall |
| Upper ledge piece | Creates 1-inch shelf above |
| Hanging clips | Grip and hold securely |
| Proper clips spacing | Prevents anti-sag failure |
Space hanging clips every 10 inches for even support. Leave a gap slightly deeper than each clip between the two wood pieces so they seat perfectly. Lift, clip, and your secure tapestry will remain in place without sagging.
Frame or Shadowbox Antique and Fragile Tapestries
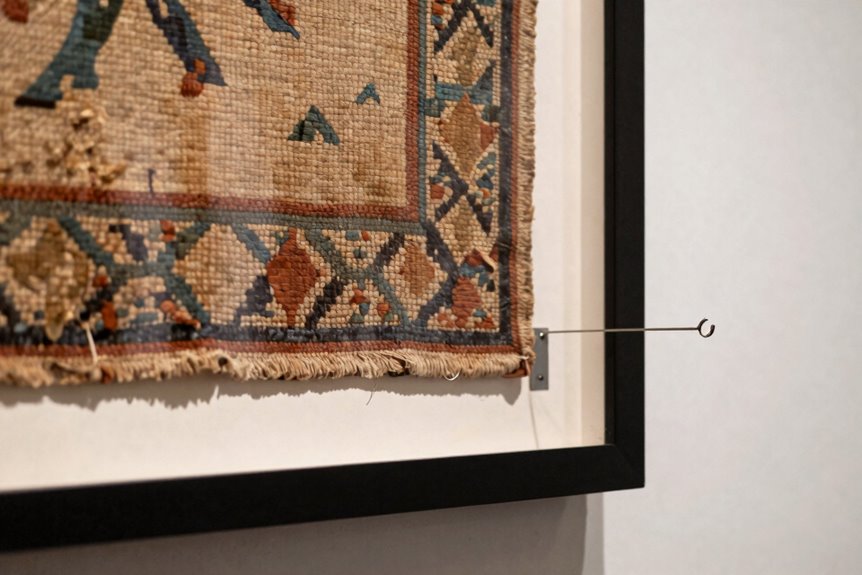
Wondering how to display that delicate antique tapestry without risking damage? A shadowbox or framed display protects fragile textiles while showing them off beautifully. This method works because:
- Your heirloom stays safe from dust, moisture, and curious fingers
- The deep frame creates breathing room so silk fibers stay relaxed
- You create a museum-like installation at home
- Guests can admire something you’ve preserved with care
For antique tapestries, mount the piece inside the frame using acid-free batting and UV-protective glass. Secure it with cotton twill tape, never glue. Attach frame hardware rated double your tapestry’s weight. For example, use hardware rated for 20 pounds to safely support a 10-pound piece. Your wall display becomes both protective armor and art, preserving fragile textiles for decades while displaying your collection.
Check These Safety Points Before You Start
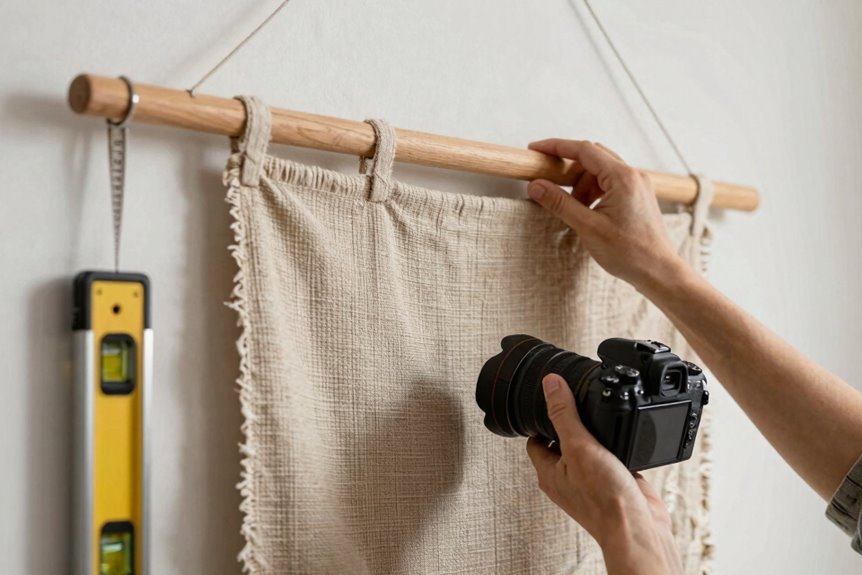
I always check what my wall’s made of before I pick up a single anchor. Drywall, plaster, brick, and wood each demand different hardware, and guessing leads to crumbling holes. Then I weigh my tapestry and inspect its fibers, because a faded, fragile heirloom needs gentler support than a sturdy cotton throw, and I’ll grab extra hands if it’s bulky. Skipping these steps will result in damage similar to ignoring a “wet floor” sign.
Weight and Condition
The backbone of a tapestry project starts with a reality check—yours, not the wall’s.
I always start by checking my tapestry’s weight and condition. Is it a hefty wool piece or a whisper-light cotton? Older textiles require proper textile care and distributed support so they don’t tear at the edges. For heavy pieces, I never use flimsy hardware. I grab anchors rated for the job and spread that weight across multiple points.
- Run your palm across the weave to assess its fragility
- Consider what damage would mean for this heirloom
- Anticipate the consequences of a corner pulling free
- Failing adhesive creates structural failure that’s difficult to repair
Wall type matters later, but condition comes first. Match your hardware to the tapestry’s actual weight and fragility.
Wall Type Assessment
Plaster walls crumble like stale crackers if you treat them like drywall, so knock first. A hollow thud means drywall, which needs plastic anchors rated for at least 50 pounds. Solid thuds signal plaster or masonry, surfaces requiring specialized anchors and extra patience. Wall type dictates your mounting strategy.
After assessing weight, match hardware to reality. Heavy wool requires mounting points every 18 inches so no single spot bears the burden. Lightweight cotton works fine with simple picture hooks. Ancient silk treasures need padded supports without teeth to avoid stress.
Adhesive strips fail over time. For masonry, drill with masonry bits and use sleeve anchors. For plaster, locate studs or use toggle bolts. Proper installation prevents tapestry damage and ensures long-term security.