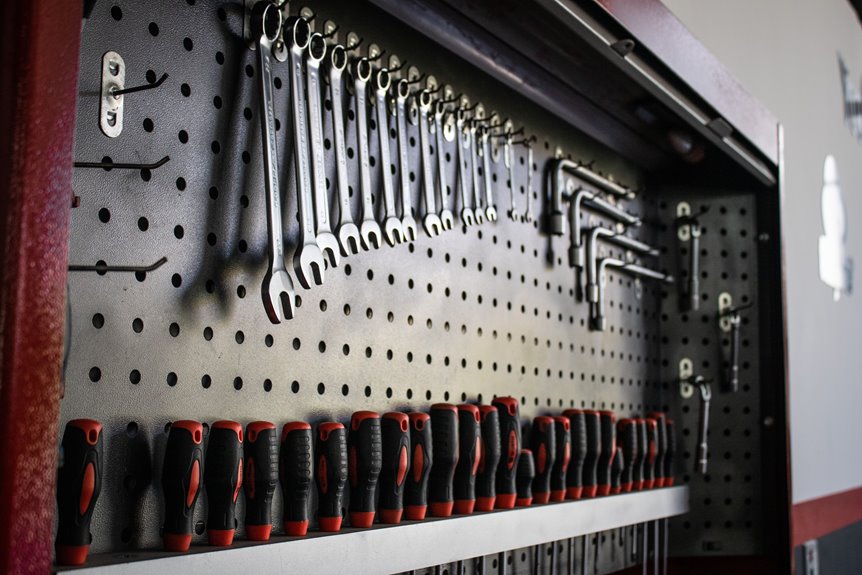
I once spent four minutes and thirty-seven seconds hunting for a 10mm socket, and that frustration changed everything. Now I keep only my most-used tools within arm’s reach, about 20% of my collection, while the rest lives in labeled, open storage where I can see every outline. I mount grab-and-go trays at elbow height, use magnetic strips for tiny bits, and color-code zones so my hands find tools before my brain even asks. The real secret is that measurement drives results. Regular timing identifies what needs adjustment. Build a system that grows with you instead of against you.
Start With the Real Cost of Disorganized Tools
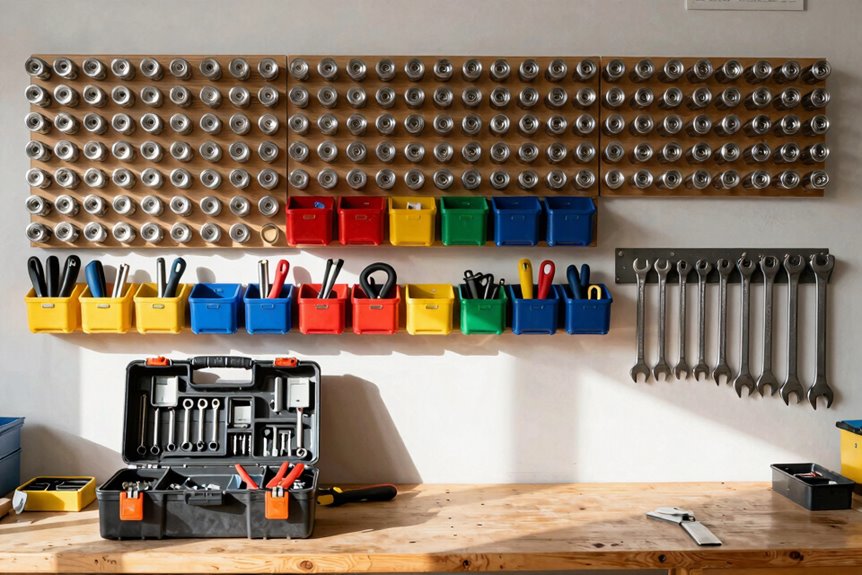
How often have you stood in your garage, squinting at a jumbled pile of wrenches, wondering which one fits that stubborn bolt. That chaos isn’t just annoying; it’s stealing your time and energy every single day.
Chaos in your workspace isn’t just annoying—it’s quietly stealing your time and energy every single day.
Open storage beats hidden drawers every time. When you can see your tools at a glance, you grab what you need in seconds. No more digging through dark cabinets like you’re panning for gold.
The 80/20 rule applies to tool collections. The twenty tools you actually use should be right at arm’s reach. The rest should be stored neatly and labeled clearly.
An organized workspace reduces friction and saves measurable time on every project.
Time Your Current Tool-Hunting Frustration
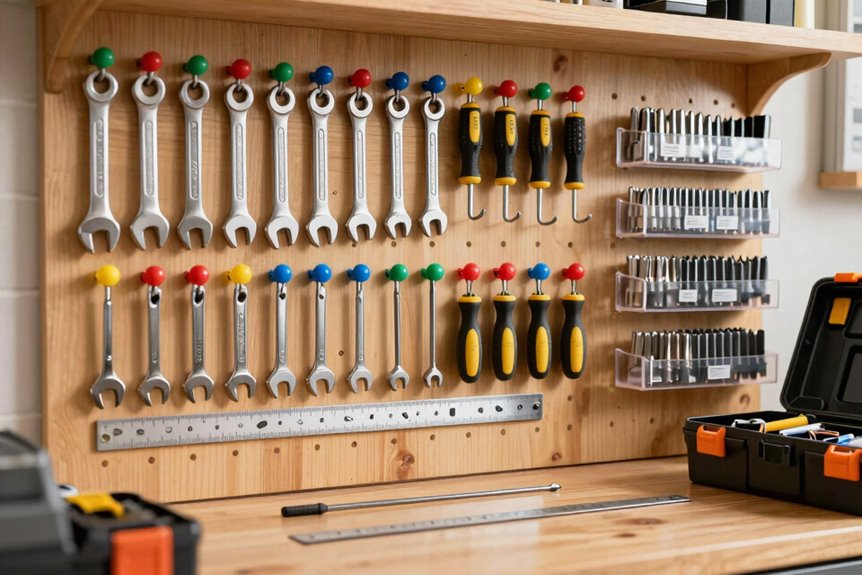
Before you fix anything, you’ve got to know how broken it really is. I grab my phone and start the timer every time I hunt for a tool. Last Tuesday, finding my 10mm socket took four minutes and thirty-seven seconds. That’s embarrassing.
Tool organization starts with honest data. I write down which items vanish most: wrenches, drill bits, that one Phillips screwdriver. I track where I actually look: under the bench, in three different drawers, behind the paint cans. The patterns reveal significant inefficiency.
I average my search times at two minutes forty seconds per hunt. Multiply that by daily trips, and I’m losing hours weekly.
I list my three worst nightmares: matching drill bit sizes, locating my tape measure, finding the right Allen key. These become my targets.
Reduce First: Move 80% of Tools Out of Your Way
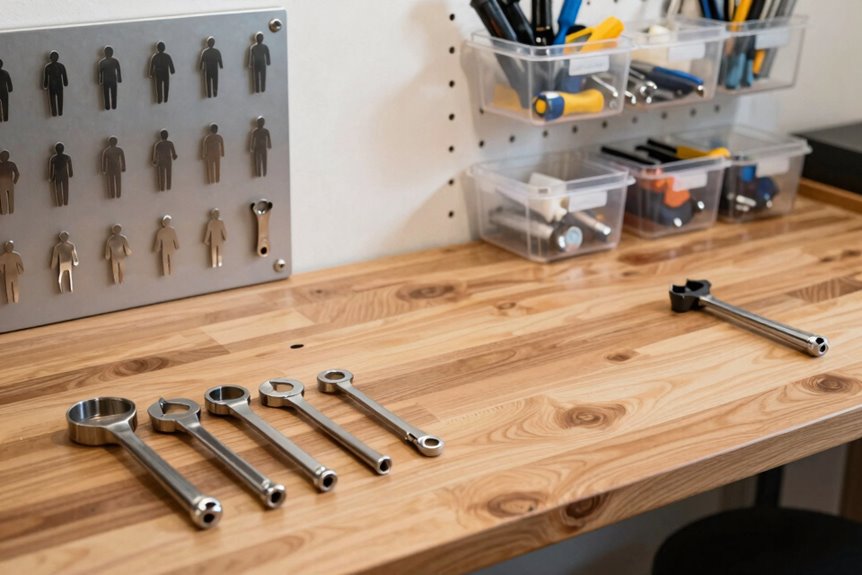
Where do I even start when everything’s everywhere? The smartest organization ideas begin with subtraction, not addition. I move 80% of my tools out of my active workspace. Only the ones I grab 80% of the time stay within arm’s reach.
I designate one 10-session zone for portable tools, clearing everything else. For non-cut tools, I use open shelves and utility totes to keep my active zone dust-free and simple.
Before drilling any holes, I mock up tool panels with cardboard. I test layouts, then mount permanent panels once I know everything fits. I mark every spot with outlines, labels, or photos so tools snap back to their homes.
This system works because it’s built for how you actually use your space, not for an imaginary perfect workspace.
Try the 10-Session Rule to Cut Tool Clutter
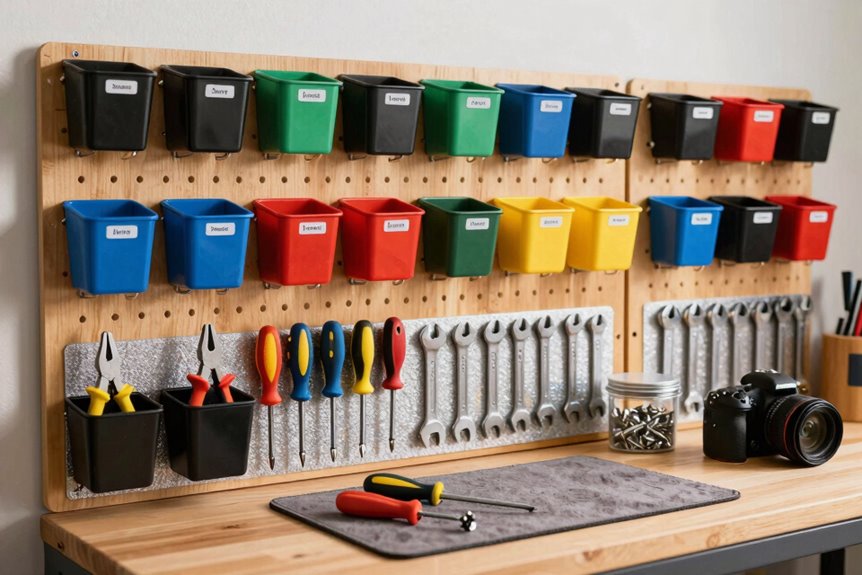
Why let your whole shop drown in tools when only a handful truly matter right now. I started using the 10-session rule, and it transformed my tool organization.
Here’s how it works.
I picked one active work area and corralled every portable tool I’d need for my next ten projects. No exceptions, no “just in case” items sneaking in.
Before drilling holes, I mocked up panels with cardboard, cutting 2×3 foot sheets and tracing tool silhouettes with a marker. This staging let me visualize layouts without commitment.
I kept only my 80-percenters within arm’s reach. Everything else migrated to secondary storage: shelves, a large rolling toolbox, anywhere that kept my workspace clean.
After ten sessions, I knew exactly which tools earned permanent spots. Then I expanded. No guessing, no clutter. This approach builds tool organization based on actual usage patterns rather than assumptions.
Choose Open Tool Storage Over Hidden Drawers
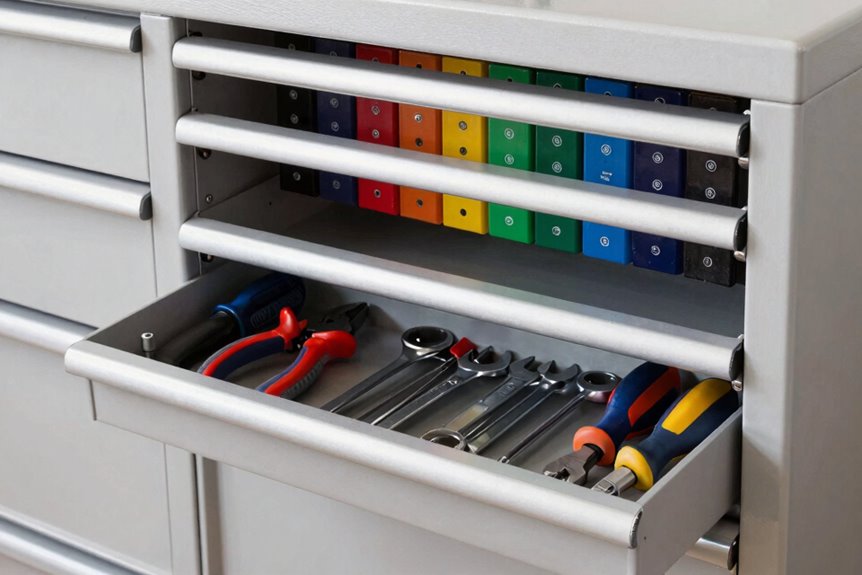
I’m ditching my jam-packed tool drawer after realizing I waste precious minutes rummaging through metal chaos. Open storage wins on speed over concealment. My pegboard keeps hammers and wrenches in plain sight, so I grab what I need without the archaeological dig. Visual inventory access transforms your workflow. Magnetic strips hold screwdrivers at eye level, while clear 16-ounce mason jars sort nails by size with zero guesswork.
Speed Over Concealment
Nothing wastes time like digging through a drawer full of wrenches when you’re trying to fix a wobbly chair. That’s why I use open storage.
I hang my most-used tools on a 24-inch pegboard above my workbench. My screwdrivers live on a magnetic strip. My measuring tape clips to a rail. Everything sits within arm’s reach; no opening, no closing, no guessing.
I labeled each zone with a Sharpie on masking tape: “hammers here,” “pliers there.” My rolling cart holds my most-grabbed tools. The other 20 percent can hide in drawers.
When I’m mid-project, I don’t want to search for my wrench. Open storage means I see it, grab it, and return to work in under 50 seconds.
Visual Inventory Access
Where do you look first when you need your hammer in a hurry? I bet you scan the wall, not dig through drawers. That’s why open tool storage works best.
Pegboards are highly effective. I mounted a 4×4 foot panel above my workbench and suddenly everything’s visible: hammers, wrenches, screwdrivers hanging in plain sight. No more rummaging. Rails and magnetic strips keep my most-used tools within arm’s reach, exactly where my eyes land first.
I trace tool outlines with a marker so each item has a “home.” My tape measure lives at eye level; pliers cluster by size. Back-of-door organizers squeeze extra storage into tight shops.
This visual setup means I grab what I need in seconds flat. When your tools are visible instead of hidden away, you’ll spend less time searching and more time working.
Dust-Free Open Solutions
Seeing everything at a glance beats digging through drawers. Open storage solves both visibility and dust concerns effectively.
I switched to pegboards, magnetic strips, and labeled rails. My hammer lives at eye level, screwdrivers line up in rows, and everything breathes. When dust settles, I wipe surfaces in seconds without emptying drawers.
I keep 80% of my space for active tools only. The 10-step organization routine takes five minutes weekly. My most-used wrench sits exactly 18 inches from my right hand.
Open storage is both practical and communal. I posted my before-and-after shots online, received feedback, and trimmed my search time to under 50 seconds. Adopting this system reduces tool retrieval time significantly and maintains clean work surfaces.
Build Color-Coded Zones for Different Tasks
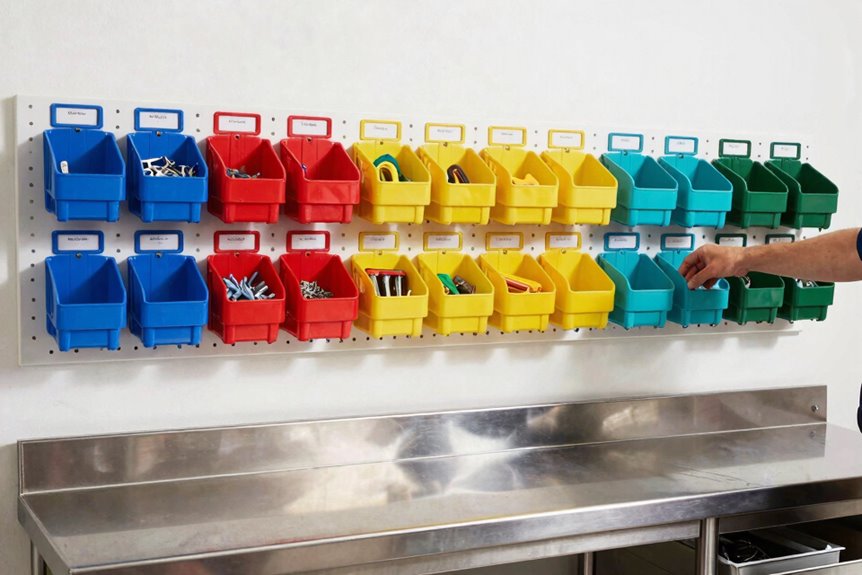
I paint my shop walls in bold stripes: red for cutting, blue for drilling, green for measuring. This system lets your eyes land on the right zone before conscious thought. Keep your most-used items within 24 inches of where you actually work, not across the room collecting dust. Following this color system consistently eliminates the daily search for tools like your tape measure.
Zone Color Selection
Why waste ten minutes hunting for a wrench when color alone can guide you there in seconds. Color-code each zone so your brain instantly knows where you belong. Pick bold, obvious hues: red for cutting, blue for drilling, green for finishing. Paint the surrounding walls, slap matching labels everywhere, and trace tool outlines in that same shade. Your eyes will land on exactly what you need.
Thread color-coded pegboard hooks, magnetic strips, and jar lids throughout each zone. Every storage aid matches: containers, shelves, labels. No mixed signals. Hang a quick-reference map near your entrance. Your hands will remember the layout before your brain catches up. This system converts chaos into organization, and you’ll navigate your shop with precision.
Task-Based Layout
Color-coding your walls is only half the battle. Building task-based zones on your tool wall ensures everything has a logical place when you’re mid-project and slightly panicking.
I group my tools by job: electrical, carpentry, finishing. Each zone gets its own distinct color. My most-used tools live in the center; heavy stuff sits at the bottom so I’m not doing awkward weightlifting at 7 a.m.
Here’s how I arrange each zone:
| Zone Color | Center Placement | Bottom/Back | Small Parts |
|---|---|---|---|
| Red | Wire strippers, multimeter | Hammer drill, conduit bender | Magnetic tins: marrettes, screws |
| Yellow | Chisels, hand saw | Circular saw, jack plane | Magnetic strip: drill bits, fasteners |
| Blue | Sanding block, putty knife | Belt sander, compressor | Magnetic tins: stains, brushes |
I mount my labeled 80%-used sets on permanent panels to eliminate searching. I snapped photos of my finished tool wall for quick reference. Zones that stay consistent build muscle memory faster.
Install Trays You Can Grab Without Reaching
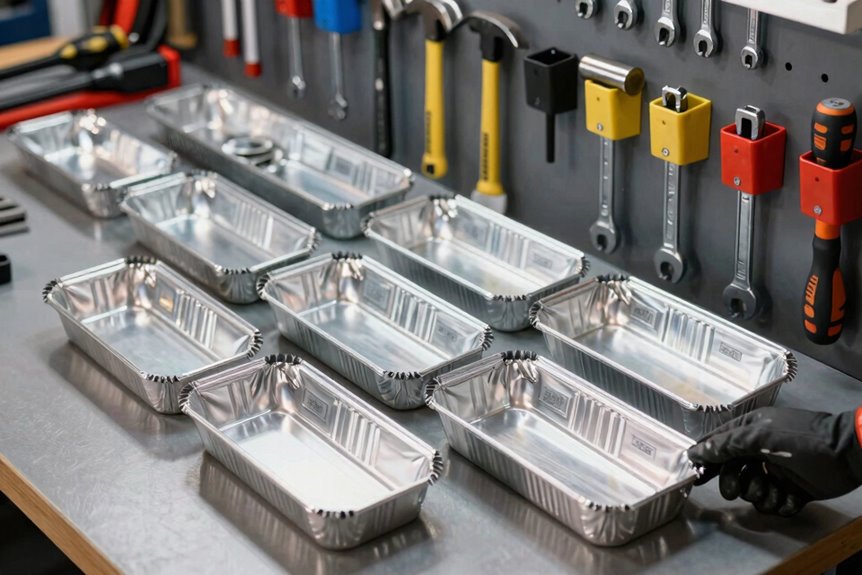
Where do you waste the most time in your shop? Bending down or stretching for tools you need right now wastes valuable work time. Grab-and-go trays mounted at elbow height solve this problem without requiring awkward positioning.
Stop wasting work time bending and stretching for tools—grab-and-go trays at elbow height keep everything within easy reach.
These storage solutions improve workflow efficiency. Use shallow 1–2 inch trays with clear labels and dividers. Sockets live in one tray, wrenches in another, bits get their own home. Each tray sits in a dedicated zone so your hands know where to go before your brain catches up.
The edge lips keep everything from sliding into chaos. Mount trays on adjustable rails so when you buy new gear, you just slide trays around. No rebuilding the whole system becomes necessary.
This setup reduces bending and stretching, which decreases back strain and saves time locating tools.
Make Compartments That Click or Stack Together
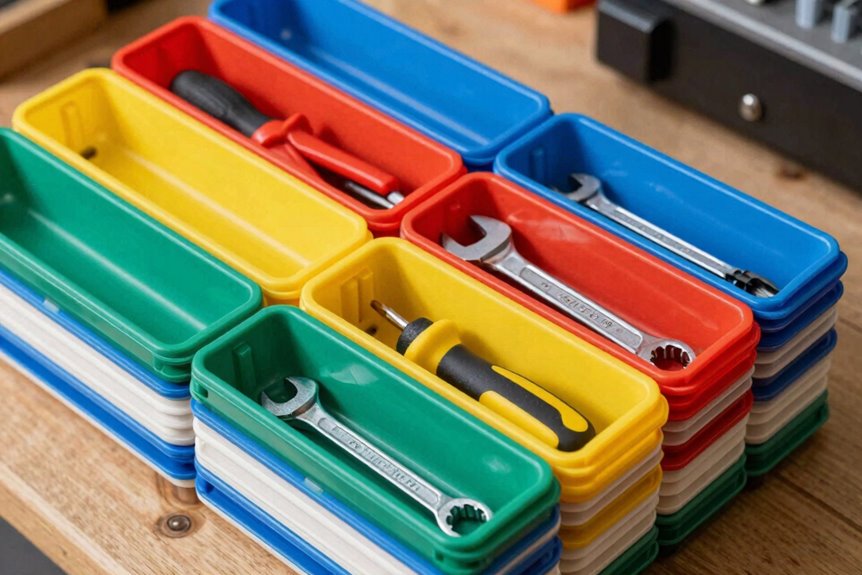
I swear my old toolbox ate more 10mm sockets than my car ever did, so I finally switched to modular bin systems like the Akro-Mils 44-drawer cabinet where each little drawer clicks shut with a satisfying snap. For bigger stuff, I stack Iris Weathertight containers. Each one locks onto the next, so I can build a tower that won’t tumble when I’m rushing. You’ll hear that click and know everything’s still right where you left it.
Modular Bin Systems
Within minutes of installing my first modular bin system, I stopped digging through chaotic junk drawers for escaped screws and lost drill bits. These interlocking compartments click together like building blocks, letting me rearrange them whenever my collection grows. I use clear-lidded bins so I can see what’s inside without popping tops, and I slap on labels for anything tricky. My wall-mounted track rail keeps everything locked tight; no spills occur when I’m hauling gear to a job site. I’ve color-coded my setup: red for drill bits, blue for fasteners. This system eliminates the time wasted searching for misplaced items. Most people discover within weeks that organized storage saves them hours each month.
Stackable Container Options
Modular bins work great, but you can push organization further with stackable containers that snap into vertical towers. These storage solutions transform cluttered benches into clean command centers.
Look for interlocking edges or click-tight lids that grip tight when you’re rushing to a job site. You don’t want your tower toppling mid-grab. Pick shallow, clear containers, about 2 inches deep, so you spot that 3/8-inch socket instantly without digging through layers.
Label each compartment. Use transparent lids. Color-code by project type: red for electrical, blue for plumbing. When your system clicks together literally, you achieve immediate organization and efficiency. Reconfigure on the fly as your tool collection grows. Stack them up, and you’ll locate any item in under 50 seconds.
Mount Your Most-Used Tools at Eye Level
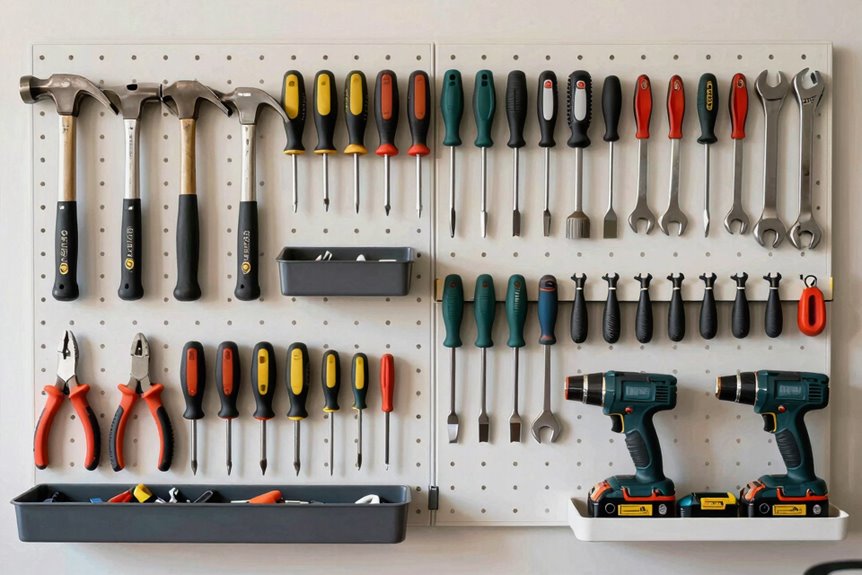
Where do your eyes land first when you walk into your workspace? Mine catch on the chaos, so I fixed that. I mounted my most-used tools at eye level, right at 57 to 63 inches up, and suddenly I’m not hunting anymore.
That middle zone, roughly where your gaze rests naturally while standing, becomes your command center. I’ve got screwdrivers, pliers, and my trusty tape measure all sitting there with no bending, no tiptoeing. I traced outlines on a pegboard behind them so each tool snaps back to its spot like a puzzle piece. Heavy stuff stays secure with magnetic holders to keep my wrench from falling.
Group by workflow, not alphabetically. Current project tools cluster together so you can grab and go in under fifty seconds.
Add a Raised Back Row for Deeper Storage
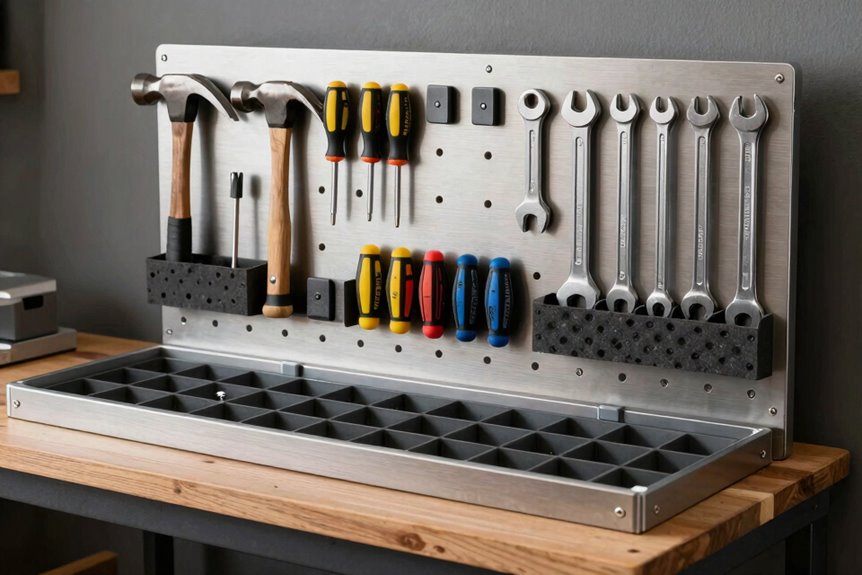
Once you’ve got your eye-level tools locked in, you’ll notice the wall still has room, but deeper items keep sliding behind your front row and disappearing. Adding a raised back row solves this problem.
Position this second tier 8–12 inches behind the front tools. This gap lets you see labels clearly without craning your neck. The elevation, about four inches higher, creates a stadium effect. Your power drill bits and long screwdrivers now stand visible instead of buried.
Set your back row 8–12 inches behind and four inches higher—suddenly everything’s visible, not buried.
Mount sturdy brackets that handle the weight without wobbling when you grab your heaviest wrench.
Pair this setup with clear-front bins for small parts. Everything stays visible, and nothing gets lost in the shadows.
This layered approach transforms a cluttered wall into an organized storage system.
Label Every Spot With Photos or Clear Names
I snap a quick phone picture of my drill sitting in its spot and tape it right there at eye level. Visual references eliminate guessing when you’re in a hurry. You can use clear printed names too, but actual photos work better since your brain recognizes the yellow DeWalt faster than the word “drill.” Whether you go with snapshots or bold labels, keep them updated when you swap tools around so your system remains accurate.
Visual Labeling Methods
A picture’s worth a thousand curses muttered while you’re hunting for that one socket. Visual labeling methods transform chaos into clarity faster than any fancy system.
I snap photos of every tool and print them on adhesive labels at least two inches tall with bold, high-contrast text. I stick these labels right where the tool lives, at its exact outline on my pegboard. No guesswork, no squinting.
I pair close-up shots with contextual images showing the tool in action. My drill photo includes the bit I use most. My socket label shows it gripping a bolt. This dual-image approach helps my brain connect faster, especially when I’m rushing.
I add a simple legend near my workbench. These visual cues mean I grab the correct tool every single time without hesitation.
Name-Based Organization Systems
Why waste precious minutes second-guessing where something goes. Label every tool spot with photos and crystal-clear names, creating instant visual breadcrumbs that guide you to the right location every time.
Use consistent naming like “Screwdriver – Philips #2 – 6 in” or “Hammer – 16 oz” across your entire space. No guessing, no hunting. Position these labeled photos right at panel edges where your eyes catch them naturally, without awkward head-tilting.
Keep a master wall chart listing every tool name and its exact home for quick cross-checking when you’re in a rush. Update your photos when tools change. A stale system creates confusion; an accurate one returns you to efficiency every time.
Sketch Tool Locations on Box Lids for Quick Reference
Tool chaos costs us more than patience; it steals time we’ll never get back. I sketch simple maps on my box lids so anyone on our crew can grab the right container without hesitation.
I draw a basic grid on each lid, marking exactly where tools live inside. Color-coded outlines help too. Blue marks drilling stuff, and red marks measuring gear. No guessing, no digging.
I snap a quick photo of the actual contents and tape it to the lid as a mini-map. Below that, I scribble a three-word reminder: “Check after use.” This keeps people accountable.
Every Friday, I spend five minutes updating these sketches. Tools wander, but my maps stay accurate. When everyone follows the same system, the crew operates efficiently.
Pick One Socket Rail System and Stay With It
I’ve learned the hard way that mixing six different socket rail brands leaves you fumbling through a plastic jungle when you need a 10mm fast. Pick one rail system. I’ve stuck with standard 1/4-inch peg rails from Ernst Manufacturing because their bright orange clips let me spot sizes instantly, and you’ll build muscle memory that actually sticks. When you stop second-guessing where each socket lives, your hands will find it blindfolded.
Standardization Benefits
Where does that 10mm socket always seem to vanish right when you need it? Standardization solves this frustration.
When I commit to one socket rail system, everything changes. My tools concentrate in one visible framework. No more hunting through mismatched clutter.
This choice transforms how I work:
- Eliminates cross-system confusion that wastes precious seconds
- Creates predictable locations my hands remember automatically
- Lets me add magnetic accessories and labeled hooks that actually fit
- Speeds up both project setup and future reorganizing
I stick with my chosen rails because consistency builds muscle memory. After repeated use, I reach without looking. That 10mm appears in under 50 seconds, every single time.
Standardization removes frustration by creating reliable systems.
Rail Selection Criteria
Why stumble through a maze of mismatched organizers when one solid rail system clears the path? Sticking with a single vertical rail system builds muscle memory and keeps your workshop functional.
Look for rails that handle multiple hook sizes, such as ¼-inch pegs for gloves and ½-inch for safety goggles. Your hands instinctively know where everything lives. Choose low-profile tracks under two inches deep; they hug tight walls without blocking your swing space. Ensure yours mounts securely with 50-pound anchors for heavier gear like drills.
Add color-coded hooks. Red indicates cutting tools, blue indicates measuring tools. This system lets you spot what you need instantly without rummaging through your workspace.
Use a Modular Mat Base for Swappable Accessories
How often have you scrambled through a cluttered drawer, hunting for that one socket while your project sits half-finished? I’ve been there, knuckles scraped, patience shredded. That’s why a modular mat base works well. It features interlocking panels that click together like puzzle pieces.
You bolt accessories where you need them. Sockets sit tight. Rails line up. Everything stays put, no rattle, no roll.
This system delivers these benefits:
- Interlocking mats reconfigure in seconds when your tool collection grows
- Locking cutouts keep sockets aligned so you grab, not search
- Knee-level bases plus risers put every tool within easy sweep
- Scalable design means you expand without starting over
Build it once. Adapt forever. Get back to making things that matter.
Stop Rattles With Foam or Magnetic Holders
Ever opened your toolbox drawer and heard it sound like a junkyard orchestra? I’ve been there, and it’s embarrassing when someone’s watching.
I solved this with foam inserts cut exactly to my tool shapes. No more clanking. My wrenches nestle into custom pockets like they’re sleeping. For my metal drivers, I added thin magnetic strips, neodymium ones, about 1/16 inch thick. They grab hold tight.
The combo works wonders. My heavy drill sits on foam with a magnet backup. Zero shifting, zero noise. I even color-coded my foam blocks: red for metric, blue for standard. Finding anything takes me thirty seconds flat.
You’ll have organized drawers that function silently. No more junkyard concerts. Just smooth, quiet storage that demonstrates tool control and preparation.
Hang Frequently Used Tools on Pegboard
My pegboard changed everything. I used to dig through drawers for my trowel or paint brush, wasting precious minutes. Now I see every tool at a glance.
I mounted my pegboard on the workshop wall, but you can roll one on wheels or attach it to a cabinet side. Vertical space is your friend here.
Mix it up with hooks, shelves, and baskets. Small fasteners nest in baskets; spirit levels rest on shelves. Paint outlines around your most-used items so you know exactly where they belong.
Style matters too. I painted mine cobalt blue, but Ikea’s Skaddis works if you prefer clean lines.
Your pegboard setup grows with you. Reconfigure anytime your collection changes.
- Hooks for hanging
- Shelves for bulk
- Baskets for bits
- Outlines for memory
Mount Rails for Grab-and-Go Clamps and Gloves
The hunt for a clamp at exactly the wrong moment taught me that “somewhere in the drawer” isn’t a location. That’s why I use this storage solution: vertical rails mounted right beside my workbench, where my clamps and gloves live in plain sight.
I space hooks every six inches so my 12-inch F-clamps and tiny spring clamps hang snugly together. Thicker welding gloves need wider hooks; I just adjust the hangers to fit them.
I color-coded my rail with red for glue-up clamps and blue for assembly gloves. Now everything returns to its spot without thinking. I’ve paired mine with a magnetic tin for loose hardware. Grab, use, replace. The whole process takes fifty seconds maximum. You’ll stop digging through drawers.
Build French Cleat Panels You Can Rearrange
How do you build a tool wall that grows with you instead of fighting against you? French cleat panels offer a solution. These interlocking half-inch wood cleats mount to your wall, letting individual boards hang and rearrange in seconds.
What makes this system effective:
- Each panel holds different tools—slots, hooks, whatever you need
- Baltic birch plywood supports heavy drills and impact drivers
- You expand without tearing everything down
- Everything clicks into place with satisfying precision
I connect mine to a wall rail system for secure alignment. When my collection grows, I don’t panic. I just add another panel. The modular approach lets me build racks, stands, and shelves that shift with my projects. No more rigid walls that fail to adapt to your changing needs.
Stick Small Bits and Tins to Magnetic Strips
French cleat panels handle your big tools beautifully, but what about the tiny stuff that disappears the moment you need it. Magnetic strips solve this problem.
French cleats for the big tools, magnetic strips for everything that vanishes when you need it most.
I mount mine on walls, workbenches, even cabinet doors wherever my hands typically reach. The strips grab metal tins instantly, no fumbling required. I pair mine with clear-topped containers about 3 inches wide, tossing in screws, nails, and bolts. Labels face outward; I see everything at a glance.
No more drawer-digging marathons. A tin snapping to the strip saves twenty seconds per retrieval.
I arrange strips in L-shapes above my bench. Build plans magnetize right beside my parts bin. Workflow stays smooth; brain stays uncluttered.
Tiny pieces, zero stress.
Screw Jars Under Shelves for Fasteners and Parts
I always seem to need a handful of screws right when my bench is buried under half-finished projects. That’s why I screwed jar lids to the underside of my shelves. Now my fasteners hang down like tiny, clear chandeliers. I use 4-ounce Ball mason jars with their rims mounted to ¾-inch plywood strips, and they twist right into place.
This organization trick keeps everything visible and dust-free. I can spot brass screws from three feet away. No more digging through coffee cans or mystery bins.
What makes this system work:
- Clear glass shows contents instantly, no guessing or opening required
- Labels on lids speed up grabbing the right size
- Vertical space stays free for bigger tools
- Re-sorting after projects keeps the system honest
My workspace feels calmer with this setup. The visible inventory and quick access to fasteners eliminate the frustration of searching through unmarked containers.
Roll Your Active Tool Set Right to the Job
You know that achy feeling when you’ve walked back and forth to your tool chest seventeen times for one project. I’ve cut that mess out by strapping my most-used tools onto a rolling cart. Mine’s a 36-inch Husky mobile workbench that I wheel right to where I’m working. It’s like having a food truck, but for wrenches and screwdrivers. Your workflow never stalls because everything you need glides along with you.
Mobility Saves Time
The best shop hack I’ve found is letting my tools come to me instead of chasing them down. I roll my entire active setup to the job, and it’s transformed how I work.
What makes mobility a game-changer:
- My rolling cart carries my 80% tool set, the wrenches, drivers, and bits I grab constantly
- Wheels with locking casters (3-inch swivel ones work best) glide through narrow aisles between benches
- Everything sits in marked zones: fasteners left, drilling center, measuring right
- I scoop and return tools without hunting; it’s like muscle memory
I park the cart, lock two wheels, and my whole shop shrinks to arm’s reach. The rest stays in secondary storage. No more marathon walks. No more searching for misplaced tools. Work flows without interruption.
Workflow Enhancement Tool
Rolling a cart to the job beats walking back and forth repeatedly. I keep my active tool set on a rolling cart with wheels that lock, carrying just the 20 tools I use for 80% of my tasks. Everything stays within arm’s reach; no more hunting through drawers.
I mark each spot with tape outlines so tools snap back like puzzle pieces. My cart has a 10-session active zone: screwdrivers here, tape measure there. When I finish, I roll the whole setup to the next job. Modular panels slide to my exact work height, whether I’m kneeling or standing.
This tool organization system reduces setup time and eliminates the need to locate tools mid-task. You’ll start every job ready to work.
Slip Small Tools Into Back-of-Door Pockets
One frustrating moment we’ve all shared: I’m halfway through fixing a shelf, and my favorite Phillips screwdriver has vanished into the workshop void. This chaos ends when I slip my small tools into back-of-door pockets.
I’ve transformed my cabinet doors into prime organizing real estate. These vertical pockets, slim ones for 1–2 inch items and wider slots for bulkier gear, keep everything visible and grabable. No more digging.
When organizing tools this way, I follow four essentials:
- Mount pockets on interior cabinet or closet doors for instant arm’s-reach access
- Pick transparent or color-coded pockets so I spot what I need immediately
- Secure pockets with adjustable straps to stop annoying rattles
- Vary pocket spacing to cradle everything from needle-nose pliers to my trusty utility knife
This system creates order in your workspace and makes tools accessible when you need them.
Stand Garden Tools in Repurposed Umbrella Holders
Where do shovels and rakes always end up in your garage? Mine have tangled in cobwebs, blocked the car door, and defeated my organizational efforts.
Shovels and rakes always end up tangled in cobwebs, blocking the car door, defeating every organizational effort.
Repurposing an umbrella stand solves this problem. Those sleek chrome cylinders, often 24 inches tall with weighted 10-inch bases, cradle long-handled tools vertically. I slide my shovel into one slot, my hoe into another. No more domino crashes.
I group smartly: digging tools cluster together, cultivators huddle separately. Color-coded grip tape marks each section so I spot my trowel instantly. Some folks prefer Brother P-touch labels; I like neon orange electrical tape. Both work.
Every spring, I wipe rust from the chrome and tighten any wobbling feet. This simple stand keeps my floor clear and prevents tool damage.
Rack Long Tools on Vertical Shoe Organizers
Why let your rakes and shovels sprawl across the floor when a simple shoe organizer can stand them at attention? I mounted a 12-pocket canvas shoe organizer on my garage wall, and suddenly every long tool had a home. This vertical storage trick transformed my chaotic corner into something functional.
- Hang organizers at eye level so tool handles poke up like prairie dogs for instant spotting
- Measure pocket width before buying; my 5-inch slots hug my shovel hafts snugly
- Trace each tool’s outline on its pocket so return trips take mere seconds
- Pick clear mesh styles so you see the metal gleam, not guess what’s hiding
Slide tools in handle-first. Label pockets with a Sharpie. You’ll locate that hoe in seconds when rain’s coming and you need it immediately.
Keep Your System Working Without Starting Over
I got my tools standing tall in their shoe organizer pockets, but neatness doesn’t last on its own. Once a week, I scan my workspace to keep 80 percent of essentials within arm’s reach. Anything used less frequently gets moved to secondary storage space.
My system relies on a ten-session rule. I track what I actually grab. If something sits idle, it migrates outward. I trace tool outlines with a Sharpie so returns feel obvious, like a puzzle piece snapping home. French cleats and magnetic strips let me rejigger layouts without drilling fresh holes.
Clear countertops mean I spot strays instantly. No dust bunnies hiding my tape measure. This system bends; it doesn’t break. I build habits, not museums.