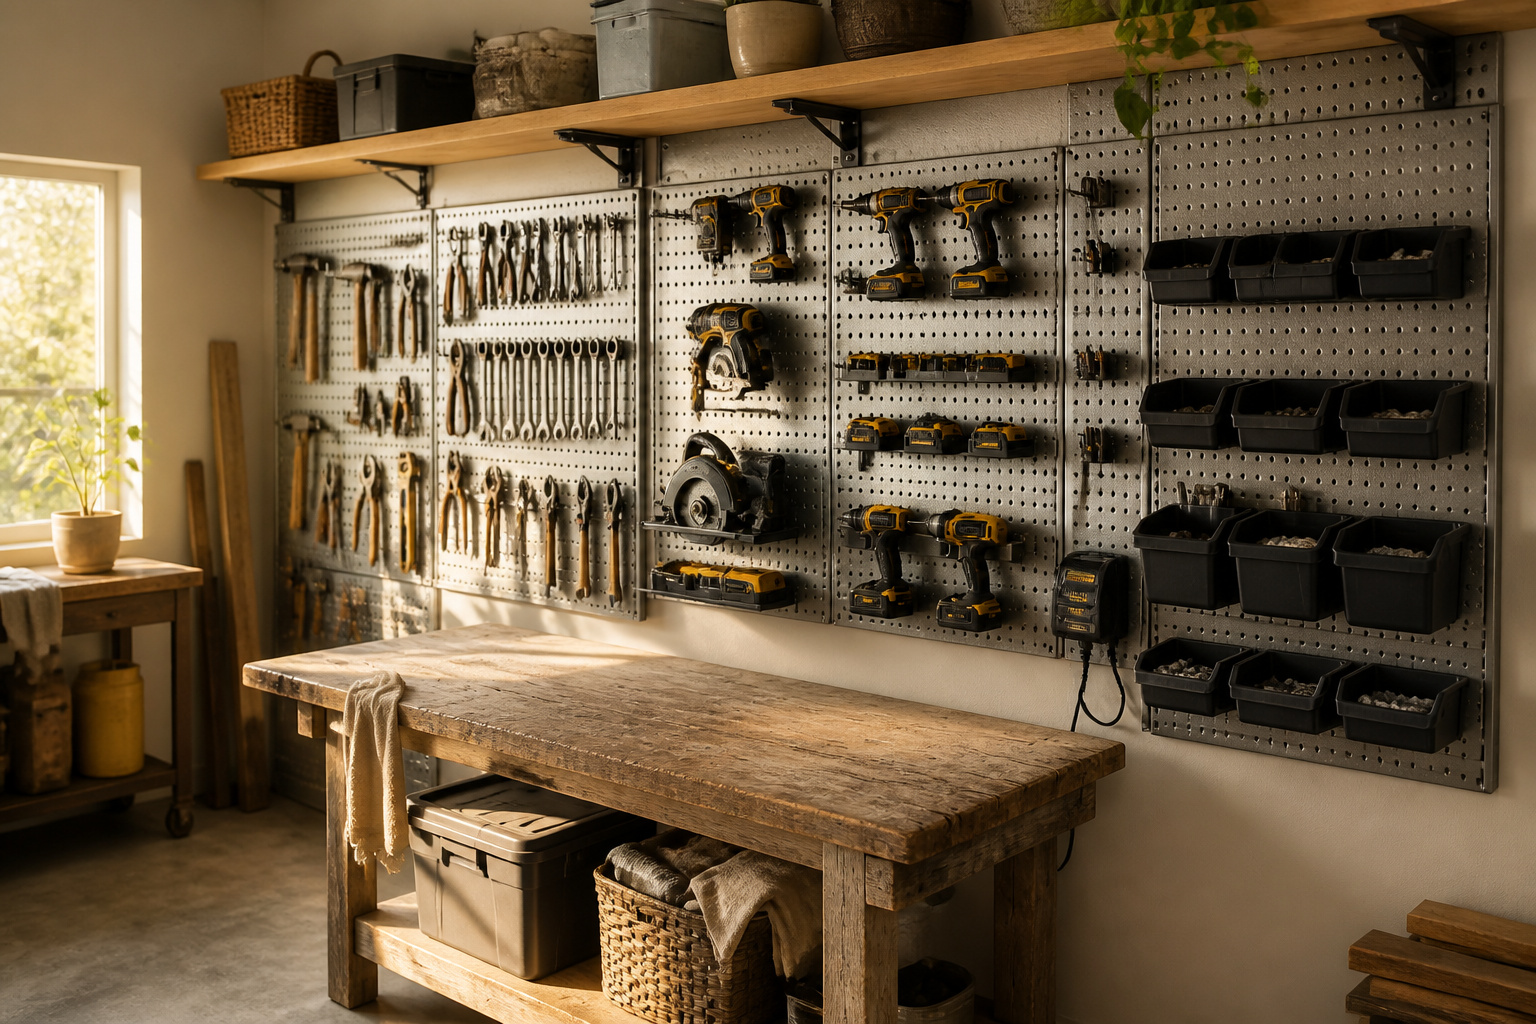
A tool organization wall is a mounted system of panels, hooks, shelves, and bins that keeps hand tools, power tools, and hardware within arm’s reach and off your workbench. The catch is that a kit built mostly for hooks will leave your drill batteries in a pile, while one stuffed with bins buries the screwdriver you reach for daily. OmniWall’s galvannealed steel panels run about $170 for a power tool starter kit, and the same hardware bolts onto later expansions without dismantling what’s already up.
OmniWall Kits
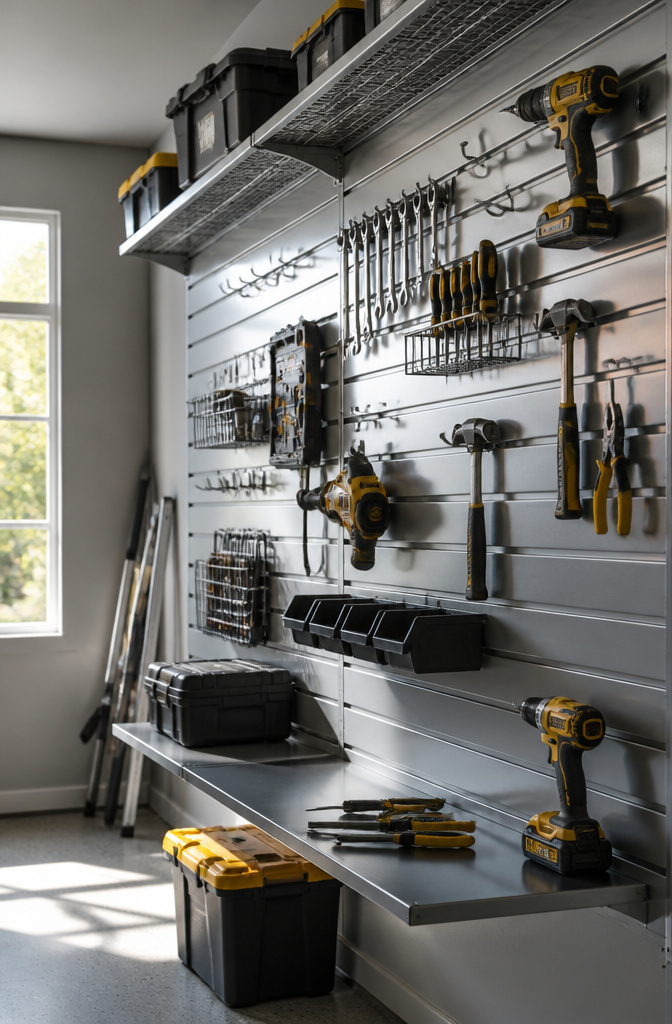
Modular wall storage earns its keep when your tool collection outgrows the first layout. OmniWall builds its panels from galvannealed metal, a zinc-iron coating that handles garage humidity without the rust you’d expect from raw steel. The surface takes hooks, shelves, and bins in any arrangement, then takes them down again when you buy a miter saw and need the real estate.
The OmniWall Power Tool Kit runs $169.57, which gets you the panels and the hardware to hang drills, chargers, and the batteries that always seem to multiply. The OmniWall Shelving Kit, at $221.64, adds broader surfaces for cases and supplies that won’t hang flat. Either kit works as a starting point; panels and accessories bolt on later without dismantling what’s already up.
Pegboard Systems
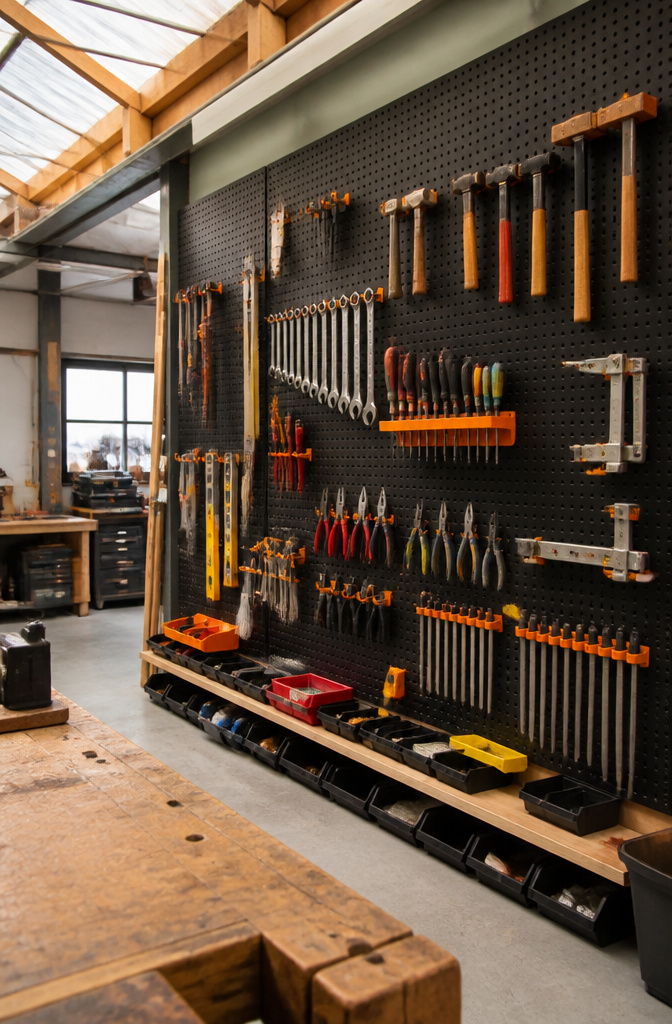
A traditional pegboard still earns its place on a tool organization wall when you want every wrench and driver in open sight. The panels accept standard hooks, and you can rearrange the layout in minutes as your collection shifts. That flexibility is the real draw. You are not locked into a rail spacing or a proprietary bracket; if a hook bends, you swap it for a quarter at any hardware store.
The Weekend Warrior XL Pegboard System runs $997.29, which sits at the high end of what most weekend-project budgets allow. For that price you get a modular setup designed to hang both horizontally and vertically, so you can wrap corners or work around a breaker panel. The panels themselves are heavier gauge than the pressed-board pegboard I grew up with, and the finish resists the oil smudges that turn cheap board into a blotchy mess.
Whether that price makes sense depends on how much wall you are covering and how long you plan to stay in the space. A renter with a two-car garage might spend a third of that on a shorter run of standard pegboard and still have budget left for the hooks. But if you own the place and want a system that expands without looking like a patchwork, the modular kits grow with you.
Shelving Units
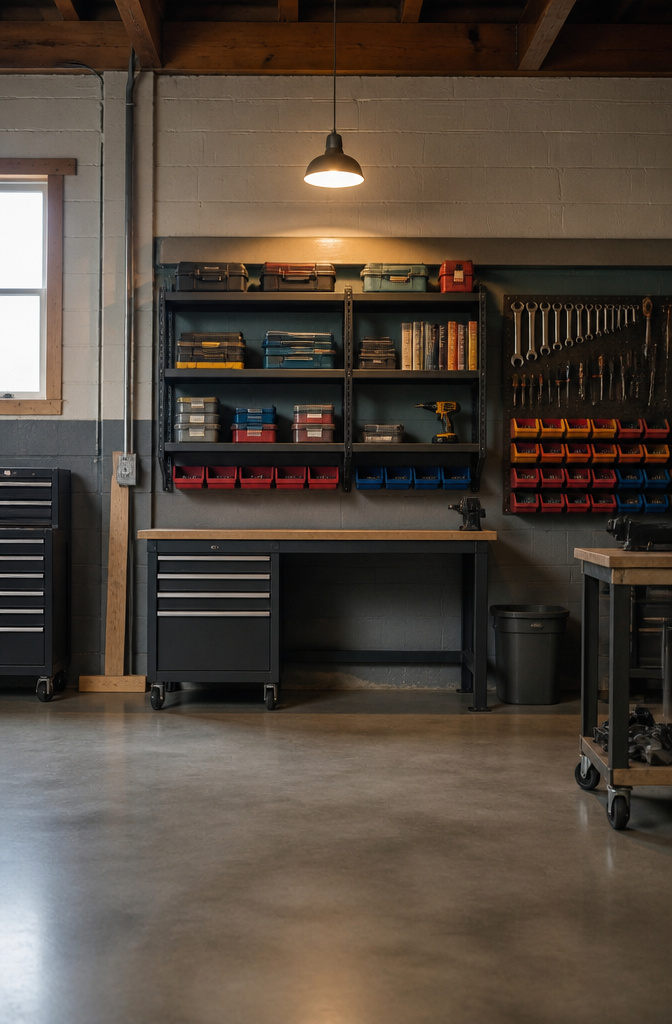
Wall-mounted shelves fill the gaps that pegboard and hooks leave behind. The OmniWall Shelving Kit runs $221.64 and shows how a shelf layer fits into a modular wall system rather than floating on its own. You mount the shelf brackets to the same slotted panels that hold bins and hooks, so the whole wall stays one coordinated surface instead of a patchwork of separate hardware.
Shelves store what vertical organizers drop: shop manuals, the small parts cases that slide around in drawers, the coffee can of lag bolts you keep meaning to sort. In a weekend install, a shelf also gives you a landing zone while you work, somewhere to set the drill before you find its hook. The shelf kit at that price covers roughly a 48-inch width, which is enough to span a single stud bay or sit centered over a workbench without crowding the wall above it.
The tradeoff is weight and depth. A shelf on a tool wall carries less than a garage stud shelf bolted into framing, and anything deeper than about a foot starts stealing elbow room. I would use it for the light, awkward stuff that does not hang well: boxes of screws, the charger station, the project notebook that otherwise lives on the table saw. Leave the heavy gear on hooks or in the lower bins where gravity helps rather than hurts.
Magnetic Tool Holders
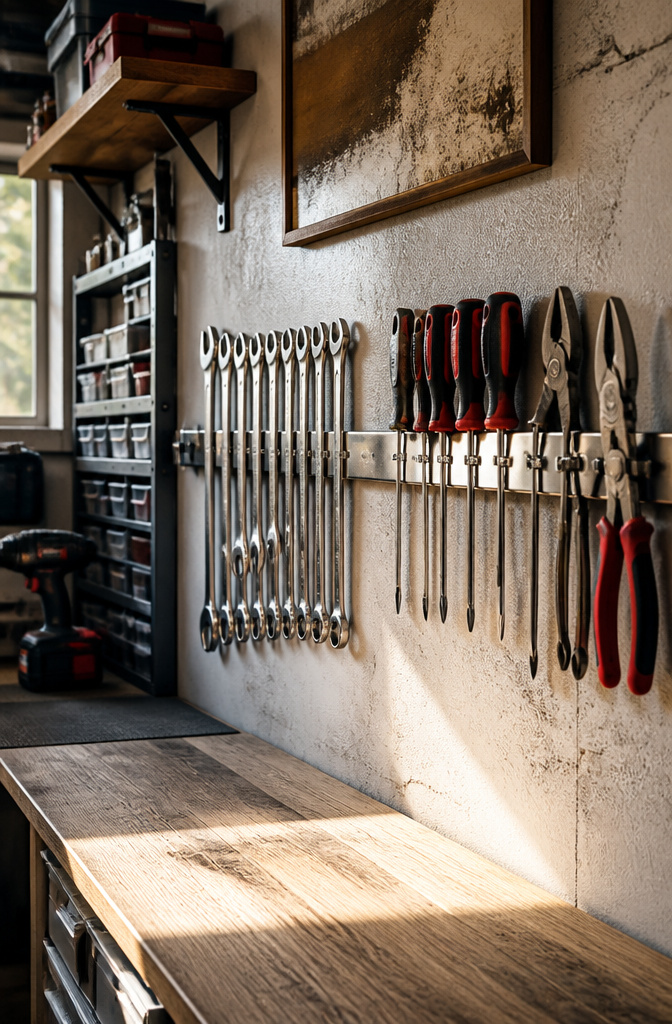
Steel tools stick to a magnetic strip rated for the weight you actually have, and that rating printed on the package is worth believing. Brass, aluminum, and anything with a coating thicker than a few mils will slide right off, so the first thing to do is sort your metal and test it. The strip itself mounts with screws into studs or with heavy-duty adhesive on a clean painted surface, though the adhesive route tends to let go in a garage that sees temperature swings.
Placement matters more than the strip’s strength. Mount it where the handle, not the blade, hangs lowest; a chisel falling handle-first is a bruise, but a chisel falling point-first is a trip to urgent care. I keep mine above bench height and away from outlets where cords dangle, since a magnet that grabs a drill bit will grab a power cord just as happily.
The real advantage is speed. A wrench lifted straight off the wall goes back just as fast, which means you actually do it. Paired with a shallow shelf below for the non-ferrous stuff, magnetic strips fill the gap between pegboard and closed cabinets without the fuss of hooks or bins.
Tool Hooks and Bins

The right hook for a hand tool and the right bin for fasteners are where a tool organization wall starts to earn its keep. OmniWall’s kits ship with a spread of both, and the mix matters more than the panel itself.
Single-prong hooks hold hammers, levels, and anything with a hole in the handle. Double hooks cradle cords or garden tools without letting them swing into the panel. What surprised me, reading through the specs, is how much the bin selection varies by kit: some include shallow cups for screws and bits, others deeper ones for spray cans or driver batteries. The shallow cups work better than I’d expect for small hardware, but a battery standing upright in a three-inch bin is asking to tip.
The real flexibility is in mixing. A panel runs hooks along the bottom third for weight and bins across the top for reach. OmniWall’s hardware is modular, so a bin that came in one kit can move to a hook-only panel later, or vice versa. That matters because the tools you reach for change once you actually live with the wall.
Power Tool Storage Solutions
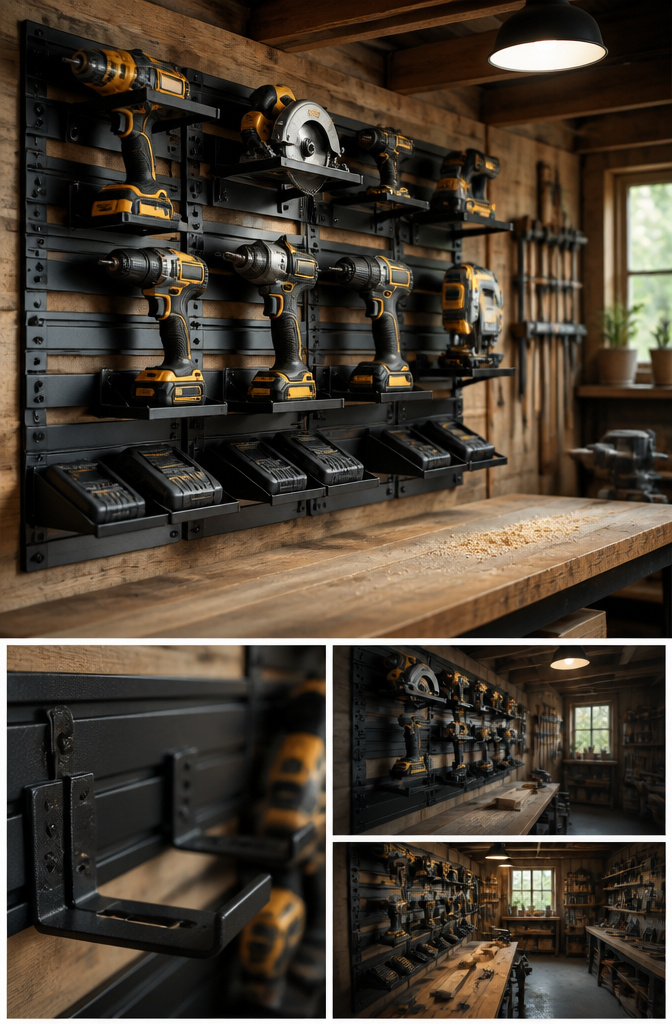
Power tool storage asks more of a wall than hand tool storage because the weight sits higher and the chargers need a home too. Hand tools hang quietly; a drill or impact driver wants a shelf or cradle that keeps it upright and the battery accessible. The OmniWall Power Tool Kit, priced at $169.57, builds in that specificity with brackets sized for the tools rather than the usual hook-and-hope approach.
What separates a dedicated power tool kit from a general wall system is whether it accounts for chargers and spare batteries. A hand tool can hang dead; a power tool needs to live near its power source or the wall turns into a scramble every morning. The OmniWall panels also hang horizontally or vertically, which matters in a garage where stud spacing or existing shelving already ate the easy wall space.
Horizontal mounting, specifically, changes how you reach for the tool. Vertical panels suit narrow gaps between windows or doors; horizontal runs sit more naturally above a workbench where you stand in place. The Horizontal Power Tool Kit runs $183.74, so the orientation choice costs about fourteen dollars and either saves or wastes the wall space you actually have.
What Typically Comes in a Kit
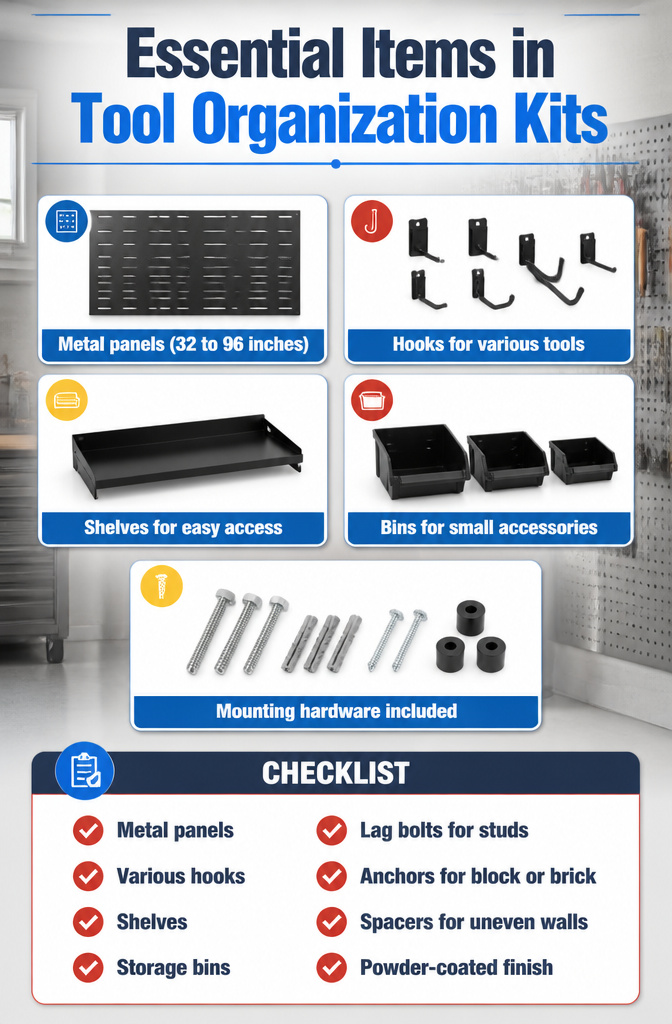
A typical metal wall organizer kit ships with everything needed to get tools off the bench and onto the wall in one box. The panels themselves are usually 22-gauge cold-rolled steel, pre-drilled for mounting and powder-coated to resist the moisture swings most garages see year-round. From there, the mix varies by kit size, but most include:
- Metal panels in widths from 32 to 96 inches, designed to interlock or sit flush against each other
- Hooks in several profiles: straight peg hooks for hand tools, curved hooks for extension cords, and angled hooks for drills or drivers
- Shelves for cans, boxes, or frequently reached items that do not hang well
- Bins with lips that lock into the panel slots, sized for fasteners, bits, or small accessories
- Mounting hardware including lag bolts for studs, anchors for block or brick, and sometimes spacers to clear uneven walls
The bins and shelves are not universal sizes across brands, so mixing a shelf from one kit with panels from another can leave a gap that rattles. I have learned to check slot spacing before ordering add-ons, since 1-inch and 16-inch systems look identical in photos but do not play together on the wall.
Choosing the Right Setup
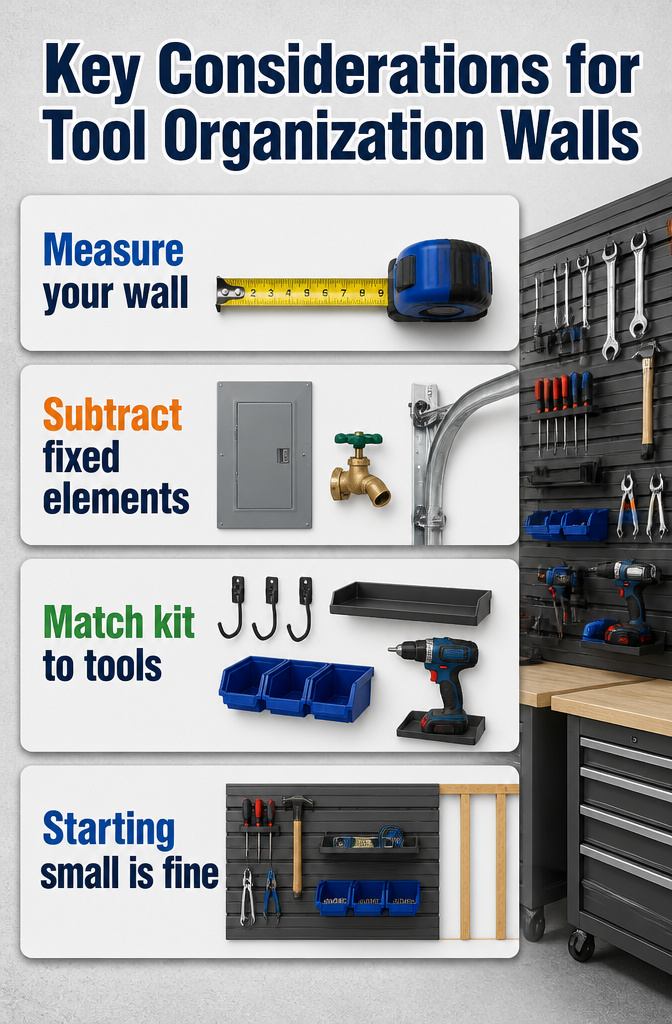
A tool organization wall only works if the kit matches the room you actually have. Measure the wall first, then subtract anything already fixed in place: a breaker panel, a hose bib, or the garage door track that eats the top two feet. The usable height and width left over tell you whether a starter kit fits as-is or needs trimming before you even open the box.
Next, sort what you own by how you grab it. Hand tools on hooks, loose fasteners in bins, power tools that need shelf depth and clearance for cords: each category needs a different attachment. OmniWall and similar modular systems ship with panels, hooks, shelves, bins, and mounting hardware in the box, but the mix matters more than the panel count. A kit heavy on hooks leaves your drill batteries in a pile; one loaded with bins buries the screwdriver you use daily. Match the included accessories to the pile on your workbench, not the one you wish you had.
Modular systems are built to grow, so starting small is not starting wrong. A single panel run that holds what you use most gives you a working wall now, with open studs waiting for expansion when the collection changes.
Expanding Later
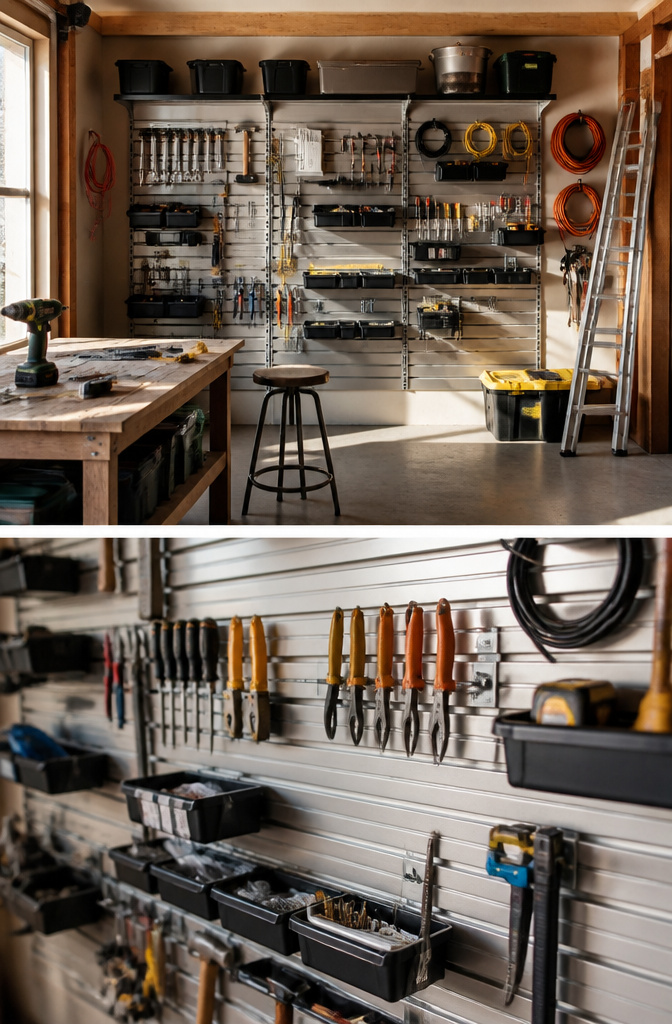
A tool organization wall only earns its keep if it grows with you. Modular systems solve this by design, and OmniWall kits are built to expand with extra panels, hooks, bins, or shelves added whenever your collection outgrows the original layout. The metal panels mount independently, so you are not locked into the footprint you bought on day one. You can start with a single panel above a workbench and line the full garage wall two years later without tearing anything down. That flexibility matters for renters in particular, who may not want to sink money into a fixed installation they will abandon in twelve months. The hardware stays consistent across the line, so accessories bought for your first panel fit the fifth one too.
Installation Basics
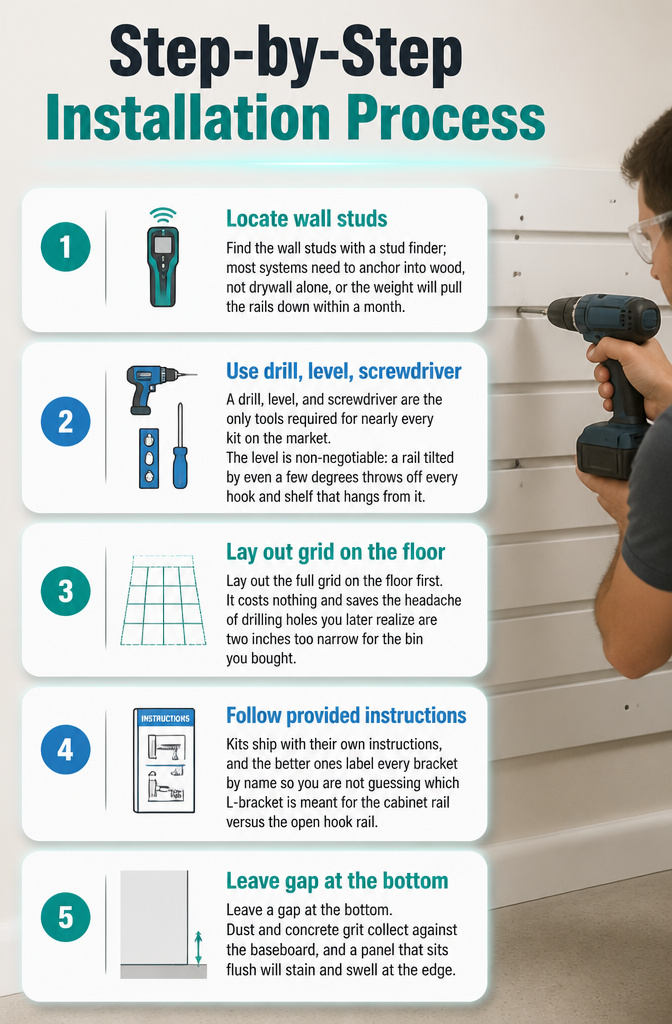
- Find the wall studs with a stud finder; most systems need to anchor into wood, not drywall alone, or the weight will pull the rails down within a month.
- A drill, level, and screwdriver are the only tools required for nearly every kit on the market. The level is non-negotiable: a rail tilted by even a few degrees throws off every hook and shelf that hangs from it.
- Lay out the full grid on the floor first. It costs nothing and saves the headache of drilling holes you later realize are two inches too narrow for the bin you bought.
- Kits ship with their own instructions, and the better ones label every bracket by name so you are not guessing which L-bracket is meant for the cabinet rail versus the open hook rail.
- Leave a gap at the bottom. Dust and concrete grit collect against the baseboard, and a panel that sits flush will stain and swell at the edge.
Frequently Asked Questions
What is included in a typical metal wall organizer kit?
A typical kit ships with 22-gauge cold-rolled steel panels pre-drilled for mounting, plus a mix of hooks, shelves, bins, and mounting hardware such as lag bolts and anchors. The exact spread varies by kit size; some lean heavier on hooks while others include more bins or a shelf layer. Check the included accessories against your actual tool pile before buying, since a hook-heavy kit leaves drill batteries in a pile and a bin-heavy one buries daily-use hand tools.
How do I choose the right kit for my needs?
Measure your wall first, then subtract any fixed obstacles like breaker panels or garage door tracks to find usable space. Next, sort your tools by how you grab them: hand tools want hooks, loose fasteners need bins, and power tools require shelf depth plus charger clearance. Match the kit’s included accessories to the pile on your workbench rather than the collection you imagine having someday.
Can I expand a kit with additional panels or accessories later?
Yes. OmniWall panels mount independently, so you can start with a single panel above a workbench and line the full wall later without tearing anything down. Hardware stays consistent across the line, meaning accessories bought for your first panel fit the fifth one too. That flexibility especially helps renters who may not want to sink money into a fixed installation they will abandon within a year.