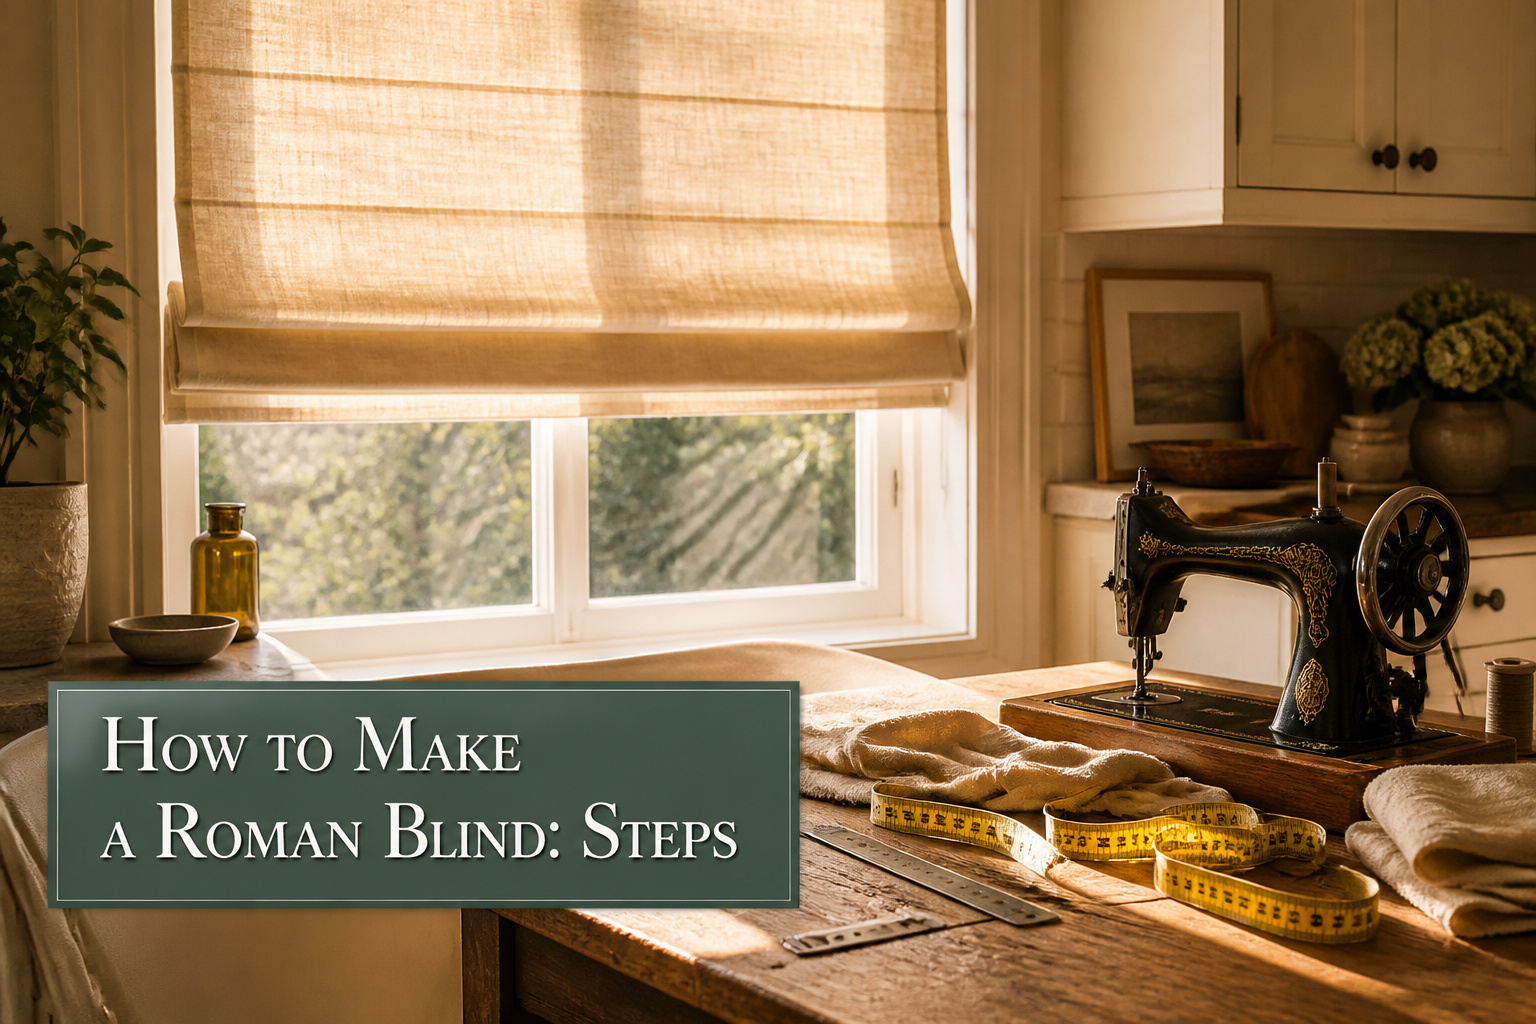
A finished Roman blind takes one weekend, $200 in hardware, and a machine that can handle multiple layers of fabric. Most first attempts fail at the measuring stage, where people cut to the window size and watch their coverage disappear into seams.
The fabric must be 3 inches wider and 5 to 10 inches longer than the finished dimensions, with lining cut an inch narrower so it tucks cleanly inside the side hems. Get that wrong and every step after it compounds the mistake.
1. Measure the Window and Pick Inside or Outside Mount

The first decision is whether the shade sits inside the window frame for a cleaner look, or outside to cover the trim and block more light. Inside mount keeps the profile slim and lets molding show; outside mount buys you coverage when the frame is too shallow or you need the room darker.
Measure the width and height of the exact area you want covered. For outside mount, that means the trim too. The fabric itself has to be larger than the finished shade: 3 inches wider and 5 to 10 inches longer than those final dimensions. That extra width is for side hems, and the length leaves room for top and bottom seams plus the rod pocket at the base. Lining runs the same height as the front fabric and about an inch narrower, since it does not need the same side allowances.
I have seen the mistake of cutting fabric to the window size first, then realizing the seams eat the coverage. Add the seam allowances to your measurements before you buy, not after.
2. Cut Fabric and Lining to Size

Lightweight fabrics fold into cleaner pleats when the shade raises, so linen or cotton blends behave better than heavy upholstery weight. The face fabric needs 3 inches added to the width and 5 to 10 inches to the length beyond your finished window size; this overage becomes the side hems and the stacked folds at the top. Cut the lining to the same height as the face fabric, but make it 1 inch narrower than the window width so it hides inside the side hems without bulk.
Blackout lining blocks streetlights and morning sun for bedrooms, while light-filtering lining softens glare and protects the face fabric from UV fading in living spaces. Either way, ironing both pieces flat before cutting saves headaches later; wrinkles that survive this stage get sewn in permanently. If your fabric has a directional pattern, lay it out now and check where the motif lands at the finished length so you are not cutting blind.
3. Sew Fabric and Lining Together

Right sides together, the face fabric and lining get stitched as one flat sandwich. I leave the top open for turning, and I leave the sides open wherever the dowel pockets will cross. Those horizontal channels run the full width of the shade, so the side seams have to stop short of each pocket’s path or you’ll sew them shut by accident. A half-inch seam allowance on each long edge does the job. The lining is narrower than the face fabric, which means the front cloth wraps around the edges a little. That overhang is correct; it becomes the clean side fold once everything is turned right-side out. After the long edges are stitched, the bottom gets pinned and sewn across, with the lining centered so the face fabric shows an equal inch on both sides. The top stays open for now, its seam allowances folded outward and pinned, ready for the board pocket that comes later. The dowel pockets must stay unobstructed during this entire step, or the rods won’t slide through once the shade is flipped.
4. Sew Dowel Pockets at 8-12 Inch Intervals
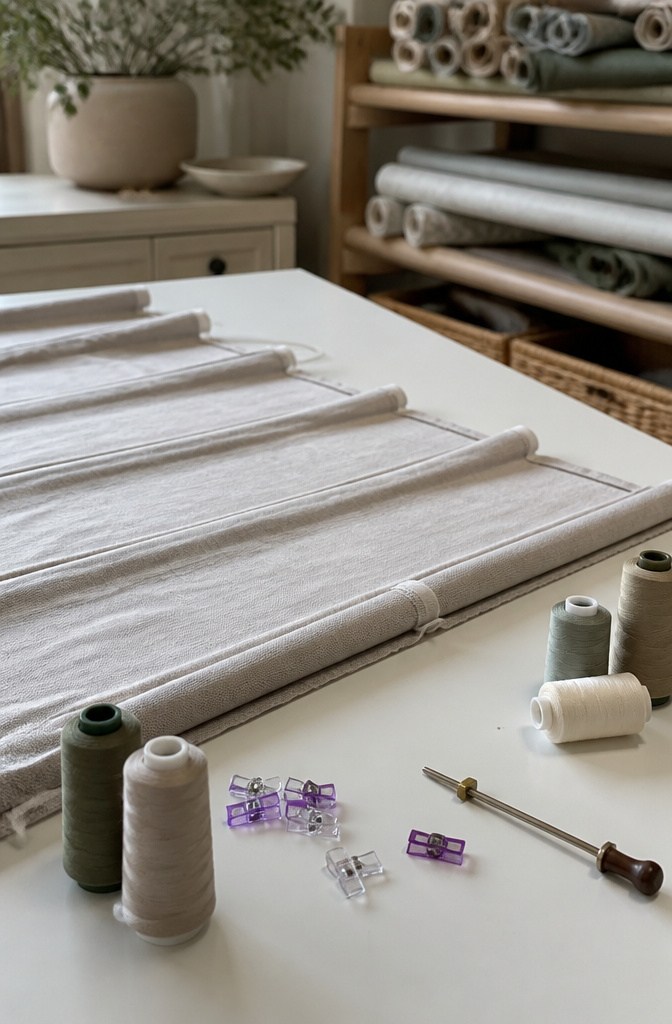
The spacing of your dowel pockets controls how the shade folds, and 8 to 12 inches between pockets is the workable range for most windows. A taller window calls for the wider end of that range; a shorter one needs tighter folds to keep the stack reasonable.
I mark the first pocket about 8 inches above the finished bottom edge, not the raw fabric edge. That distance accounts for the hem and seam allowance below it. From there, I measure up in equal increments, usually 10 inches on a standard bedroom window, until I am within roughly a foot of the top. The top section can run a little longer than the spacing below it; it does not affect the fold geometry.
To sew each pocket, I fold the lining (or the shade back, if unlined) to create a tube about three-quarters of an inch deep, enough for the dowel to slide freely without catching. A single straight stitch across secures it. The bottom rod pocket is sewn the same way, sitting in that 8-inch space above the hem.
5. Insert Dowels and Bottom Rod

Dowels turn a flat panel into something that folds in clean horizontal lines. I slide each one into its sewn pocket from the open end, working the full width so the rib sits flat without bowing. A ¼-inch dowel is the usual choice, stiff enough to hold its shape but light enough that the shade does not fight the cord system when you raise it.
The bottom rod is different. It is heavier, often a flat slat of wood an inch wide, and it sits about 8 inches above the true bottom of the fabric, not at the hem. That gap leaves the lower edge to hang below the folds so trim stays visible and the shade finishes with a proper drop. I attach it with fabric glue, pressing firmly and checking the front for seepage before the adhesive sets.
6. Attach Rings for the Cord System

Rings line up with each dowel pocket so the shade lifts from multiple points instead of bowing in the middle. For a shade under 24 inches wide, three vertical rows spaced evenly across the back are enough. Wider shades need more rows, spaced the same distance apart, or the fabric will sag between cords.
Sew each ring by hand with strong thread, wrapping around the dowel pocket several times before catching the front fabric on the third or fourth pass. Tie off on the back and trim close. All ring openings should face downward so the cord threads through without catching. Invisible thread works if you do not want the stitches showing on the front, though regular thread in a matching color is easier to knot securely.
This part takes about an hour for eighteen rings on a wide shade with three cords. Shorter shades with only two cords mean fewer rings and less sewing. Either way, the rings must sit directly above their dowel pockets, not offset even half an inch, or the shade will pull crooked when you draw it up.
7. Build or Buy a Headrail Mounting Board
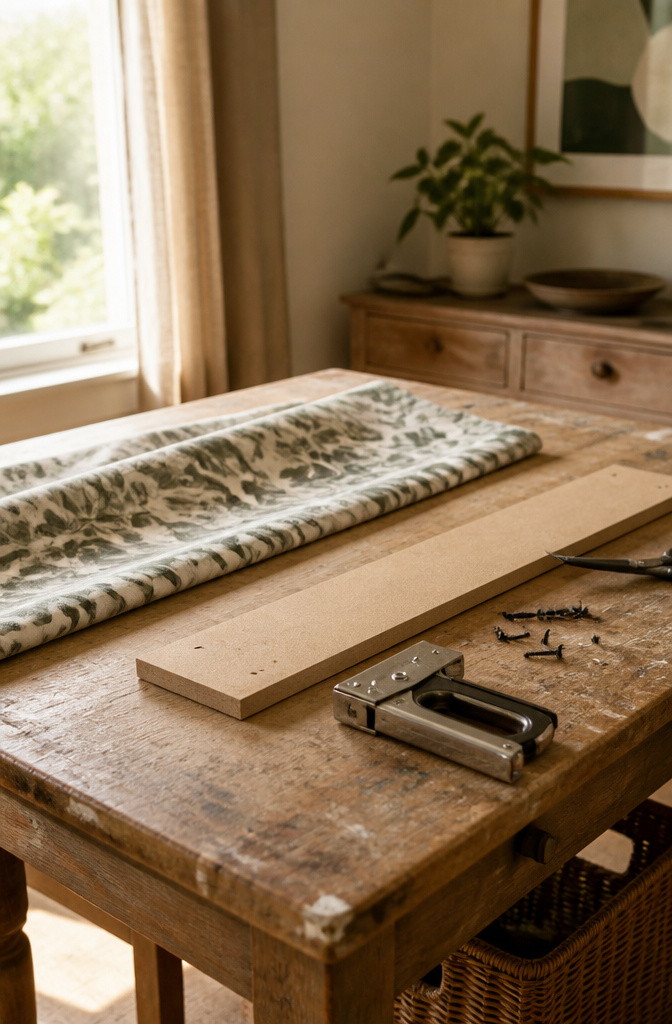
A 1×2 inch mounting board, cut a few millimeters shorter than your finished shade width, is what actually carries everything. I wrap the shade fabric around it and staple the top in place, which hides the raw edge while giving the cords and hardware a solid home.
The cord lock sits on one end with its straight edge facing inward and the diagonal edge toward the outside of the board. The pulleys line up with the ring rows below; on the left end, the last pulley shares a screw hole with the cord lock to save space. Drill pilot holes first, then screw everything down.
For attaching the whole assembly to the window, two or three extra holes drilled through the board let you run longer screws straight into the frame. Short screws hold the hardware; longer ones, around the length you’d use for window trim, anchor the board itself. If your kit came with a pre-made headrail instead of raw board, the spacing is already figured out, but the same rule applies: hardware first, then mount to the frame with screws that bite deep enough to handle the pull of daily use.
8. Install Cord Lock and Thread Cords
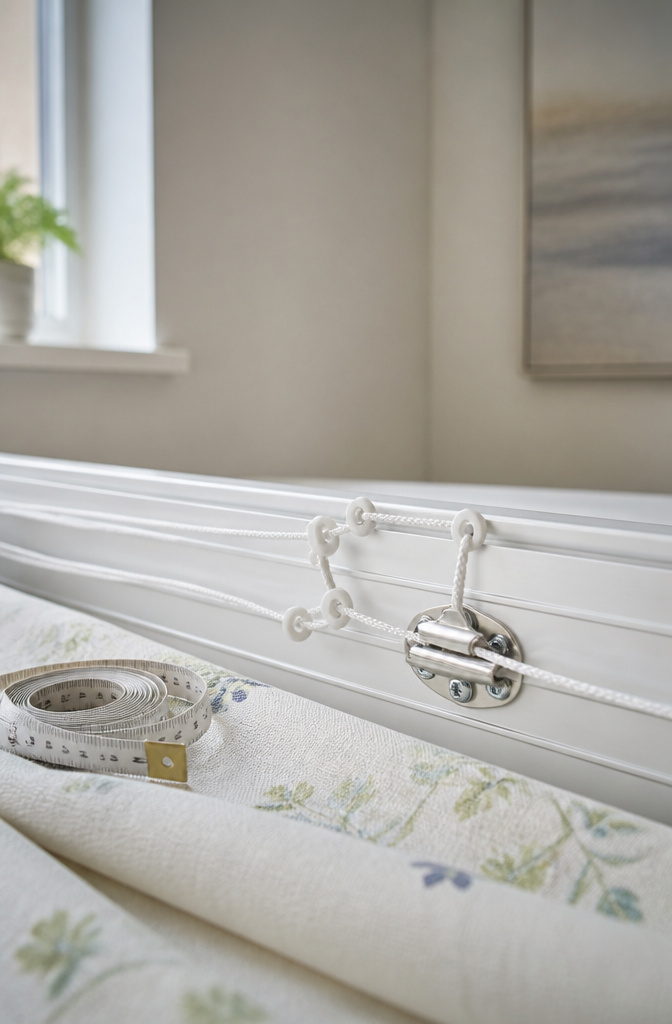
A cord lock mounted to the headrail is what turns a panel of fabric into a shade you can actually live with. I position mine slightly left of center, screwing through the lock’s bracket and into the board so the mechanism sits flush and the grip wheel turns freely. The passages I read split on whether to share the screw hole with a pulley or keep them separate; I favor giving each its own hole so a stripped screw later does not take two parts with it.
Threading the cords down through the rings in each row starts with taping the cord end so it does not fray, then feeding it through every ring from the bottom hem up. At the bottom ring you tie a firm knot, run the cord up through the remaining rings, and continue through any pulleys on the mounting board. The cord enters the lock from the top, passes through its separate slot, and exits below with a few feet of slack. Each of the three lift cords uses its own slot in the lock; mixing them tangles the raise and can jam the mechanism. Pulling the cord raises the shade, and releasing it lets the lock grip and hold the position where you stop. I have read of people fishing cords through lock wheels with a straight pin when the tape trick fails, which tells me the threading is the step where patience pays more than skill.
9. Hang and Test the Finished Shade
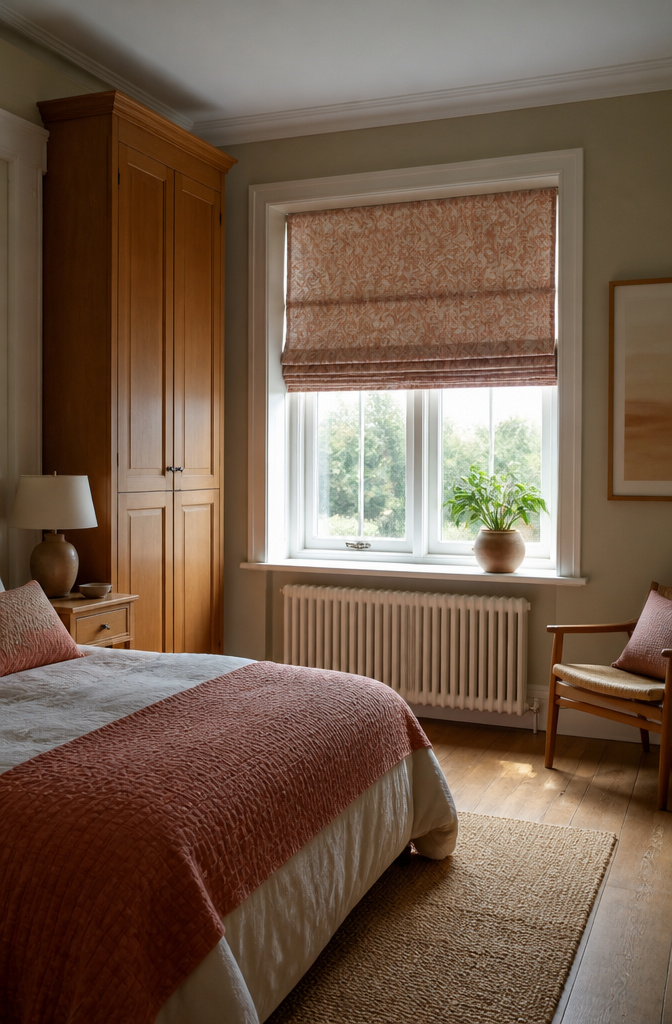
Attach the mounted headrail by driving screws through the pilot holes you drilled earlier, working from the center outward so the board sits flat against the window frame. The excess fabric you wrapped over the top should be stapled to the front face of the board before it goes up, not after; trying to staple overhead is awkward and the line ends up crooked.
Raise the shade slowly and watch how the folds stack. They should gather in even, horizontal lines without one side lagging behind. If the left or right sits lower, the cord running through that side is either longer or snagged on a ring. Lower the shade fully and check that each fold lies flat against the one below it; a slight curve at the bottom edge is normal on a relaxed shade, but pronounced sagging means the dowels are too light or spaced too far apart.
Test the cord lock by pulling the shade up and releasing mid-lift. The lock should grip immediately. If the shade drifts down, the cord is threaded through the wrong slot or the lock mechanism is worn. Trim the pull cords to about sixty percent of the finished shade height so they don’t pool on the sill, then thread them through the pull end and knot them together inside.
Cord cleats or tensioners belong on the frame or wall within reach but high enough that a child cannot loop the cord around their neck. Most hardware stores stock simple cleats for a few dollars; screw one in at a height that keeps the released cord fully off the floor.
Materials and Tools
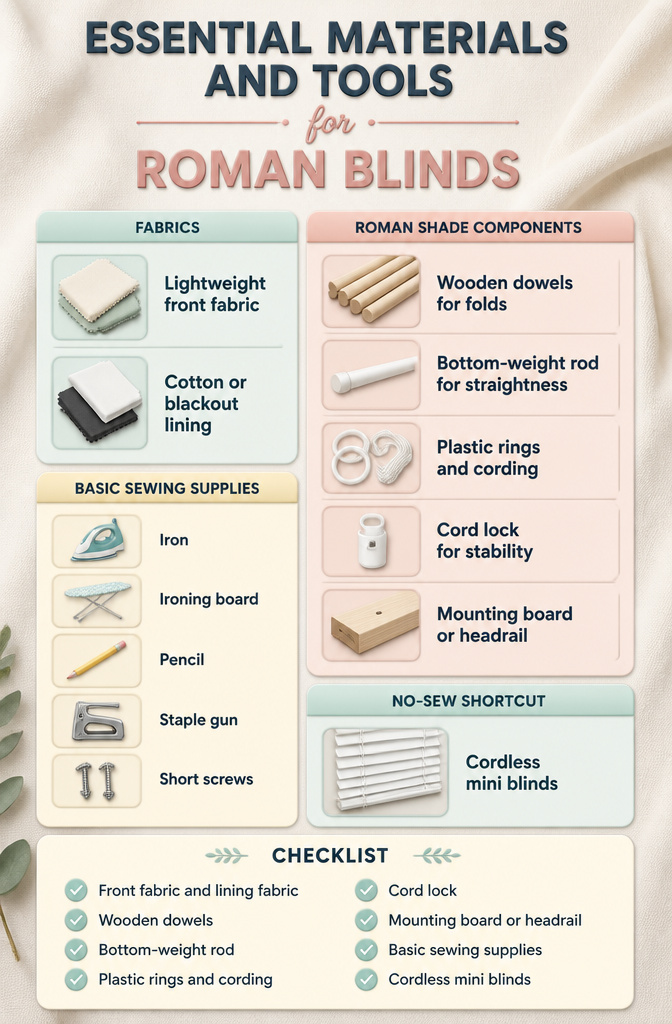
Lightweight fabric folds cleaner than anything heavy, and the lining you choose decides how much light gets through. A simple cotton liner filters it softly; a blackout liner blocks it entirely but needs a heavy-duty needle on your machine.
For a fully sewn shade, gather:
- Front fabric and lining fabric sized to your window
- Wooden dowels, one for each fold line
- A bottom-weight rod to keep the shade hanging straight
- Plastic rings and cording to thread through them
- A cord lock so the shade stays where you drop it
- A 1" x 2" mounting board or ready-made headrail
- Basic sewing supplies: iron, ironing board, pencil, staple gun, short screws
The no-sew shortcut uses cordless mini blinds instead of dowels and rings. Keep the mounting hardware, cut off every slat except the bottom one, and glue your fabric directly to what remains. Fabric glue works for a hybrid approach too, though you should test it on a scrap first to make sure it does not show through once dry.
Sewing, Gluing, or No-Sew Methods

The three paths to a finished Roman blind split cleanly by what you already own and how long the result needs to last.
Traditional sewing builds the blind from lining and face fabric with rod pockets stitched every 8–12 inches, rings hand-sewn for the cord system, and a weighted hem. The workroom method runs to 31 videos and just over three hours of instruction for a reason: the finished blind shows no stitch lines through the face, and the folds hang the way custom orders do. For a first home you plan to stay in, this is the one that outlasts the fabric.
Hybrid sewing-plus-gluing keeps the machine for structural seams but swaps glue or iron-on hem tape for the pockets and hems. One maker did her entire kitchen shade this way, nap-time to finish, using a $11 Amazon mini blind and leftover pendant-light fabric. The speed is real. The risk is heat: glue softens over time, and a hem that holds in year two may creep in year five.
No-sew using mini blinds cuts away most of the slats, leaves the rails and lift cords intact, and glues fabric directly to what remains. The existing cordless system satisfies child-safety codes without the $200-per-shade lift hardware a custom build requires. A $35 Bed Bath & Beyond blind carries a 70-by-74-inch shade that workrooms quoted at $600–$800.
| Approach | Best for | Time | Durability | Cost of hardware |
|---|---|---|---|---|
| Traditional sewing | Permanent install, professional finish | Full weekend | 10+ years | $200+ for cordless lift |
| Hybrid glue-plus-sew | Speed without full machine commitment | 2–4 hours | 3–5 years | n/a |
| No-sew mini blind | Renters, first try, tight budget | Under 2 hours | 2–3 years | $11–$35 using existing system |
The no-sew method wins on speed and cost, but the trade is in the fold: fabric glued to slats never hangs as cleanly as rings threaded through pockets. For a rental kitchen or a shade you might replace when the room changes, that trade is worth it. For a bedroom you want to forget about, sew it once.
Fabric Weight and Light Control

Lightweight cottons and linens fold into the neat, flat stacks that make Roman blinds look intentional, but the same breathability that gives them that crisp edge lets light pass straight through. I learned this the hard way on my first shade: the kitchen looked fine until sunset, when the neighbor’s porch light turned the whole thing into a backlit screen. A lining fixes this, and the choice of lining is what turns the shade into a tool rather than just a window dressing. Blackout lining belongs in bedrooms; light-filtering cotton, like the mid-weight white Jenny Komenda used, keeps a living area from feeling like a cave while still hiding the blind’s mechanics from the street side.
Medium-weight fabrics drape well without fighting the folds, but heavy upholstery weights or layered combinations stack too thick at each dowel line and refuse to collapse evenly. The shade ends up looking padded rather than pleated.
If yardage prices sting, a tablecloth or a pre-made curtain panel already cut to a generous width can become the face fabric with less waste. Just check the fiber content: polyester-heavy blends resist the iron and hold creases in the wrong places.
Frequently Asked Questions
How do you measure for Roman shades?
Decide first whether the shade mounts inside the window frame for a slimmer profile, or outside to cover trim and block more light. Add 3 inches to the width and 5 to 10 inches to the length beyond your finished window size; that extra fabric becomes side hems and the stacked folds at the top. The lining runs the same height but about an inch narrower, since it tucks inside the side hems without adding bulk.
What materials do I need to make Roman shades?
You need front fabric and lining sized to your window, wooden dowels for each fold line, a heavier bottom-weight rod, plastic rings and cording, a cord lock, and a 1-by-2-inch mounting board or ready-made headrail. Basic sewing supplies include an iron, staple gun, short screws, and a pencil. A no-sew shortcut instead uses cordless mini blinds and fabric glue.
Can I make Roman shades without sewing?
Yes. Keep the mounting hardware from cordless mini blinds, cut off every slat except the bottom one, and glue your fabric directly to what remains. The existing cordless lift system satisfies child-safety codes without the $200-plus hardware a custom build requires, and a $35 blind can carry a shade that workrooms quote at $600 to $800. The trade is that glued fabric never hangs as cleanly as rings threaded through sewn pockets.
How do I install Roman shades?
Wrap the shade fabric around the mounting board and staple it to the front face before lifting the assembly into place. Drive screws through pilot holes in the board, working from the center outward so it sits flat against the window frame. Thread the cords through their slots in the lock, test that the grip holds mid-lift, and screw a cord cleat to the wall high enough that a child cannot reach the released cord.