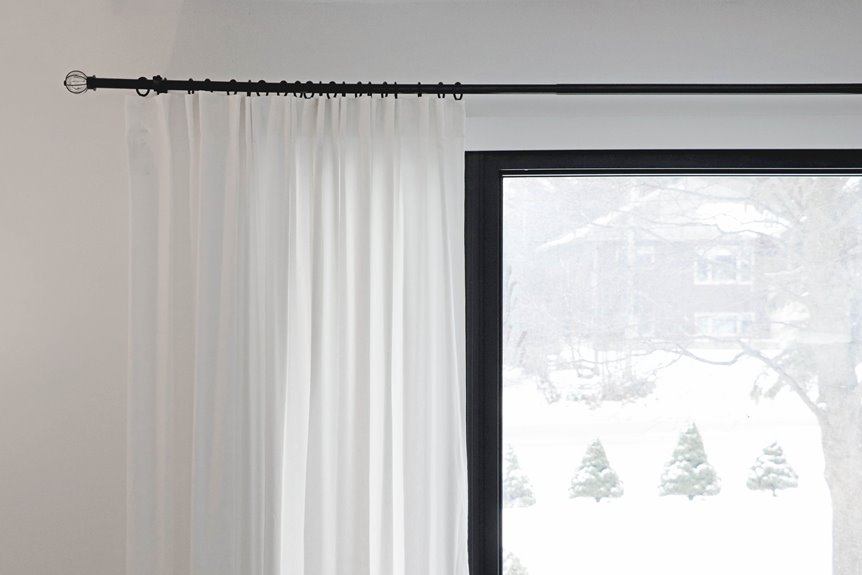
I’ve tamed more runaway curtain rods than I care to count, and the following solutions work. First, scrub your window frame with a damp cloth so tension grips can bite clean wood; grime is the silent culprit. Swap flimsy rod-pocket curtains for smooth grommet tops that glide instead of tug. Wrap rubber bands around bracket arms for instant friction, or press Command strips against the wall where rod ends meet. Extend your rod three inches past each bracket so the final ring hangs outside, creating a natural stop-catch. For rods over four feet, install a center bracket at the midpoint before sagging starts. If your rod still wobbles, upgrade to brackets with screws that bite into studs. Cheap hardware often fails under the weight of heavy curtains, so investing in quality brackets prevents ongoing frustration and ensures your curtains stay in place long-term.
Stop Sliding Fast: Five-Minute Fixes Anyone Can Do
In the middle of a lazy Sunday morning, there’s nothing more annoying than your curtain rod crashing down like a stage curtain gone wrong. I’ve been there, coffee in hand, wondering what went wrong.
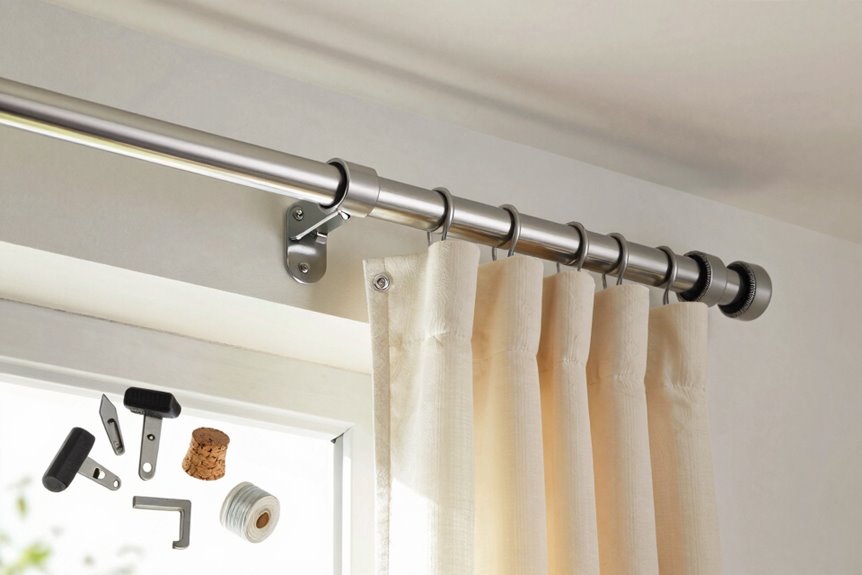
When my curtain rods start acting up, I grab my screwdriver and tighten those bracket screws until they’re snug. If they still wiggle, I swap in brackets with securing screws that bite into the wall.
When my rod sags like a tired clothesline, I pop in a center bracket. It splits the weight perfectly.
I also extend my rod about three inches past each bracket. This creates a little catch so curtains don’t drag everything sideways. I hang that final ring outside the bracket, and everything glides smoothly.
Tension Rod Sliding? Clean the Frame and Adjust the Heading
I start by wiping down the window frame with a damp cloth to remove dust and grime that cause tension rods to slip. Then I replace rod-pocket curtains with smooth-gliding grommet tops that operate without resistance when opening and closing. If the rod continues to move after these steps, it’s time to switch to brackets that provide permanent support.
Inspect Window Frame
Why does your tension rod keep taking a dive? I’ve been there. Curtain rod sliding down mid-morning, leaving you exposed. Let’s fix this together.
First, grab a flashlight and really look at your window frame. I run my finger along the inside where the rod presses. Feel any grit? That’s your culprit. Dust, old paint flakes, or mysterious sticky residue destroy friction. I wipe everything with a damp microfiber cloth, then dry it completely. Moisture makes surfaces slippery.
Check for cracks or warping too. A bumpy frame won’t hold tension evenly. If your frame feels chalky or crumbles slightly, that rod’s fighting a losing battle. Clean surfaces grip better. You’ll feel the difference immediately when you reinstall; much more resistance and significantly less sliding.
Optimize Curtain Heading
What’s the point of a spotless frame if your curtains fight you every time you slide them open. Curtain headings matter more than most people realize.
Skip tie tops, tab tops, and rod pockets if you’re opening and closing daily. They grip the rod like stubborn Velcro, forcing you to yank and shimmy. That jerking motion loosens your tension rod bit by bit.
Instead, reach for grommet tops or curtain rings. They glide smoothly with no tugging required. The rod stays stable. If you’ve got a lightweight panel, clip-on curtain rings transform it instantly without sewing or fuss.
Pick the right heading, and your curtains operate without resistance. Your rod maintains its position, and your daily routine becomes simpler.
Evaluate Rod Suitability
Smooth-heading curtains help, but they won’t save a rod that’s fundamentally wrong for the job. Start by cleaning your window frame thoroughly. Wipe away dust, moisture, and flaky paint that make tension rods slip like a wet bar of soap. Patch cracks with spackle and let everything dry completely. Then assess the situation: how often do you yank these curtains open. Daily use demands grommets or rings, not fussy tab tops that fight you every morning. If your tension rod still creeps after cleaning and heading adjustments, it’s time for a real upgrade. Install a bracket-mounted rod, ideally one with sturdy wall brackets every 30 inches. Brackets anchor firmly, eliminating that slow, depressing slide. Sometimes the fix isn’t tweaking; it’s replacing before your rod comes loose.
Upgrade to Bracket Support for Heavy or Daily-Use Curtains
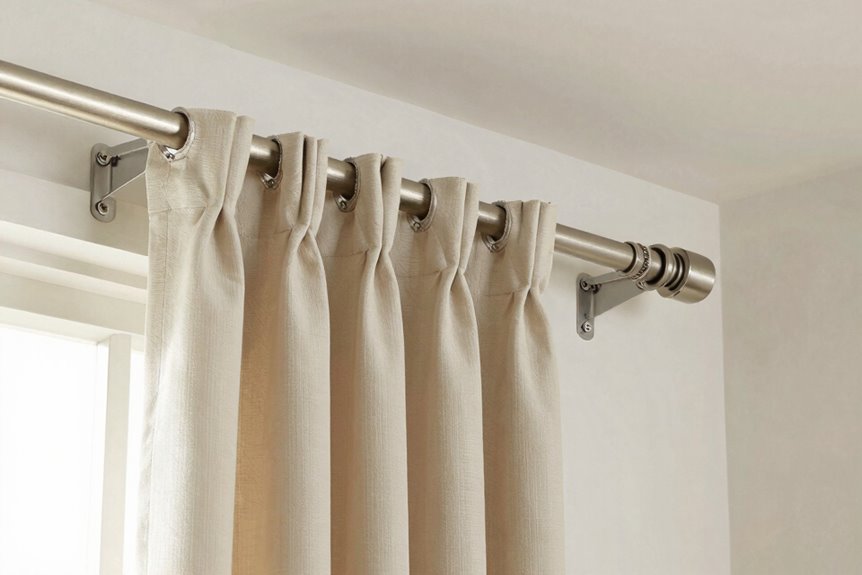
Sometimes, the simplest fix works best: beefing up your brackets. Flimsy brackets buckle under heavy curtains, leaving you with a droopy rod that slides and sags. When upgrading your setup, add a center bracket to split the weight evenly and eliminate sagging in the middle. Swap old screws for securing screws, tightening everything until the bracket feels rock-solid against the wall. If switching to a heftier rod, grab brackets rated for the load. A sturdy bracket grip makes a noticeable difference when you operate the curtains daily. Your windows deserve hardware that actually holds up through regular use.
Extend Rod Past Brackets to Create a Stop-Catch
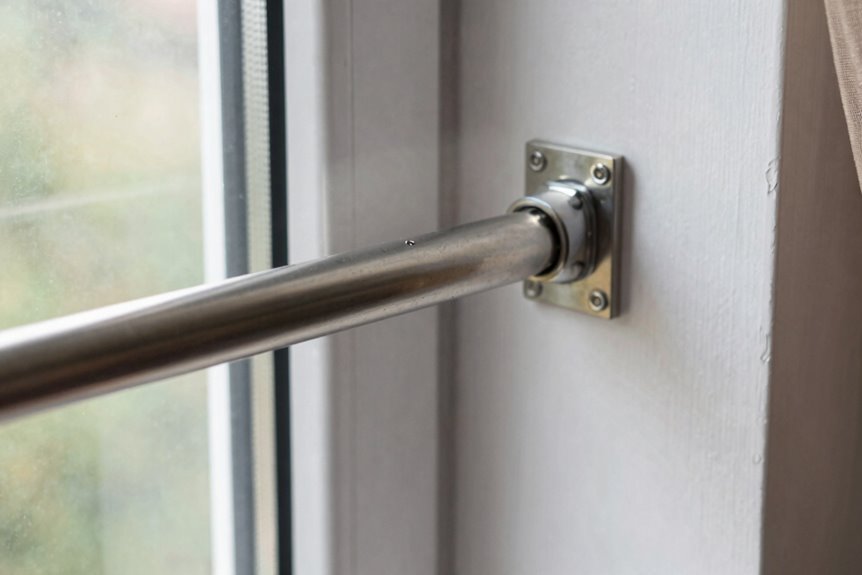
When I first tried this trick, I was shocked by how something so simple could outsmart a sliding rod. A curtain rod extension creates a natural barrier that stops movement cold.
Sometimes the simplest tricks stop sliding rods in their tracks—a curtain rod extension creates a barrier that works like magic.
How it works:
- The rod juts three inches past each bracket like a diving board
- The final curtain ring hangs outside the bracket, gripping the extended end
- The bracket bites down while the overhang resists, creating tension
- The whole system locks together like puzzle pieces
Hang that outer ring deliberately outside the support. Balance the weight so one side doesn’t droop. Check that your brackets grip tight with proper screws. This method eliminates sliding rods that move across the wall.
Add a Center Bracket Before the Rod Starts to Sag
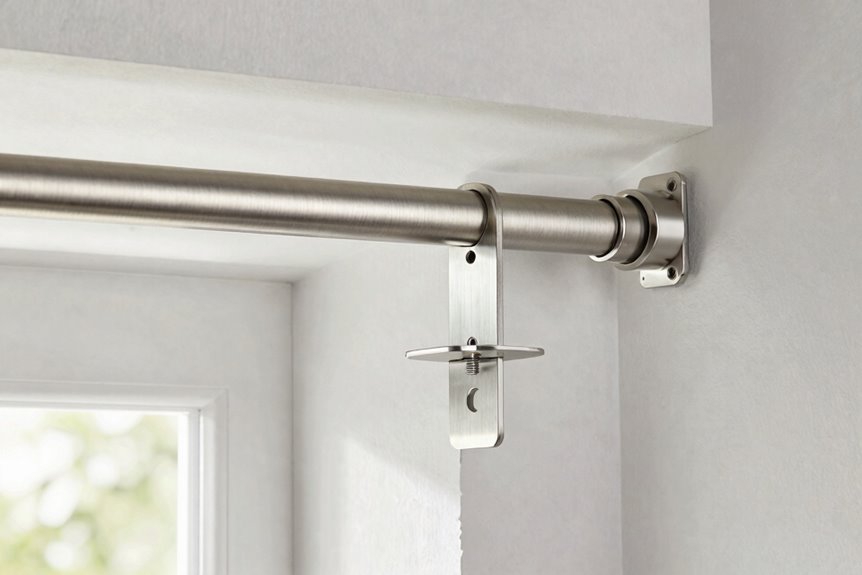
When I hang a rod across a wide window, anything over four feet, I know the middle will take a beating once those heavy drapes go up. That’s why I add a center bracket early, before the rod starts to bow like a sad noodle. This splits the weight so nothing slides sideways. I line it up with where the curtain bunches thickest, right at the midpoint, and I don’t skip tightening the end brackets again so everything stays snug.
Weight Distribution Balance
Why does every curtain rod seem to droop in the middle like a sad spaghetti noodle? Staring at that sagging metal while curtains bunch unevenly is a common problem. The fix is simpler than you’d think: proper weight distribution through a center bracket.
What happens when you install a center bracket correctly:
- Your rod transforms from a wobbly diving board into a solid bridge
- The fabric hangs with that crisp, hotel-room straightness
- Your walls stop groaning under uneven pressure
- The whole setup feels sturdy enough to survive a curious cat
Install the center bracket exactly at the midpoint, usually 24-48 inches from either end depending on window width. Drill into studs when possible, or use heavy-duty toggle anchors for drywall. The result is a perfect, level line that eliminates sagging.
Bracket Placement Timing
How soon should you add that center bracket? Do it right away, before that middle dip even thinks about showing up. Waiting until you see a sag means you’re already fighting gravity.
When your rod spans more than four feet, that center bracket becomes essential. It splits the weight so your end brackets don’t bear the full load. You’ll feel the difference immediately; no more wobbly slide when you tug the curtains open.
Install it dead center and tighten every screw. Your rod will stay put. The fabric hangs straight, the hardware stays secure, and you avoid that droopy middle you see in cheap motel rooms.
Right-Size Your Rod Weight to Your Curtain Load
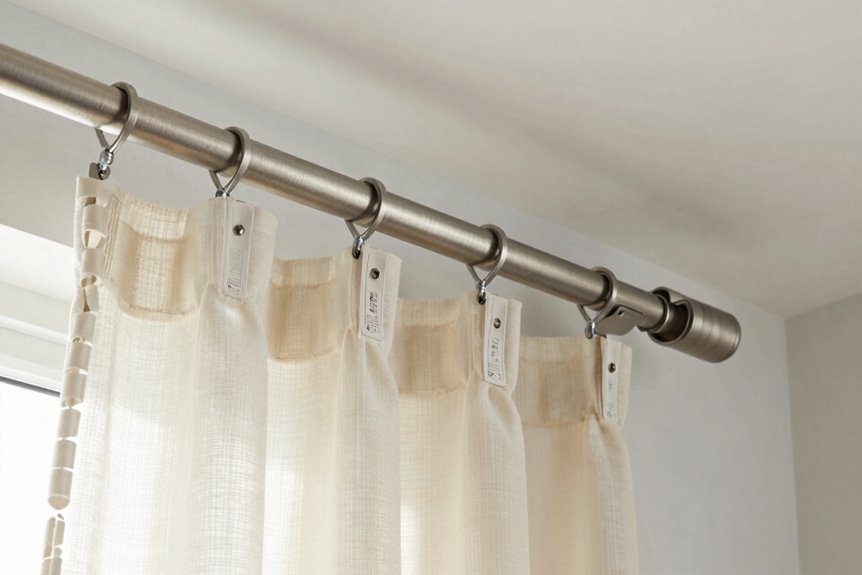
A mismatched rod and curtain combo is like trying to carry a heavy backpack with a flimsy strap. It will slip, sag, or fail when you need it most.
First, check the weight rating on your rod’s packaging. This number determines whether your setup will hold. Picture these failures:
- A thin aluminum rod bowing like a sad rainbow under velvet drapes
- Heavy iron hardware biting into drywall like teeth into butter
- Brackets pulling away from plaster with a slow, dramatic lean
- Your curtains pooling on the floor at 2 AM
Match your rod’s weight capacity to your fabric’s weight. Upgrade brackets and screws when you upgrade rods. Add a center support for wide windows. Your setup will remain secure and functional.
Tape Over Rough Joints for Smoother Gliding
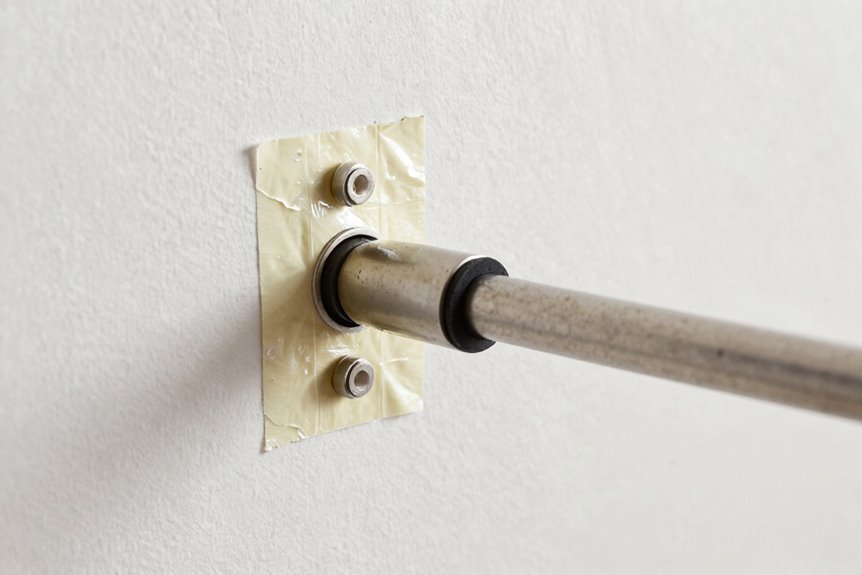
I start by feeling along the rod for those annoying little bumps and seams where sections connect. Your fingers will catch before your eyes do. Once I’ve found the rough spots, I grab a roll of clear adhesive glide tape, nothing fancy, just the smooth, slick-backed kind that will make your curtains whisper instead of shriek. I’ll show you how to stick it on right so you won’t see it or hear it. This eliminates the noise from a curtain that binds or catches each morning.
Identifying Rough Joint Areas
Where exactly are your curtains getting stuck? It’s likely that joint where your rod sections screw together.
Look for these specific problem areas:
- A tiny ridge or bump where two metal pieces meet, like a speed bump for your rings
- Scratchy, rust-colored patches that snag fabric when you slide curtains open
- Gaps that wobble or click when you tug the rod, indicating misalignment
- Stubborn spots where rings consistently halt, shudder, or require extra force
Once you’ve identified the troublemaker joint, you’ll know precisely where that glide tape needs to go. Finding the friction point first prevents a taping guess-and-check process. You’ll achieve smoother gliding and quieter operation by addressing the actual problem area.
Selecting Appropriate Tape Type
So you’ve found that pesky rough spot. Clear adhesive glide tape is your best choice. It’s thin, nearly invisible, and creates that glass-smooth surface your curtain rings need.
When picking a tape type, skip the bulky stuff. You want something specifically labeled “glide” or “sliding” tape, usually about half an inch wide. Hardware stores carry it near the curtain hardware, or search online for “curtain rod glide tape.”
Avoid duct tape or masking tape; they’re too thick and gummy. The right tape feels slick to your touch, almost like wax paper. Your rings will move with whisper-quiet operation instead of that annoying scraping sound.
Applying Tape Correctly
Now that you’ve got the right tape in hand, let’s put it to work. This process requires only patience and steady hands.
Here’s how to do it:
- Wipe the rod clean with an alcohol wipe so dust and oils don’t sabotage your work
- Cut the tape extra long, leaving yourself wiggle room for trimming later
- Peel and press slowly, working the tape along the top in one smooth motion while smoothing bubbles away
- Thread through rings on long rods without removing curtains, then trim and press edges firmly
When curtains glide smoothly instead of screech, you’ll notice the difference immediately. Rough joints become silky paths with tape applied correctly. Your mornings will be quieter.
Rubber Band the Brackets for Instant Grip
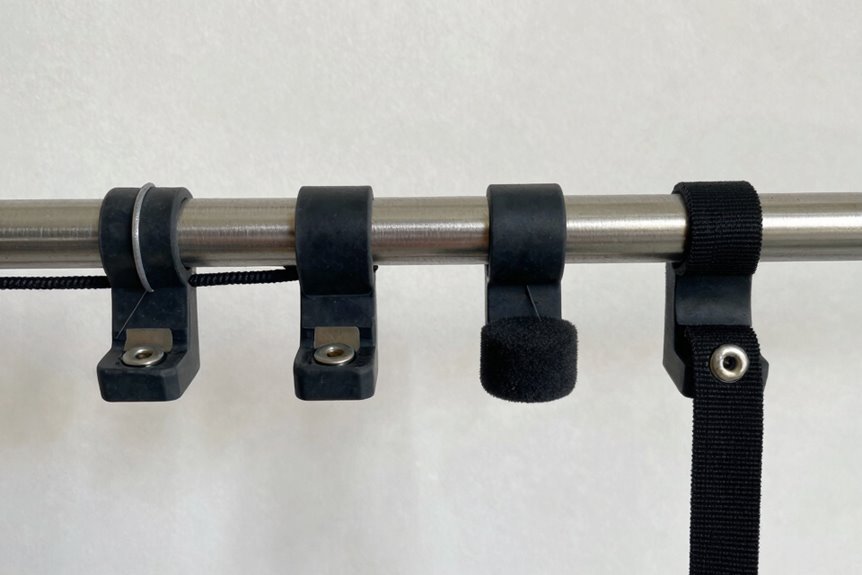
Why spend money on fancy hardware when a simple rubber band can save the day? I’ve used this trick on three rods in my own home, and it works effectively.
Skip the fancy hardware—a simple rubber band is all you need to keep curtain rods in place.
I thread a rubber band onto the rod, slide the bracket between the band and the finial, then reassemble everything. When I open my curtains, the rubber band catches on the bracket and stops the rod from sliding outward. No more chasing runaway rods across the wall.
If your bracket sits deeper, I double the rubber band for extra thickness. One rod has stayed in place for over a week with no tape, no drilling, and no adjustments needed.
I grab my rubber bands from Rainbow Loom packs, but black elastic bands work too. Both cost pennies and hide nicely behind your curtains.
Command Strip the Contact Points for Extra Friction
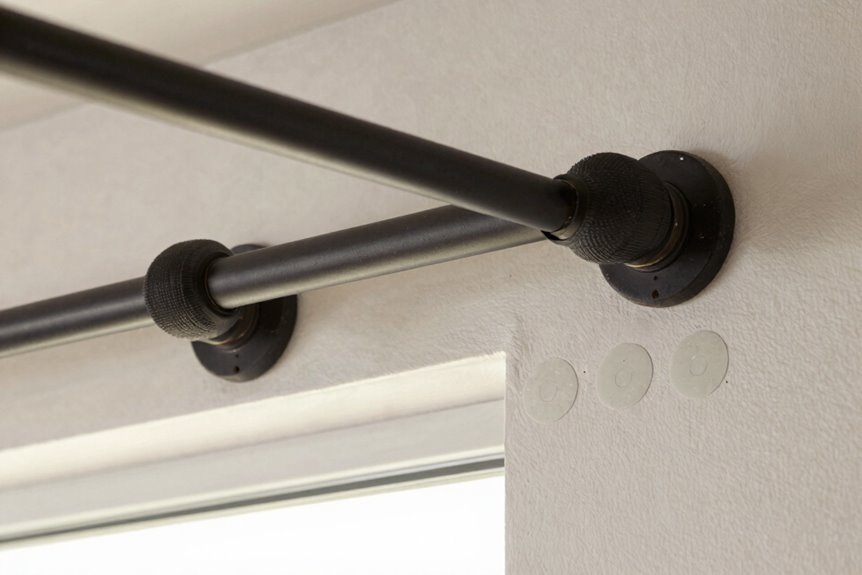
How much grip do your curtain rods really need? Command strips answer that question effectively.
Here’s how to lock things down:
- Press two double-sided command strips onto each side of your window frame before sliding in a tension rod. The adhesive provides extra friction that keeps slippery metal in place.
- Line the rod ends flush against those cushioned strips so no wiggle room remains, like wedging a book snugly on a shelf.
- Tuck command strips inside each bracket’s curve when using hardware, reinforcing where metal meets wall.
- Center everything carefully so curtains hang balanced, with weight distributed evenly.
Use this method on tension rods and bracket setups alike. It prevents curtain rods from falling at night.
When Hardware Fixes Fail: Fabric and Rod Replacement
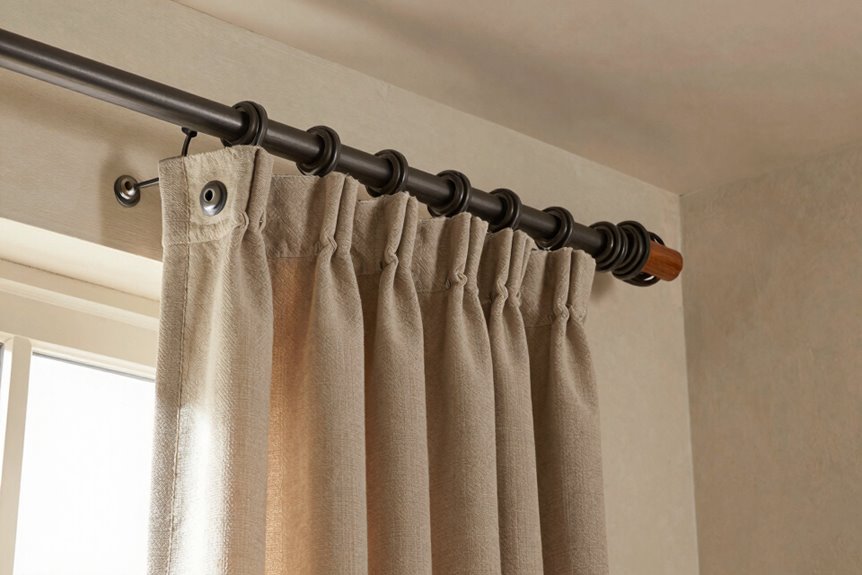
Command strips work great until they fail.
When hardware tricks stop working, it’s time to rethink the entire setup. Curtain rods that can’t handle the load create daily frustration.
First, check the fabric. Heavy velvet acts like a weightlifter crushing a tension rod. Swapping to lighter sheer or linen curtains solves slipping instantly. Less weight means less slide.
For those wanting thick drapes, replace the rod entirely. Upgrade to a bracket-mounted rod with a center support that spreads the load. Extend the rod three inches past each bracket; those ends catch before anything budges.
Tighten every screw or swap in sturdier brackets with beefier fasteners. This eliminates midnight clattering metal sounds.
Is It Time to Scrap the Rod and Start Over?
Sometimes enough is enough.
You’ve tried the hacks, tightened the screws, and that curtain rod still crashes down at 2 AM. When your brackets strip, your walls crumble, and tension rods fail repeatedly, your hardware is the problem, not you.
It’s time to start fresh when:
- Your rod bends like a soggy noodle under velvet curtains
- Screws spin uselessly in enlarged holes
- You’ve added three “temporary” fixes that became permanent
- You’re flinching every time you draw the curtains
Replacing your entire curtain rod system feels intimidating, but it works. I switched to a bracket-mounted rod with center support, extended three inches past each bracket, and chose sheer linen instead of heavy fabric. The midnight crashes stopped. Starting over isn’t admitting defeat; it’s choosing a functional solution.