I layer sheer curtains by starting with a color plan: airy white voile inside, sage or slate outside. I measure my window width times 1.5 to 2x for that lush, gathered look. I grab a double rod set with a 3–4 inch front offset so my layers glide independently without tangling. Three panels in complementary weights (60–100 GSM inner, 80–120 GSM outer) hang with hems just kissing the floor for that polished, intentional finish. After sliding and tweaking until both layers move smoothly, the result is a soft, filtered glow with proper hotel-worthy drape.
Plan Your Sheer Layering Style and Palette
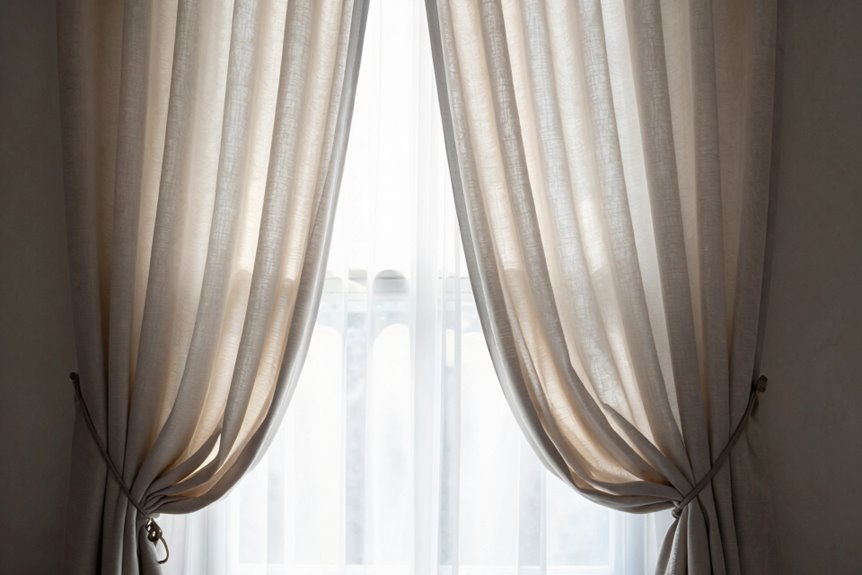
I always begin layering sheer curtains by choosing my color palette first. Picture this: airy white voile (60–100 GSM) hugging your inner rod, filtering sunlight like a soft morning whisper, while sage or slate drapes frame the outside for that hotel-chic contrast. This approach provides flexible light control without manual adjustment.
For a luxury appearance, aim for 1.5x–2x total width of your actual rod. Both panels should kiss the floor evenly. Curtains floating awkwardly above baseboards undermine the finished look.
Stack your sheer inner layer closest to the glass. It catches daylight beautifully. The heavier outer layer blocks prying eyes at night.
Measure for Stacked Sheer Width and Height
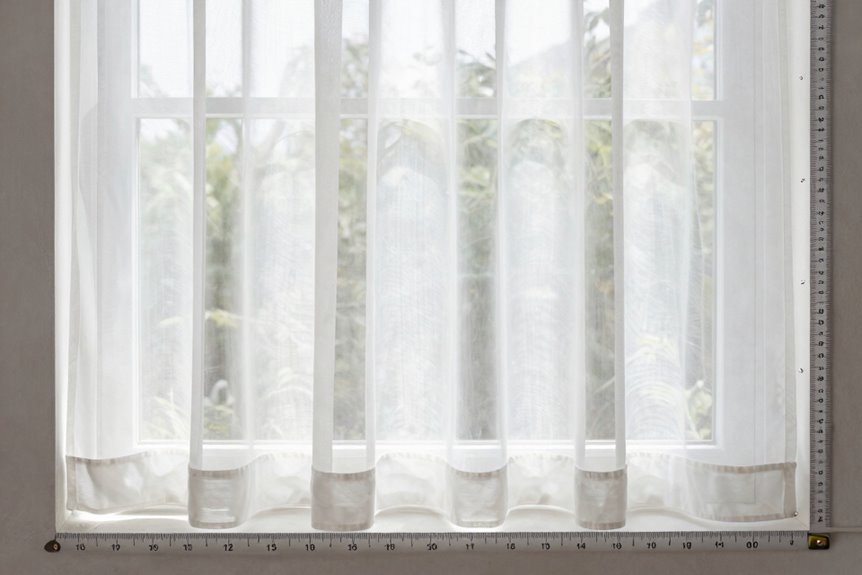
To measure your window for stacked sheer width and height, start by using a tape measure to record the window’s width and height. Multiply the width by 1.5 to 2 times to allow your sheers to gather nicely without appearing thin. Add a few extra inches to the height so the panels reach the floor or hover just above it, rather than stopping mid-calf.
Measuring Window Dimensions
Where do you start when the window in front of you looks more like a math problem than a décor opportunity? Walk through these window measurements as if standing in your living room together.
First, grab your steel tape measure. For your sheer curtains, aim for total panel widths of 1.5× to 2× your rod width. This panel fullness creates that dreamy, cloud-like effect.
What transforms flat fabric into a finished look:
- Measuring twice so your curtain length kisses the floor perfectly
- Adding vertical clearance by mounting hardware 8 inches above your frame to eliminate harsh top light
- Ensuring your layering slides freely without catching or rubbing
Match inner and outer sheers at standard lengths of 7 or 9 feet, and you’re ready.
Calculating Stacked Width
Now that we’ve got our window’s height and width locked down, it’s time to tackle the trickiest part: making sure your sheers don’t turn into a tangled mess when you push them open.
Start by multiplying your window measurements by 1.5 to 2× for the fullness ratio layered curtains deserve. Make your inner sheer slightly wider than your outer panel. This creates a diffused glow while keeping everything balanced.
For stacked width, picture both layers pushed completely open. They may crush together without proper spacing. Use double curtain rods with a 3 to 4 inch front offset so each layer glides independently. Your inner sheer nestles neatly inside the outer panel, with no bunching or tangling.
Measure twice, and you’ll get the correct dimensions every time.
Determining Proper Height
How high should your curtains actually hang? I measure from the floor up to find my sheer curtains’ perfect length. Too short looks awkward, too long pools messily.
For flawless layering, I follow three steps:
- I match my inner rod and outer rod lengths exactly, usually 7 or 9 feet, so both tiers kiss the floor evenly.
- I install the inner rod first, then position the outer rod 3 to 4 inches forward for proper height alignment.
- I double-check that light control stays effective without drafts when panels stack.
Getting the proper height right means my sheer curtains function well. No gaps, no uneven hems. The window coverings create a cohesive appearance throughout the room.
Choose Rods That Handle Lightweight Layers
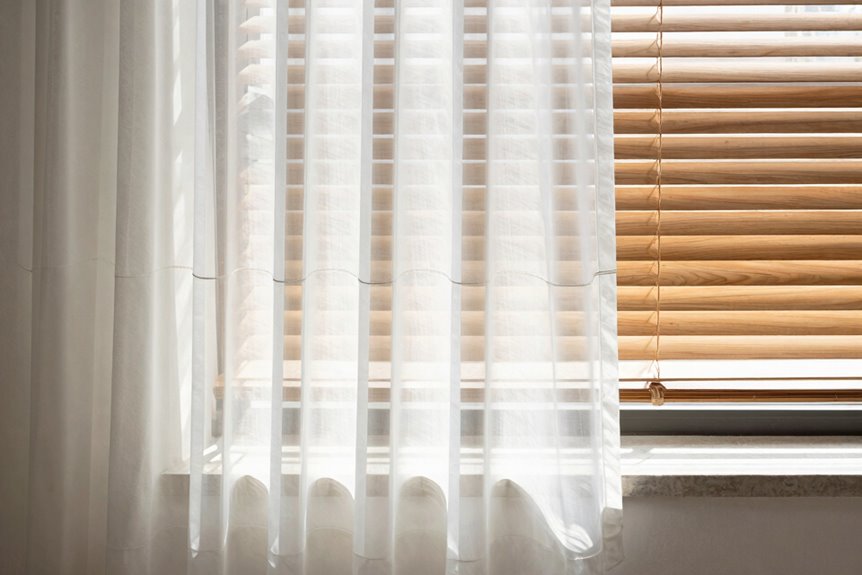
The right hardware makes or breaks your sheer curtain setup. When I used a single rod, two beautiful panels turned into a tangled mess. A double curtain rod works significantly better for layered curtains.
A double curtain rod lets your lightweight layers glide independently, eliminating tangling issues with sheer panels. Place the inside rod closest to the window; that positioning amplifies window light diffusion beautifully.
If you’re using two single rods instead, mount them 3–4 inches apart vertically. Check your rod diameter: you’ll need 1.5 inches or thicker for heavier outer fabrics. Don’t skimp on hardware brackets. Install sturdy ones every 3 feet to prevent middle sag.
Proper hardware installation prevents curtains from drooping.
Select Three Sheer Panels in Complementary Weights
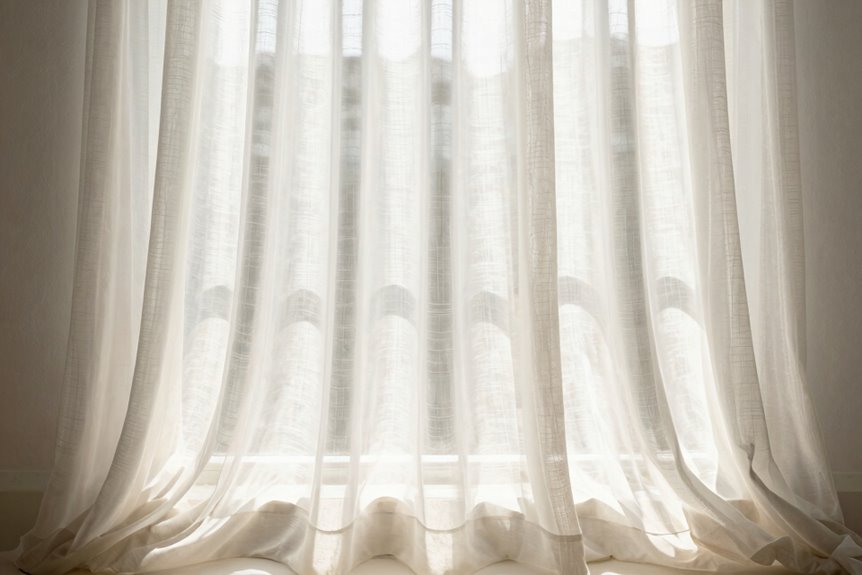
I pick three sheer panels with weights that play nicely together: a feather-light voile around 60–100 GSM for the layer touching the window, then two sturdier sheers near 100–120 GSM for the middle and front. This gradation lets sunlight filter through like honey while building up that lush, dimensional look. I keep the colors in the same family, such as a warm white base with a whisper of ivory or soft pattern on the heavier layers, so the stack feels intentional rather than assembled from mismatched sources.
Panel Weight Balance
Often, I stand in front of my window with three different sheer panels in my hands, feeling their weight like I’m testing ripe fruit at the grocery store. Panel weight makes or breaks your layering game. You want three sheer panels that work together, not against each other.
Here’s what I always look for:
- A whisper-light 60–80 GSM panel for that inner layer closest to the glass
- A steady 80–100 GSM middle panel for structure
- A grounding 100–120 GSM outer panel to anchor everything
Your light diffusion depends on getting this GSM balance right. I hang mine on one rod, making sure my total fullness hits 1.5x–2x the rod width. When those panels pool properly, the layering achieves the intended light-filtering effect.
Color Harmony Tips
Where do you even begin with three sheers that won’t clash. Start by picking translucent fabrics in complementary weights: a light voile at 60–100 GSM, mid-weight organza, and sheer polyester around 80–120 GSM. This layering creates depth without fighting your outer drapes.
Place the lightest panel closest to the glass for maximum light diffusion. The middle layer adds soft texture, while the darkest sheer sits outermost for contrast. Together, they stay lighter than your main curtains so everything glides smoothly.
For color harmony, stick to a cohesive palette. Think ivory, cream, and warm white, or white with pearl and champagne tones. Test swatches at morning, noon, and golden hour. The light conditions at different times of day will show you how these colors interact with your space.
Hem Sheer Edges for Clean, Fray-Free Finishes
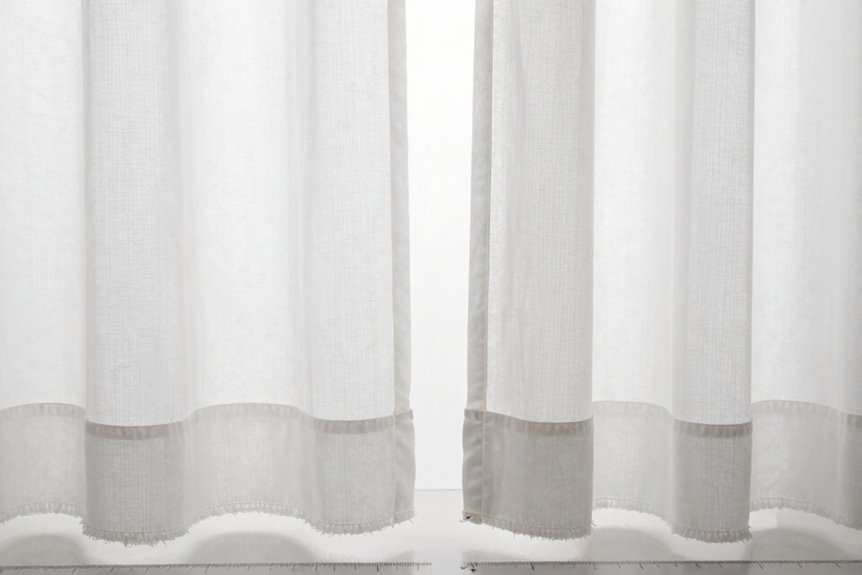
A wispy sheer panel without a proper hem is like a good hair day ruined by static. It’s technically functional, but the frayed edges betray your effort. When you’re building a layered look, precision in hemming makes the difference.
Transform chaos into cohesion with these steps:
- Measure twice, cut once to avoid uneven hems that undermine your work.
- Feel the fabric glide under your presser foot as stitching locks in that polished finished edge.
- Step back and assess those crisp lines, which elevate your spaces noticeably.
For the bottom, fold 8 inches into a 4-inch double-fold hem. The top needs stabilization interfacing inside a 6-inch double-fold. Side hems use blind hem stitch to hide everything. Precision hemming directly impacts the quality of your layered look.
Connect Panels at the Top for Easy Hanging
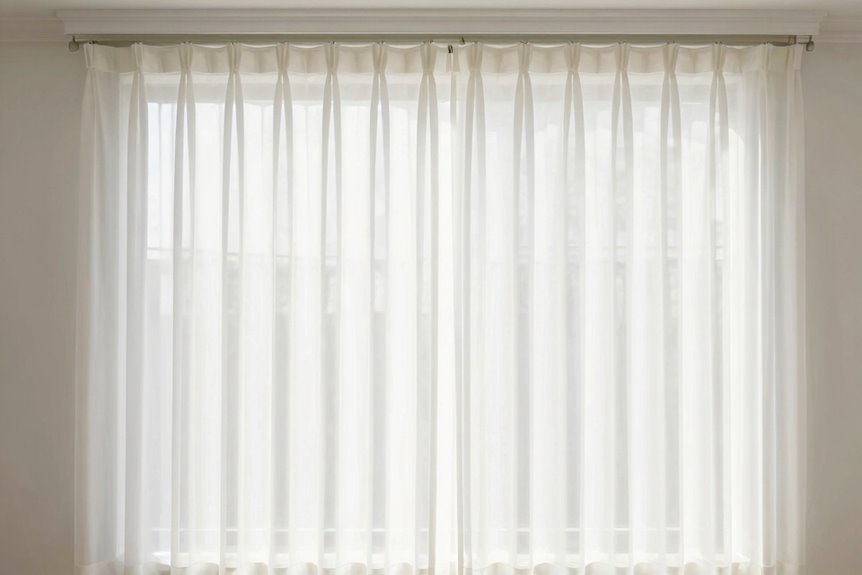
Once you’ve got those hems pressed and perfect, it’s time to think about how you’ll actually hang these panels. Using parallel rods for layering sheer curtains works well; mount them 3–4 inches apart. The inner rod, closest to your window, holds your sheer panel for gentle light diffusion. The outer rod carries your heavier drape for full control.
Match your header styles. If one panel has eyelets, both need them. This keeps your top alignment crisp and professional. Check that both layers kiss the floor and total 1.5–2 times your rod width for that lush, gathered look.
Before you call it done, slide both panels back and forth. Your curtain hardware should move smoothly with no snags or stuck moments. Smooth two layers mean your curtains operate without friction each day.
Hang, Space, and Adjust Layers for Even Flow
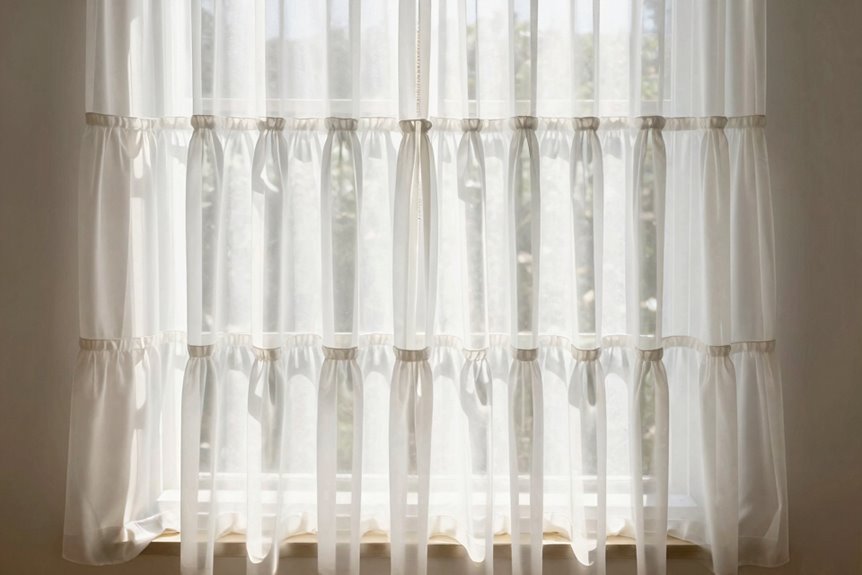
Why wrestle with tangled fabric when a little spacing solves everything? I hang my sheer curtains on the inner rod first, the one closest to the glass. Then I mount the outer rod three to four inches forward for my blackout layer. This double rods setup gives me independent operation and visual depth.
Layered curtains create a functional and polished look:
- Measure twice, relax always. I double my panel widths for that lush, gathered fullness we all crave.
- Let them kiss the floor. Floor-length hems on both layers make everything look intentional, not accidental.
- Slide, tweak, breathe. I nudge brackets until both layers glide freely with no snags or light leaks.
Getting the spacing right delivers perfect light control and a finished appearance every time.