I always start by asking what you’ll actually do here: game nights, binge-watching, or long conversations. That answer shapes everything.
Next, I find the focal point, whether it’s a fireplace or TV, and map traffic flow with 30 inches behind seating.
Then I pick from three layouts: symmetrical, L-shape, or U-shape, testing with painter’s tape first.
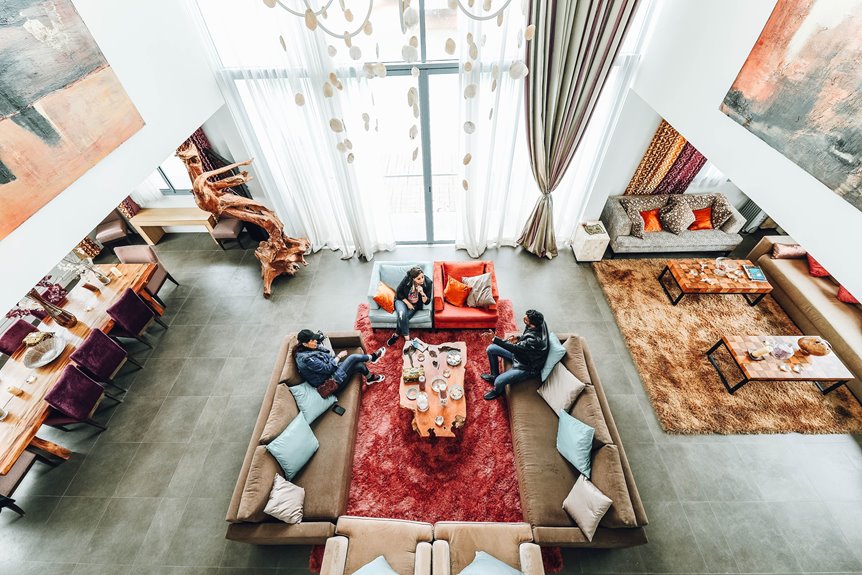
I fix common killers like floating ottomans blocking paths or competing focal points.
Finally, I anchor with a 9×12 rug and layer lighting and textiles for warmth.
Each step involves specific decisions that determine your room’s functionality.
Living Room Furniture Arrangement Step 1: What Will You Actually Do Here?
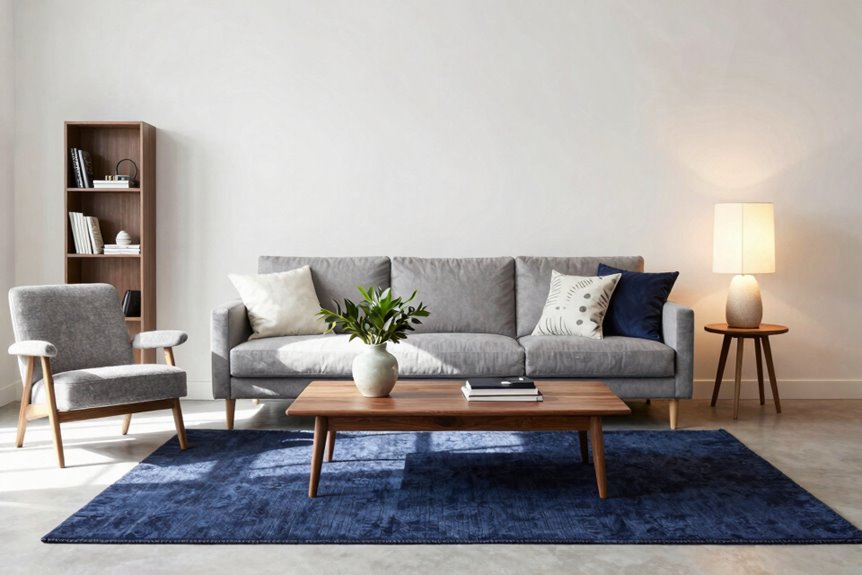
Why do we shove sofas against walls without thinking? I’ve done it too, it’s easy, but it often kills the room’s potential.
Before touching anything, ask what exactly happens here. Will you host game nights with TV-free entertainment, or binge shows? Maybe 70% conversation, 30% movies? Your answer shapes everything.
Sketch a pre-layout analysis on paper. Mark entry points, imagine traffic flow, and guarantee 30 inches of walking space behind seats. Test three seating configurations: L-shaped, parallel, or clustered. Always picture the conversation area where friends lean in and talk.
Built-in shelves affect your furniture arrangement. A bay window becomes your focal point.
This room layout isn’t permanent. It’s yours to shape.
Living Room Furniture Arrangement Step 2: Find Your Focal Point and Map the Flow
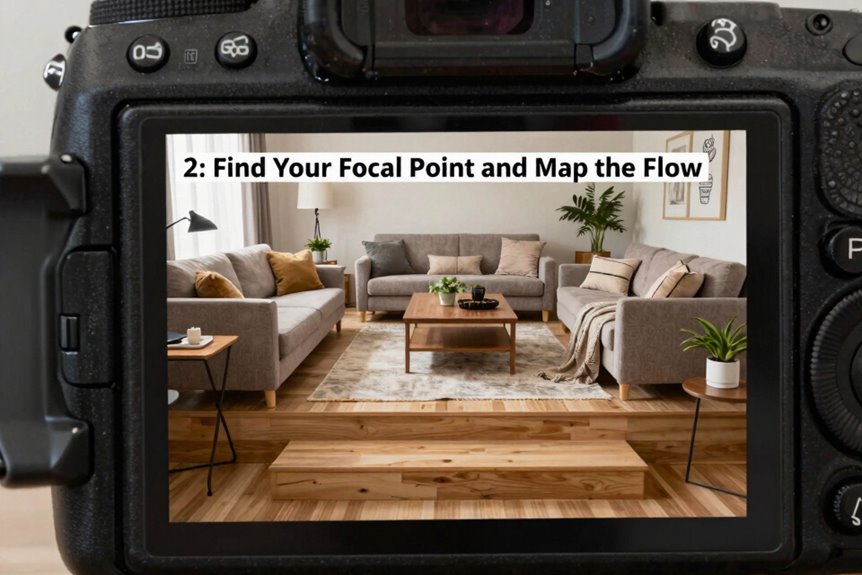
So where does your eye land the second you walk in? That’s your focal point: maybe a fireplace, a TV, or bold artwork. Build everything around this anchor point.
Your focal point stops you the moment you enter—fireplace, TV, artwork—then everything anchors there.
Measure your walls and windows first. You need clear sightlines to that focal point, so check sightline clearance around every corner. No one wants to crane their neck to see the screen.
Next, map traffic flow. Leave 30 inches behind your sofa; that’s enough room for someone carrying a drink without bumping knees.
Position your seating clusters to face each other, not just the wall. This creates conversation-friendly living. A rug grounds the space. Your coffee table should sit about 18 inches from the sofa. Decide your layout orientation early (one anchor point or none) and stick with it.
Living Room Furniture Arrangement Step 3: Pick From Three Proven Layouts
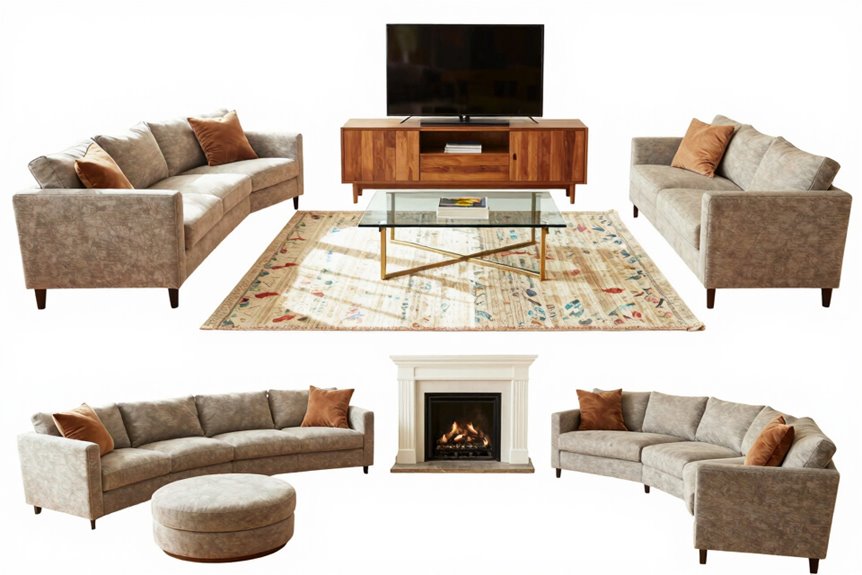
How do you narrow down dozens of possibilities? Three proven room layout options solve nearly every living room puzzle.
| Layout | Best For | Key Move |
|---|---|---|
| Symmetrical | Fireplace + TV combo | Floating sofa centered on focal point |
| L-Shape | Awkward corners | Rug anchoring defines conversation zones |
| U-Shape | Large gatherings | Scale-matched seating arrangement wraps guests |
Measure first: wall lengths, window heights, clearances. You’ll need 18–24 inches behind seating and 30–36 inches along main pathways for smooth traffic flow. Test with painter’s tape before moving anything heavy.
The floating sofa improves sightlines instantly. Position your rug dead-center to unify everything. Balance your focal point with facing chairs to create intimate conversation zones where people actually want to linger.
Living Room Furniture Arrangement Step 4: Fix These Five Layout Killers
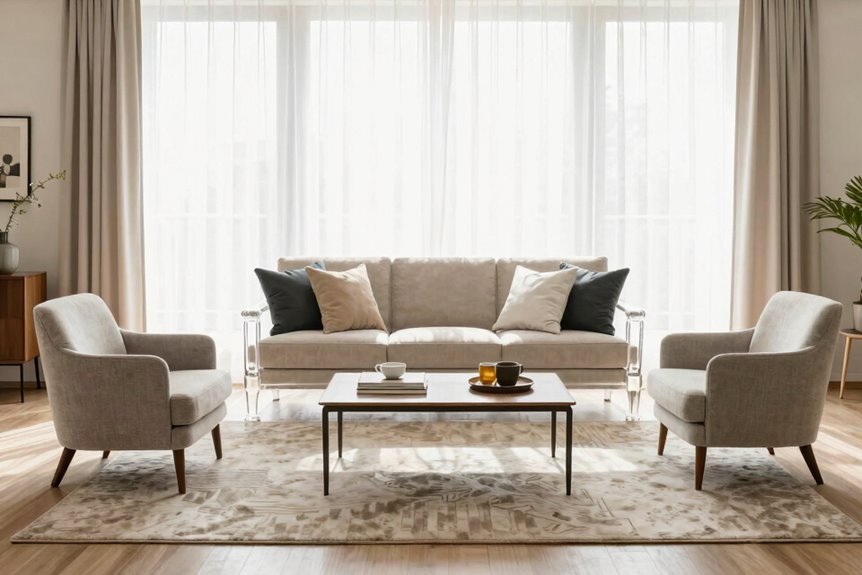
Chaos creeps into a living room the moment attention lapses. I’ve learned to spot these layout killers before they damage a space.
- Disjointed zones that kill cohesion and leave guests wondering where to sit
- Floating ottomans and swivel chairs blocking traffic flow like misplaced boulders
- Competing focal points where the fireplace battles the TV for attention
- Rigid symmetry that sacrifices function for aesthetics that don’t work in practice
- Skipped planning that turns room circulation into an obstacle course
I start with a structured pre-layout, sketching the conversation area first. I check viewing angles from every seat; no one wants a cricked neck. When I balance symmetry with function, the seating arrangement works properly. The result is a clutter-free space where friends actually gather.
Living Room Furniture Arrangement Step 5: Anchor With Rugs and Layer the Details
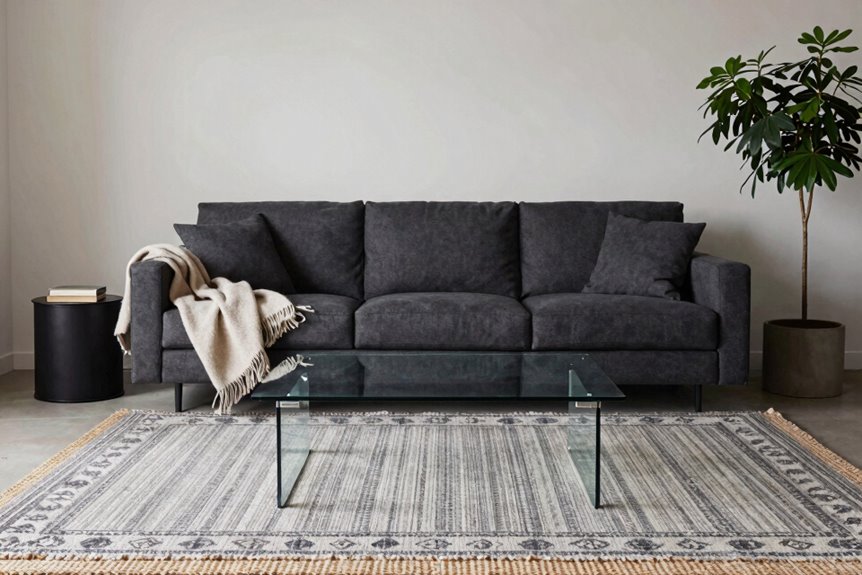
With those layout killers banished, I’m ready to ground the room in something solid. I grab a 9×12 anchor rug, big enough that all my front legs on the rug feel connected, not stranded. This rug anchoring transforms floating furniture into cohesive seating instantly. I check my coffee table distance: 14 to 18 inches, which is perfect for reaching my drink without acrobatics.
Now for layered lighting. Floor lamps beside the sofa, table lamps on side consoles, and a sconce for evening softness create mood depth that overhead fixtures alone cannot achieve. I toss textured woven pillows and a nubby throw in colors pulled from the rug. These texture textiles echo the anchor rug without visual chaos. Everything belongs together.